Beginner Kit (Older Revision)
This page documents the Beginner Kit (older hardware revision) and is retained for reference only.
Introduction
This beginner kit is just designed for newbie in Arduino. It gives you a basic introduction to the Arduino world. Starts from basic LED control to more advanced IR remote control. You can enjoy lots of fun from it.
What is included?

- 1x DFRduino Duemilanove 328 (SKU:DFR0001)
- 1x Prototyping Shield For Arduino (SKU: DFR0019)
- 1x USB Cable
- 1x Mini breadbord
- 20x M/M Arduino Jumper Cables (SKU:FIT0010)
- 1x 6xAA Battery holder with power jack
- 2x Red LED 5mm
- 2x Green LED 5mm
- 2x Yellow LED 5mm
- 1x Buzzer
- 1x DFRobot Ambient Light Sensor (SKU:DFR0026 )
- 1x Infrared Receiver
- 1x DFRobot LM35 Linear Temperature Sensor (SKU:DFR0023)
- 1x IR Remote Control
- 1x 7-Segment Red LED
- 1x DFRobot Tilt Sensor (SKU:DFR0028)
- 4x Mini Pushbutton switcher
- 10x Resistor 220R
- 10x Resistor 1K
- 10x Resistor 10K
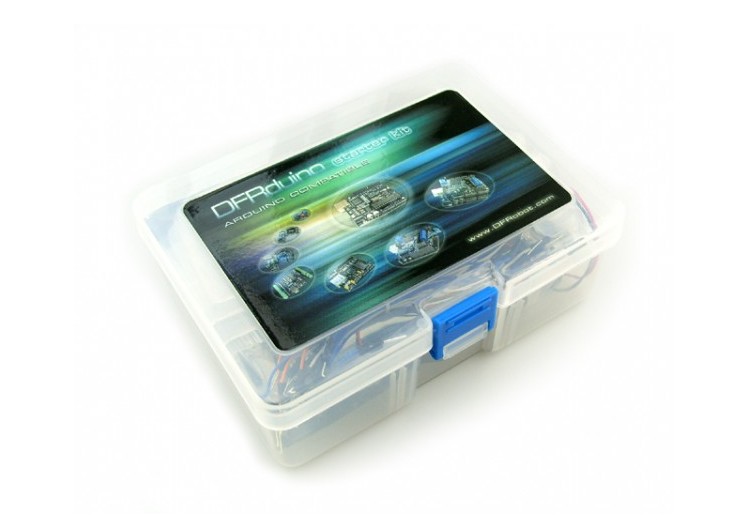
- 1x High quality plastic Box
Code Library
LED Control Tutorial
Connection Diagram

//LED 1 Sample Code
//For Arduino Start kit
//Compatible with all Arduino version
//Last updated 2010-12-1
//www.dfrobot.com

int ledPin=8; //Connect LED to Digital Pin 8
void setup()
{
    pinMode(ledPin,OUTPUT);//Set ledPin to output mode
}
void loop()
{
    digitalWrite(ledPin,HIGH); //Pull ledPin to HIGH which is 5V
    delay(1000); //set 1 second delay (1000 =  1 second)
    digitalWrite(ledPin,LOW); //Set ledPin to low which is 0V
    delay(1000); //set 1 second delay (1000 =  1 second)
}
LED 2 Control Tutorial
Connection Diagram

//LED 2 Sample Code
//For Arduino Start kit
//Compatible with all Arduino version
//Last updated 2010-12-1
//www.dfrobot.com


int Led1 = 1;
int Led2 = 2;
int Led3 = 3;
int Led4 = 4;
int Led5 = 5;
int Led6 = 6;

void style_1(void)
{
  unsigned char j;
  for(j=1;j<=6;j  )
  {
    digitalWrite(j,HIGH);
    delay(200);//
  }
  for(j=6;j>=1;j--)
  {
    digitalWrite(j,LOW);
    delay(200);
  }
}

void flash(void)
{
  unsigned char j,k;
  for(k=0;k<=1;k  )
  {
    for(j=1;j<=6;j  )
      digitalWrite(j,HIGH);
    delay(200);
    for(j=1;j<=6;j  )
      digitalWrite(j,LOW);
    delay(200);
  }
}

void style_2(void)
{
  unsigned char j,k;
  k=1;
  for(j=3;j>=1;j--)
  {
    digitalWrite(j,HIGH);
    digitalWrite(j k,HIGH);
    delay(400);
    k  =2;
  }
  k=5;
  for(j=1;j<=3;j  )
  {
    digitalWrite(j,LOW);
    digitalWrite(j k,LOW);
    delay(400);
    k -=2;
  }
}

void style_3(void)
{
  unsigned char j,k;
  k=5;
  for(j=1;j<=3;j  )
  {
    digitalWrite(j,HIGH);
    digitalWrite(j k,HIGH);
    delay(400);
    digitalWrite(j,LOW);
    digitalWrite(j k,LOW);
    k -=2;
  }
  k=3;
  for(j=2;j>=1;j--)
  {
    digitalWrite(j,HIGH);
    digitalWrite(j k,HIGH);
    delay(400);
    digitalWrite(j,LOW);
    digitalWrite(j k,LOW);
    k  =2;
  }
}
void setup()
{
  unsigned char i;
  for(i=1;i<=6;i  )
    pinMode(i,OUTPUT);
}
void loop()
{
  style_1();
  flash();
  style_2();
  flash();
  style_3();
  flash();
}
Was this article helpful?