
Example for LattePanda-Connecting OCuLink eGPU Dock
LattePanda Sigma uses OCuLink to connect an external eGPU dock, delivering desktop class graphics for AI, gaming, and maker projects while keeping the SBC low power and portable
Tutorial
Hardware
- Graphics card x1
- Case and power supply x1
- M.2 to OCuLink adapter board x1
- OCuLink graphics card expansion dock(DFR1298) x1
- LattePanda Sigma motherboard x1
- OCuLink data cable x1
Connection Diagram
1.Connect the M.2 to OCuLink adapter board to the M.2 M PCIe 4.0 x4 interface on the back of the LattePanda Sigma.
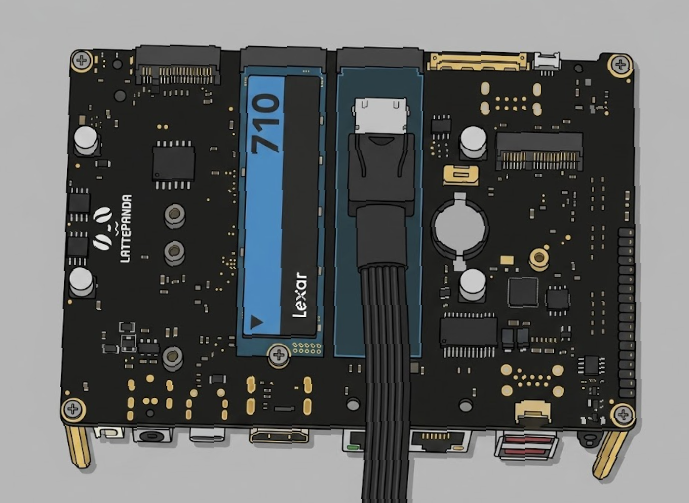
2.Remove the bracket from the back of the dock and install it.
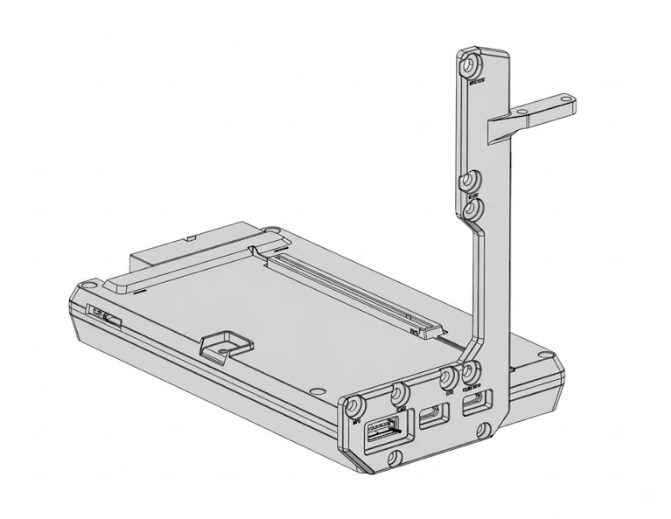
3.Install the graphics card and power supply. Connect the docking station and LattePanda Sigma using an OCuLink cable, ensuring the power switch is set to the M.2 M Key OCuLink position. The docking station uses an ATX-24P power connector, and the graphics card uses a 6P/8P power connector depending on its model. Connect the graphics card to the monitor via HDMI or DP. The LattePanda Sigma uses its official power adapter.

4.Once all hardware is installed and powered on, press the power button on the LattePanda Sigma to start it. The docking station and power supply will start and stop simultaneously. After powering on, download the graphics card driver from the NVIDIA, AMD, or Intel website.
Was this article helpful?