SIoT Local Area Network (LAN) Server (Functional Test Version)
The article introduces the SIoT Local Area Network server, detailing its functionalities, including easy setup of a local IoT server using the MQTT protocol, methods for accessing the server, default and customizable topics for data processing, and how to leverage the MindPlus software for project creation within the LAN environment.
What is SIoT?
SIoT is a local area network (LAN) server based on the MQTT protocol launched by DFRobot, which allows the one-click creation of a local IoT (Internet of Things) server. Moreover, it is built into the LoRaWAN gateway in a completely free manner.
The SIoT function is currently in the test version and only supports the Chinese interface. You can use a browser translation plug-in to translate it into English. In the future, an English interface will be added through firmware update.
Access SIoT
First, connect the gateway to the computer.
- If using a USB connection, the address to access SIoT is: 10.6.6.6:8080/
- If using an AP hotspot connection, the address to access SIoT is: 10.8.8.8:8080/
- If using an Ethernet or WIFI connection, the address to access SIoT is the IP address followed by ":8080". For example: 192.168.9.1:8080
SIoT Login Interface:
- Username: siot
- Password: dfrobot

The SIoT Main Interface After Accessing:
The SIoT built into the current gateway only supports the Chinese interface. In the future, an English interface will be added by updating the firmware.
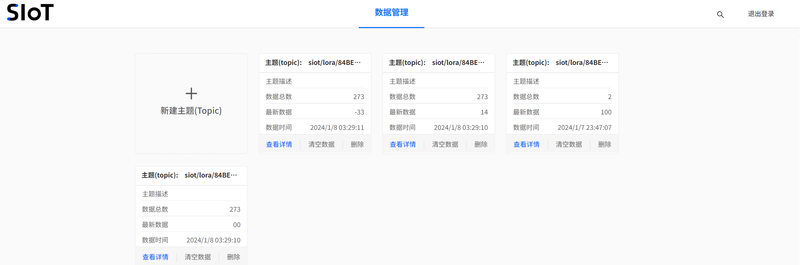
Default Topic
The system automatically creates 4 default topics, which are:
- siot/lora/84BE8B2070C66A7E/rssi: Read RSSI and save it in this topic
- siot/lora/84BE8B2070C66A7E/snr: Read SNR and save it in this topic
- siot/lora/84BE8B2070C66A7E/battery: Read battery level and save it in this topic
- siot/lora/84BE8B2070C66A7E/raw: Read raw value and save it in this topic
Naming rule: siot/lora/Node Device DEUI/Data type to be read.
The topic of SIoT is deeply bound to the data parsing function of LoRaWAN. When new custom parsing code is added to the data parsing function and runs correctly, the system will automatically create a new topic in SIoT.
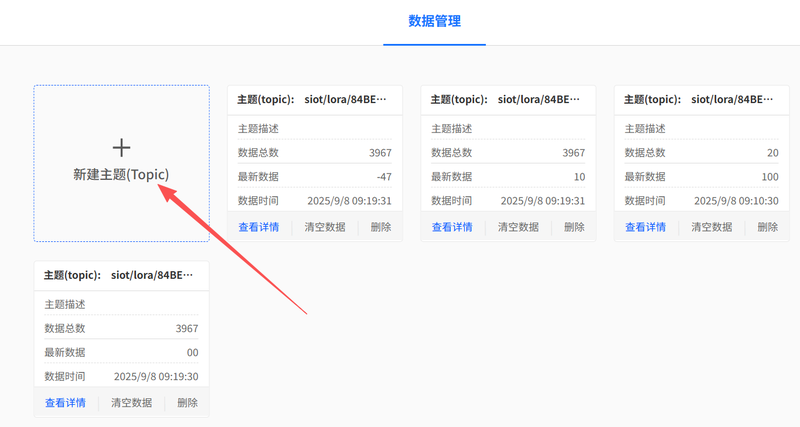
Create a Topic
Click Create New Topic to create a new Topic:
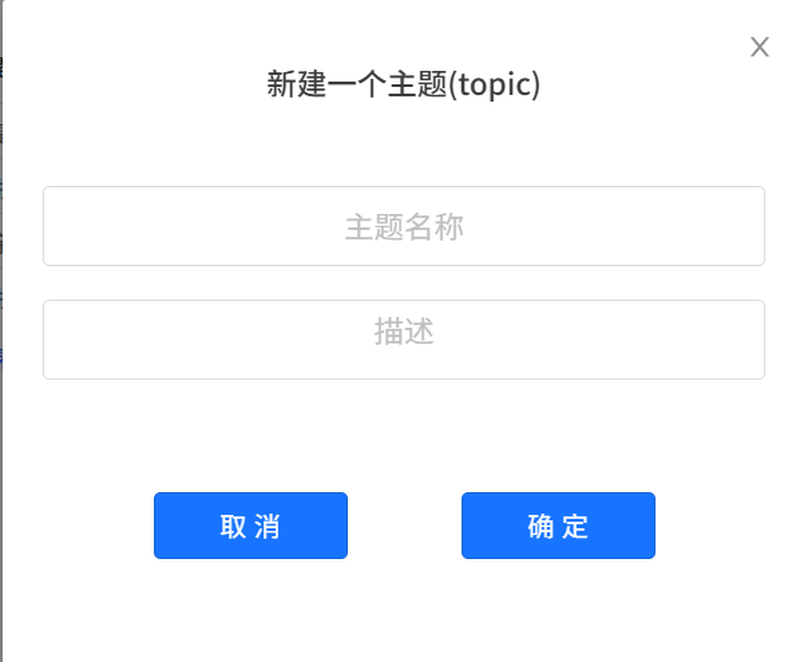
A "Create a New Topic" dialog box will pop up. You need to name the topic and add a descriptive note.
A topic can serve as an independent SIoT topic and be named arbitrarily.
It can also be used to read LoRaWAN-related data. If you intend to read LoRaWAN-related data, you must follow specific naming rules.
Download the MindPlus software: www.MindPlus.cc
Ensure the computer running MindPlus and the gateway are on the same local area network (LAN).
Open the MindPlus software and click the visualization window:

Click Create New Project to create a blank project:

A dialog box will pop up. Name the project, then click OK.

After clicking OK, the project is added successfully:

Click the Edit button on the project you just created to edit the project parameters:
Server Address: Enter the address of the current gateway connected to the local area network (LAN):
- If using a USB connection, the address is: 10.6.6.6
- If using an AP hotspot connection, the address is: 10.8.8.8
- If using an Ethernet or WIFI connection, the address needs to be checked in the gateway
In the figure, a USB connection is used as an example, and the address is 10.6.6.6. The username and password remain unchanged.
After clicking Finish, the setup of the IoT platform is completed.

Drag in the Single-line Text module, set the topic for the module to display data, and select any one (e.g., raw).

Open SIoT in the gateway, find the topic named "raw", and click "View Details" to enter:

A detailed topic data page will pop up. Enter "hello" in the input box and click Send:

At this point, if you check the data on the visualization panel in MindPlus again, you will see that it has changed—it has received and displayed "hello".

If the node device with this DEUI number continuously reports data, both SIoT and the visualization panel within the local area network (LAN) will continuously receive the data.
Was this article helpful?