Example Code for Raspberry Pi-DC Motor Drive
This article offers a detailed guide on how to use Raspberry Pi to drive DC motors, featuring wiring diagrams, I2C library installation, terminal commands for setup, and example code to test motor rotation at various speeds.
Wiring Diagram

Other Preparation Work
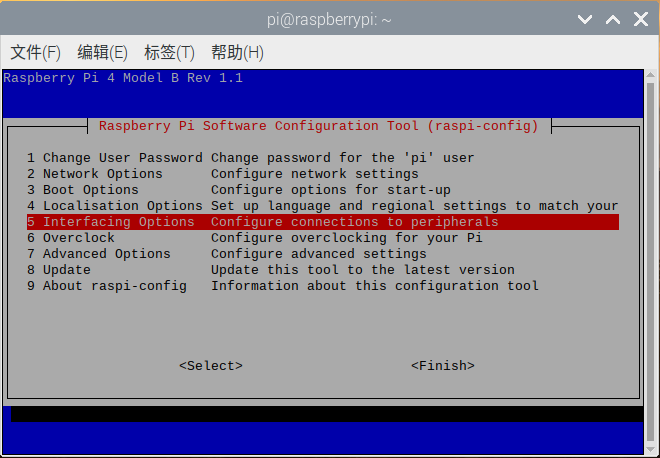
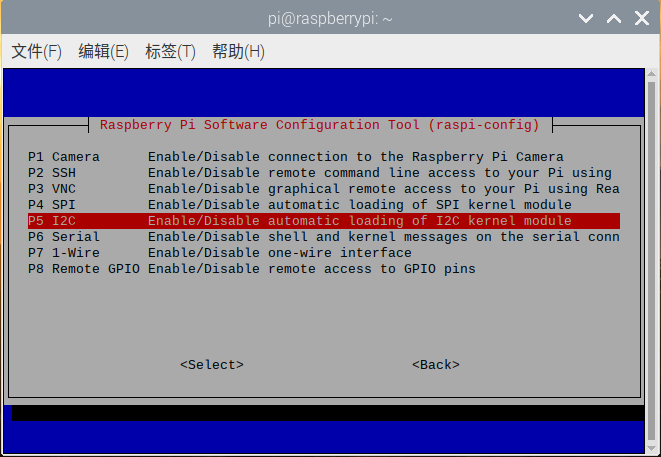
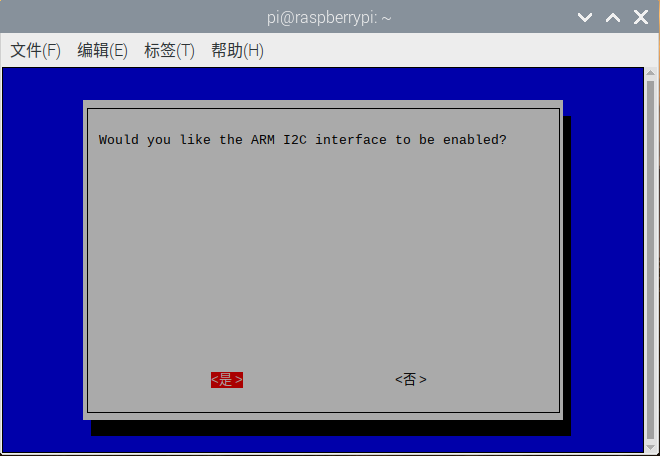
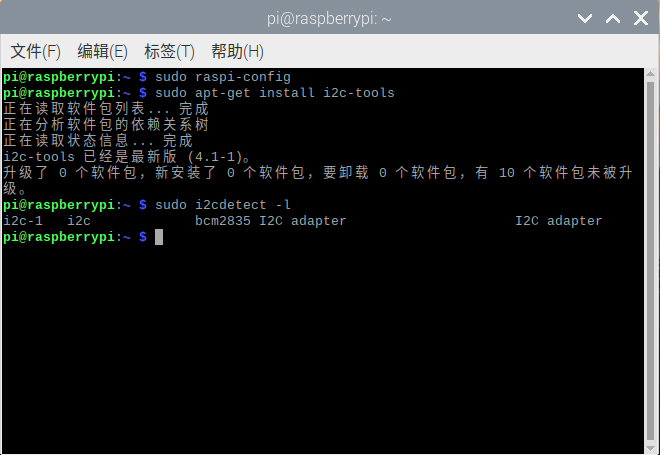
Before using the driver board, you must first install the I2C library and enable it. Open the Raspberry Pi terminal and enter the command "sudo raspi-config", then follow the order of the pictures below.
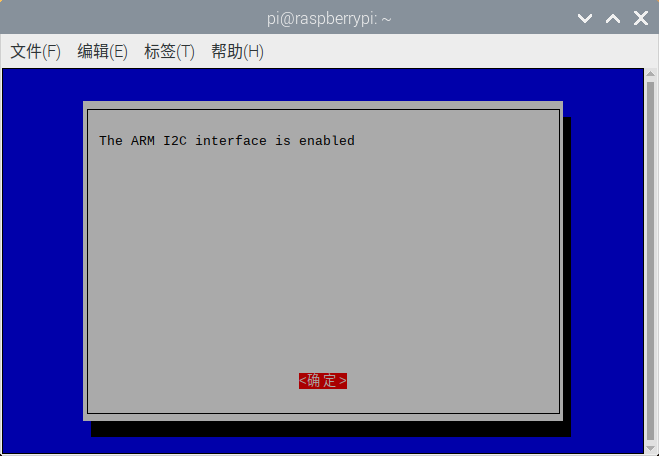
The above is to turn on the Raspberry Pi I2C, next, we install the Raspberry Pi I2C library in the terminal, enter “sudo apt-get install i2c-tools”, after entering, you can see the I2C library being downloaded. After the installation is complete, you can enter “sudo i2cdetect -l” in the terminal to check if it is installed correctly. If information similar to the following appears, it means the installation is normal.
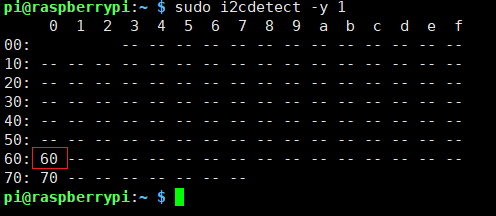
Enter “sudo i2cdetect -y 1” in the terminal to scan all I2C devices connected to the I2C bus, and print out the I2C bus address of the device. Our expansion board's I2C address is 0x60, as shown below.
Restart the Raspberry Pi to make the new settings effective:
sudo reboot
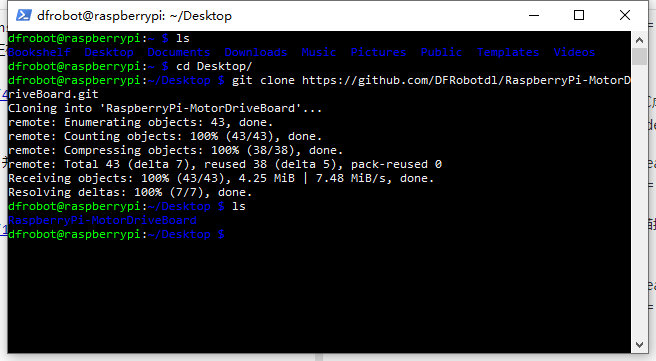
Enter the following commands in the terminal in order to download programs:
cd ...
git clone https://github.com/DFRobotdl/RaspberryPi-MotorDriveBoard.git
Sample Code
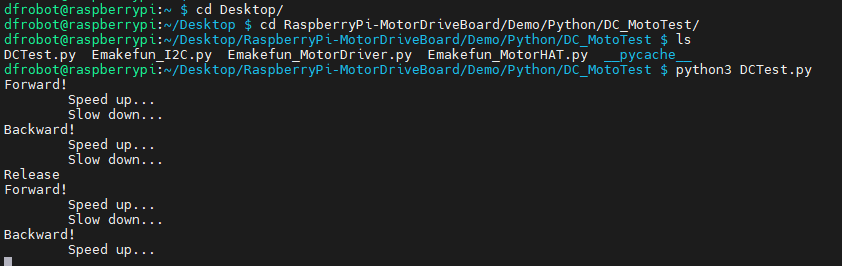
cd RaspberryPi-MotorDriveBoard/Demo/Python/DC_MotoTest/
python3 DCTest.py
Result
The motor will rotate forward and backward at different speeds.
Was this article helpful?