Example for LattePanda-Connecting Expansion Board
This tutorial offers a step-by-step guide to connecting expansion boards to a LattePanda using an M.2 M Key to SATA3.0 card, ensuring seamless hardware integration.
Tutorial
Requirements
- Hardware
SATA interface hard disk x1~5
SATA to SATA data cable x1~5
sigma x1
Chassis power supply x1
M.2 M Key to SATA3.0 Expansion Card x1
ATX to DC5.5*2.5 Male Power Cable - 50cm x1
Connection Diagram
Note: When sigma needs to connect or unplug any powered equipment, sigma needs to be turned off and unplugged. It cannot be operated while it is powered on.
-
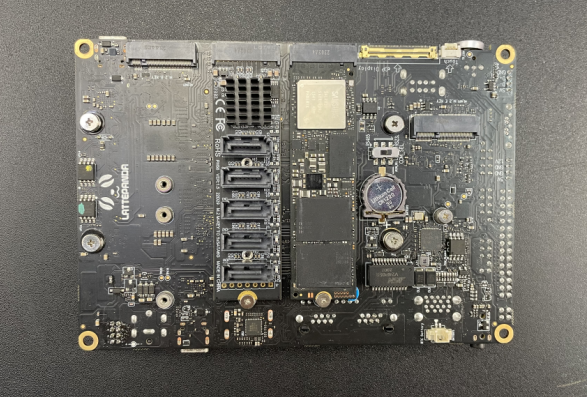
The M.2 M Key to SATA3.0 expansion card is installed on the M.2 port of the sigma motherboard.
-
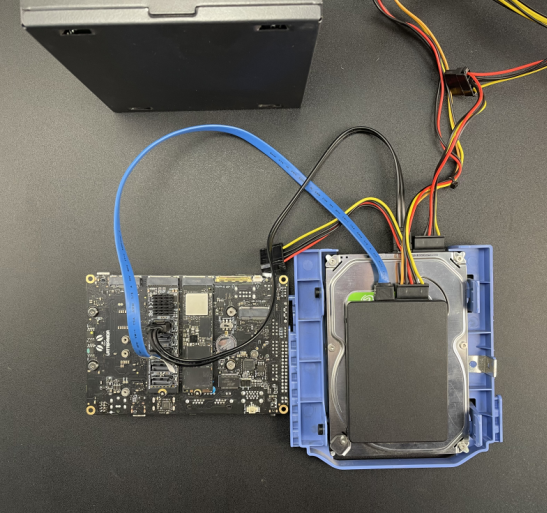
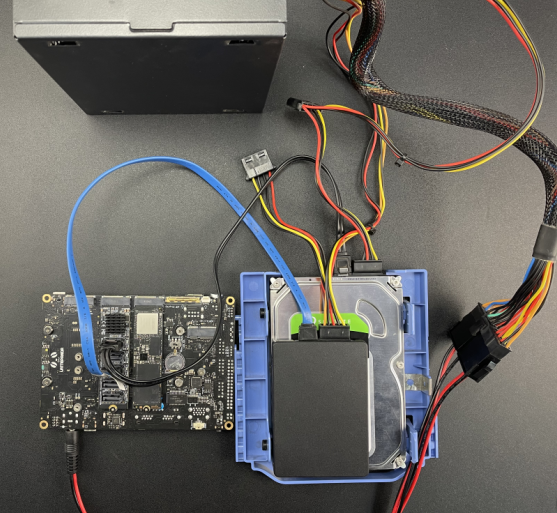
Connect the hard drive to the M.2 M Key to SATA3.0 expansion card with a SATA to SATA data cable. You can connect 1-5 hard drives, and use the chassis power SATA-15Pin interface to power the hard drive.
-
Connect the sigma motherboard to the ATX to DC male power cable, connect the HDMI interface to the monitor, and use the ATX-24Pin interface of the chassis power supply to power the sigma motherboard.
-
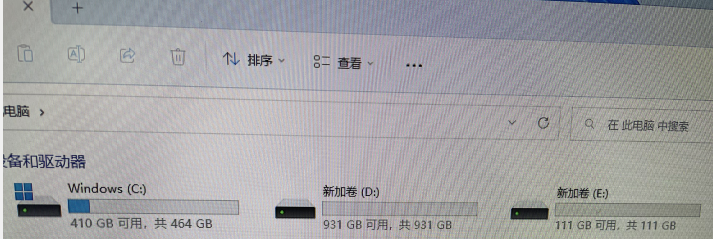
After completing the connection of all devices, press the power button of the sigma motherboard. After booting, enter the system to check whether the hard drive is recognized normally. The corresponding indicator light of the hard drive connected to the adapter card will light up.
Was this article helpful?