Example Code for Arduino-Receipt Mode Printing
Last revision 2026/01/28
This article provides a comprehensive guide on setting up receipt mode printing using Arduino, detailing hardware and software preparation, wiring diagrams, and sample code to print content with an embedded thermal printer.
Hardware Preparation
- DFRduino UNO R3 with IO Expansion Shield and USB Cable A-B
- [Embedded Thermal Printer V2.0](Embedded Thermal Printer V2.0)
- 9-24V adapter or power supply x1
Software Preparation
Wiring Diagram
TTL interface wiring method
| Printer | Arduino UNO |
|---|---|
| DTR red line | Floating |
| TXD black line | Pin 10 |
| RXD blue line | Pin 11 |
| GND green line | GND |

Sample Code
#include"E:\ces\hz.c" //Reference the newly created hz.c file. The quotation marks are the index address of the hz.c file. It needs to be modified according to the actual location of hz.c
#include <SoftwareSerial.h>
uint8_t Com[7] = { 0x1F, 0x2F, 0x0B, 0x00, 0x01, 0x00, 0x00}; //Switch to receipt mode
SoftwareSerial mySerial(10, 11); // RX, TX
void setup()
{
mySerial.begin(115200);
mySerial.write(Com, 7);//Switch to receipt mode
}
void loop()
{
mySerial.println("SKU:DFR0503-CN");
mySerial.println(hz[0]);
mySerial.println(hz[1]);
mySerial.println(hz[2]);
mySerial.println(hz[3]);
mySerial.println(hz[4]);
mySerial.println(hz[5]);
mySerial.println(hz[6]);
 delay(10000);
}
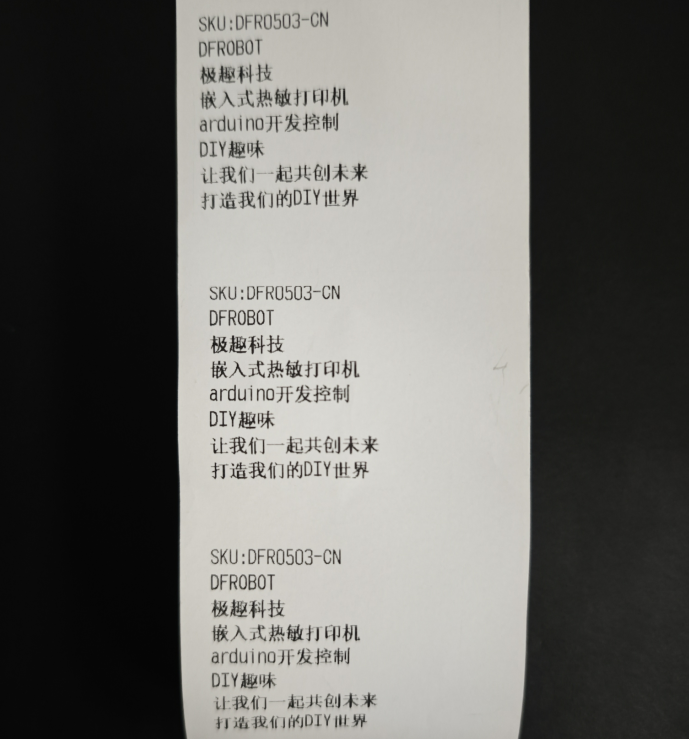
Result
The printer will print the following content every 10 seconds:
Was this article helpful?