Example Code for Arduino-Registering Face & Palm Print
When registering face or palm print, you need to fix the AI visual sensor and pay attention to the recognition distance, 30-120cm for face, 15cm for vein palm print, and 15cm for QR code. Only one face or palm print is registered each time. If you need to register multiple, you can press the reset button of the UNO R3 development board to register other faces or palm prints again.
Hardware Preparation
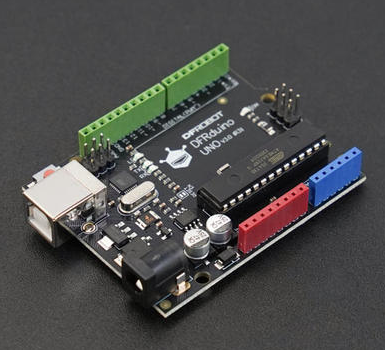
- DFRduino UNO R3 x 1
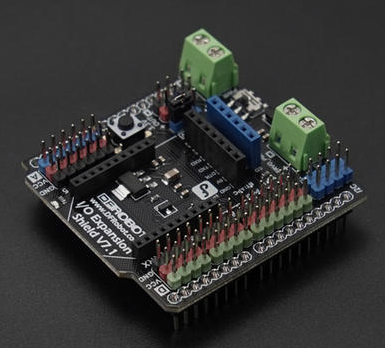
- Gravity: IO Expansion Shield for Arduino V7.1 x 1
- AI Binocular Vision Recognition Sensor(Face & Palm Vein & QR Code) x 1
- 1.25mm 4-pin to Dupont female connector cable ×1
- USB data cable ×1
Software Preparation
- Arduino IDE
- Download DFRobot_AI10 library
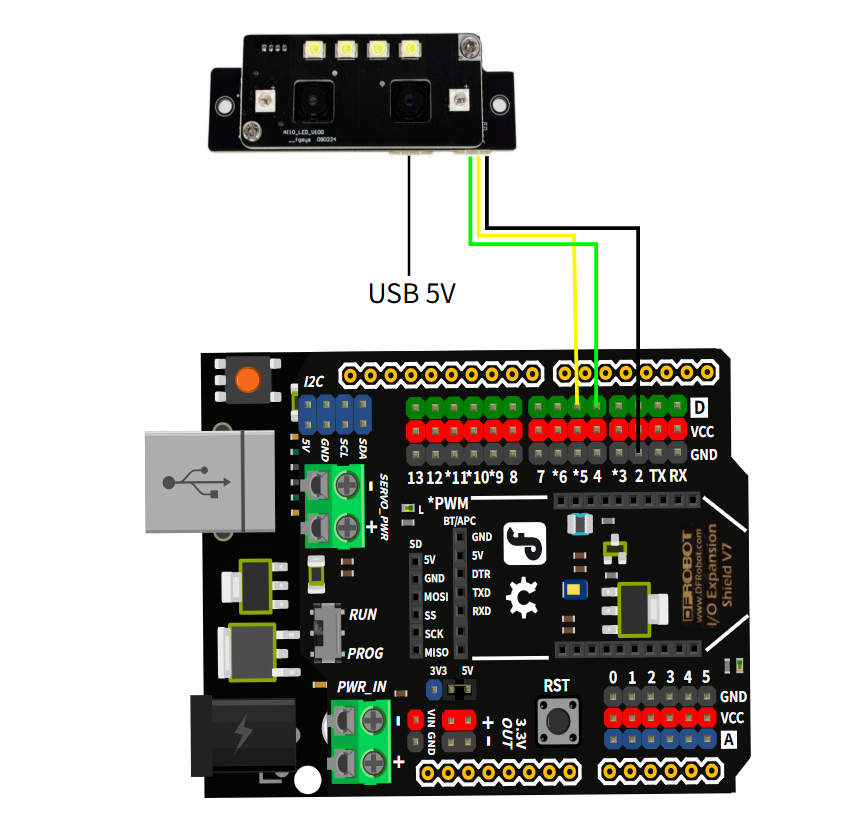
Wiring Diagram
The PC USB interface has low power, so it is recommended to use a 5V USB adapter for power supply, which will make the recognition more sensitive.
Other Preparation Work
Fix the AI visual sensor and pay attention to the recognition distance: 30-120cm for face, 15cm for vein palm print, and 15cm for QR code. Only one face or palm print is registered each time. If you need to register multiple, press the reset button of the UNO R3 development board to register again.
Sample Code
/*!
 * @file singleRegisteredUser.ino
 * @brief This is an example of using the DFRobot_AI10 library to enroll a single registered user.
 * @copyright	Copyright (c) 2025 DFRobot Co.Ltd (http://www.dfrobot.com)
 * @license The MIT License (MIT)
 * @author [jiali]([email protected])
 * @version V1.0
 * @date 2025-07-14
 * @url https://github.com/DFRobot/DFRobot_AI10
 */
#include "DFRobot_AI10.h"

/* ---------------------------------------------------------------------------------------------------------------------
  *    board   |             MCU                | Leonardo/Mega2560/M0 |    UNO    | ESP8266 | ESP32 |  microbit  |   m0  |
  *     VCC    |            3.3V/5V             |        VCC           |    VCC    |   VCC   |  VCC  |     X      |  vcc  |
  *     GND    |              GND               |        GND           |    GND    |   GND   |  GND  |     X      |  gnd  |
  *     RX     |              TX                |     Serial1 TX1      |     5     |   5/D6  | 25/D2 |     X      |  tx1  |
  *     TX     |              RX                |     Serial1 RX1      |     4     |   4/D7  | 26/D3 |     X      |  rx1  |
  * ----------------------------------------------------------------------------------------------------------------------*/
/* Baud rate cannot be changed , it is 115200 */

  #if defined(ARDUINO_AVR_UNO) || defined(ESP8266)
    SoftwareSerial mySerial(4, 5);
    DFRobot_AI10_UART recognize(&mySerial ,115200);
  #elif defined(ESP32)
    DFRobot_AI10_UART recognize(&Serial1,115200,/*rxD2*/25,/*txD3*/26);
  #else
    DFRobot_AI10_UART recognize(&Serial1 ,115200);
  #endif


void setup() {
  Serial.begin(115200);
  while (!Serial);
  while(!recognize.begin()){
    Serial.println("NO Deivces !");
    delay(1000);
  }
  Serial.println("Device connected!");

  Serial.println("Start to enroll a user...");

  //User enroll result anc info
  sUserData_t udata;

  /*
  *admin permission is required to register a user. eNormal:average person ,eAdmin: administrator
  *userName registered user name, the length is 32 bytes at most
  *timeout is the time to wait for the recognition result, the range is 3-20 seconds
  */

  udata = recognize.enrollUser(/*admin*/eNormal,/*userName*/"User1",/*timeout*/ 5);

  //Check if the registration is successful, if successful, print the user information
  if(udata.result == eSuccess){
    Serial.println("User enrolled successfully!");
    Serial.print("UID: ");
    Serial.println(udata.UID);
    Serial.print("User name: ");
    Serial.println(udata.userName);
    Serial.print("Admin permission: ");
    Serial.println(udata.admin == eNormal ? "Normal":"Admin");
    Serial.print("User enrolled type: ");
    Serial.println(udata.type == eFace ? "Face":"Palm");
  }else if (udata.result == eFailedFaceEnrolled){
    Serial.println("Failed to enroll user, user already enrolled!");
  }else{
    Serial.println("Failed to enroll user!");
  }
}

void loop() {

  delay(100);
}
Result
Register through the reset button of the UNO R3 development board. Each reset can register a face or palm print once. Each registration time is 5S. ID 1-1000 is face, and 1001-2000 is vein palm print.

Was this article helpful?