Example Code for Arduino-LVGL Development
This article offers a detailed guide on setting up Arduino-LVGL development using an ESP32-S3 display board, including hardware/software preparation, a step-by-step setup process, and visual results.
Hardware Preparation
- ESP32-S3 1.85-inch round display development board x1
- Type-C USB data cable x1
Software Preparation
- Arduino IDE
- Download the library file( The library contains the following 4 files: ESP32_Display_Panel library, ESP32_IO_Expander library, lvgl library (8.4.0), and lv_conf.h file. After downloading, copy the three libraries and lv_conf.h file to the C:\Users\your username\Documents\Arduino\libraries\ directory.)
- Download ST77916_LVGL_DEMO file
Other Preparation Work
When you use ESP32 for the first time, you need to know the following steps: Add the ESP32 development board to the Arduino IDE (How to add the ESP32 development board to the Arduino IDE?)
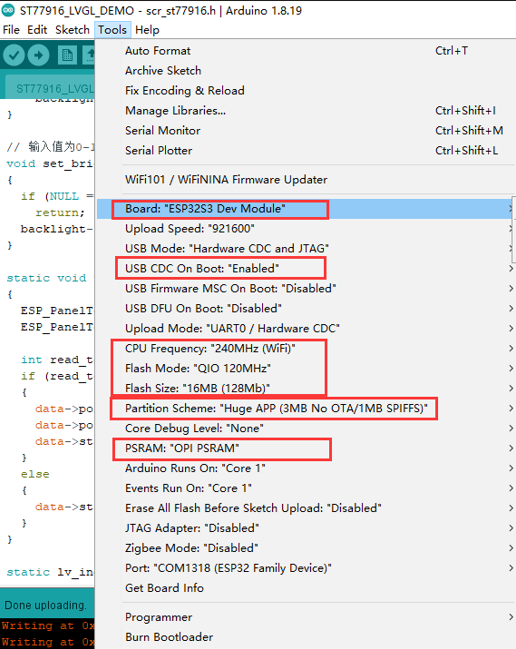
After installing the ESP32 board, open the ST77916_LVGL_DEMO program, set up the development board according to the figure below, and then burn the code
Sample Code
#include "scr_st77916.h"
#include <lvgl.h>
#include <demos/lv_demos.h>

void setup()
{
  delay(200);
  Serial.begin(115200);
  scr_lvgl_init();
  // lv_demo_widgets();
  // lv_demo_benchmark();
  lv_demo_music();
}

void loop()
{
  lv_timer_handler();
  vTaskDelay(5);
}
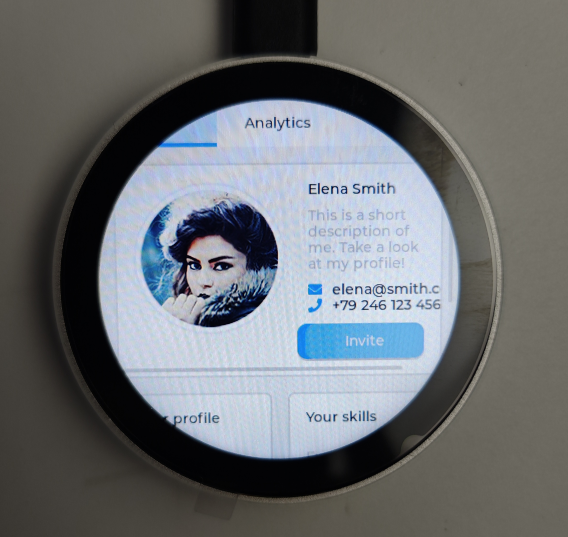
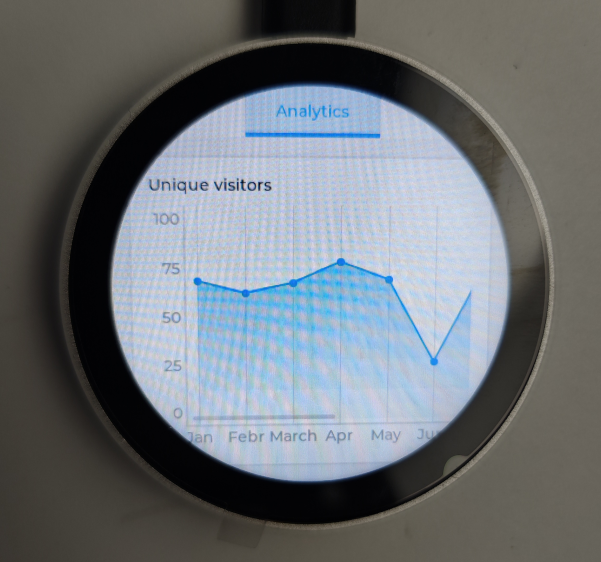
Result
Was this article helpful?