First Use
This article provides a detailed guide on how to set up LoRaWAN Gateway and Node Devices, including hardware installation, USB connection, driver updates, and device registration for first-time users.
Product Preparation
**Gateway: **
- LoRaWAN Gateway ×1
- LoRaWAN Antenna *1
- TYPE-C Cable *1
Node Device(s):
- LoRaWAN Node Control Terminal *1
- LoRaWAN Node Antenna *1
- TYPE-C Cable *1
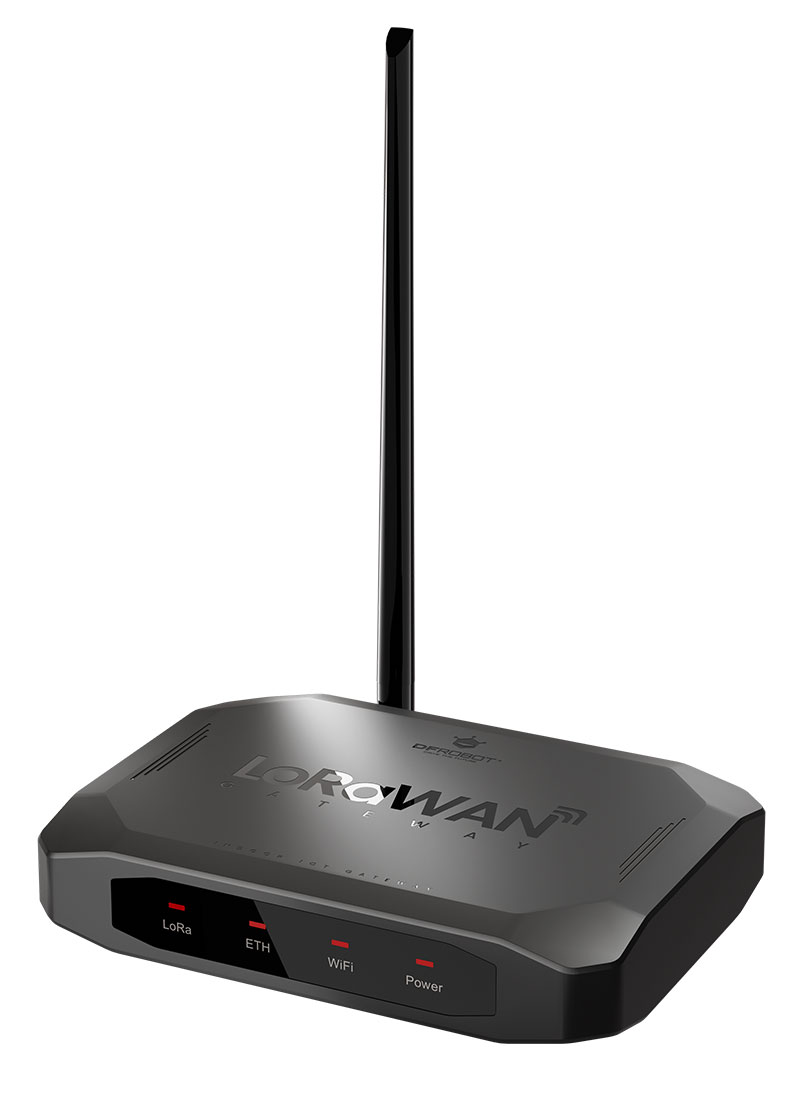
Install the gateway antenna and the node antenna
Install the gateway antenna and the node antenna on their respective antenna interfaces as shown in the figure:

Connect the gateway via the USB port
Use a USB cable to connect the USB port of the gateway to the USB port of a computer. At this point, the gateway will power on and start up. Approximately 1 minute later, the gateway will complete the startup process, and the LoRa indicator light will turn on.
Note: Please use a high-quality USB cable. Poor-quality USB cables may cause insufficient power supply or communication abnormalities, preventing the gateway from working properly.
Install the Driver
The gateway does not require the installation of external drivers and only needs to use the drivers built into Windows. The usage method is as follows:
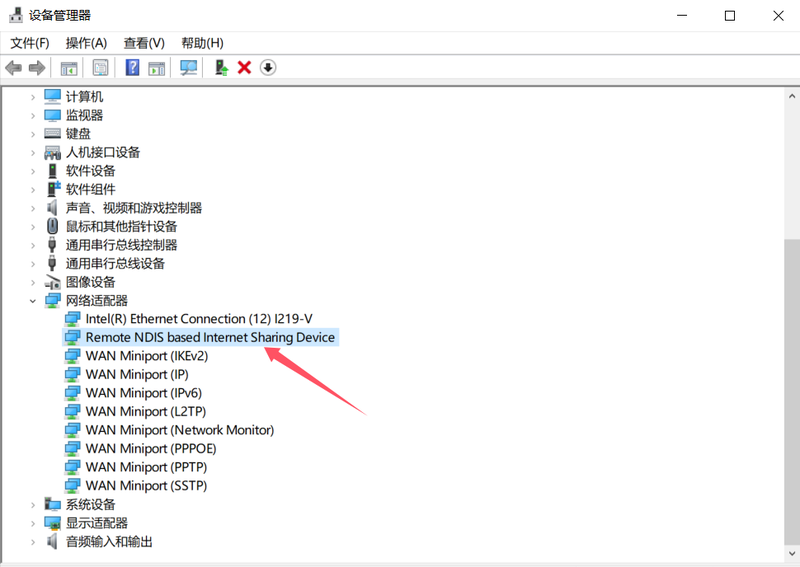
Search for and open Device Manager, then right-click on the NDIS device and select Update driver.
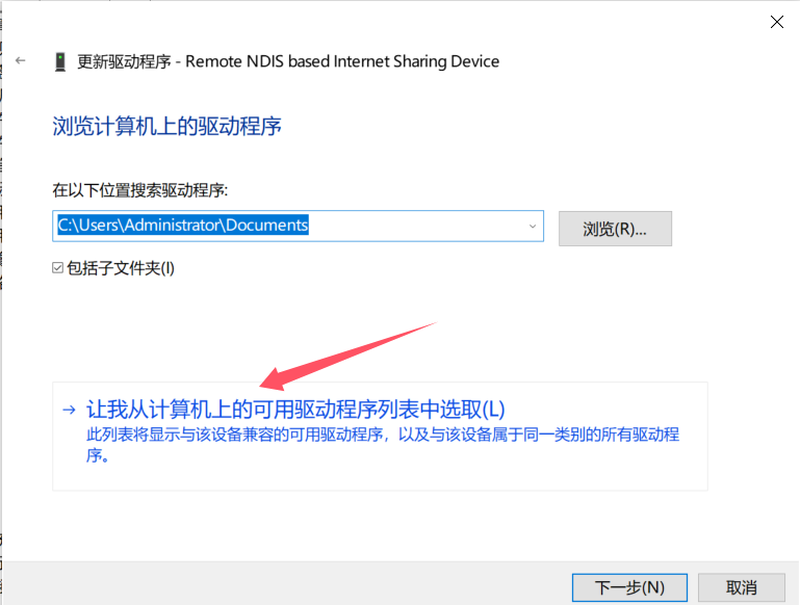
Select "Browse my computer for drivers":

Select "Let me pick from a list of available drivers on my computer":
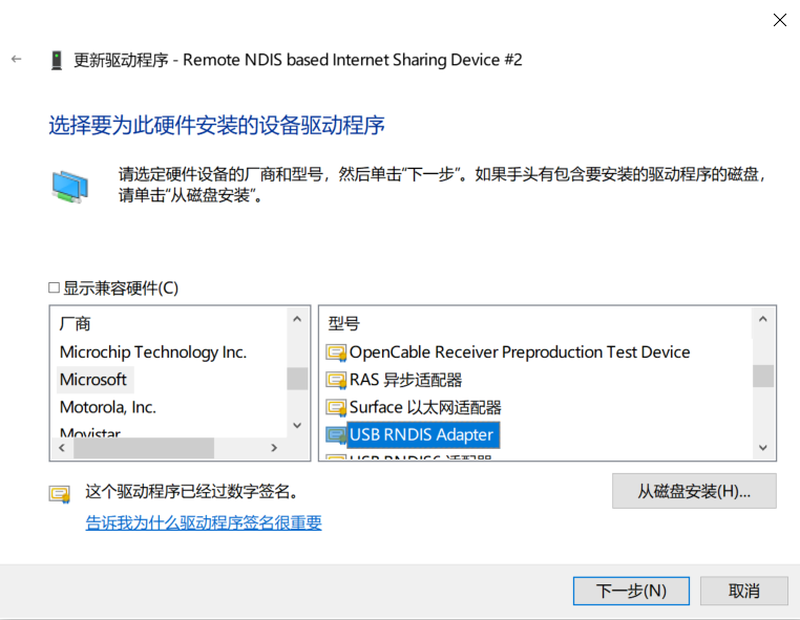
Select "USB RNDIS Adapter" under "Microsoft", then click Next to install.
Log in to the Gateway
Open a browser, enter "10.6.6.6" in the address bar, and press Enter. At this point, a security prompt will pop up on the page, as shown in the figure. Then click the Advanced button to proceed to the next step.
Note: If the LoRa light is not on, it indicates that the gateway has not completed startup. In this case, you cannot log in to the gateway.

After clicking the Advanced button, a security prompt will appear. Then click Proceed to 10.6.6.6 (unsafe) to access the gateway system.
Note: Since the gateway system uses the HTTPS protocol, the browser will pop up a security prompt. Please click with confidence as there is no security risk.

When using the gateway for the first time, a login password interface of the gateway will pop up. Enter the default password "admin" and click "Login" to proceed.
The login password can be changed in the Personal Center.
Register a New Device
If you have also purchased a brand-new node device produced by DFRobot, power on the node device at this point, and it will automatically access the network via scanning.
Locate the DVEUI number on the housing of the node device, enter the last three digits, then click Next.
Note:
- New devices added via the scanning method are limited to brand-new DFRobot node devices that have never been connected to a network before.
- If you do not use the automatic new device addition function, please click the "×" in the upper right corner of the pop-up window to close it.
The location of the node device's DEUI number is shown in the figure:

After entering the last three digits of the DEUI, click Next, and the following prompt will pop up. At this point, power on the brand-new node device and click Next.

At this point, the scanning for new devices begins. As shown in the figure below:

The scanning and registration of the device is completed, as shown in the figure:

After clicking the Finish button, the newly added device will now appear in the device list.

View Real-Time Data

Overall Overview
The gateway system is divided into a Function Navigation Bar, an Information Bar, a Language & Password Settings Area, and a Function Area.
- Navigation Bar: All main functions of the gateway are accessed through the navigation bar.
- Information Bar: Displays information such as region, network, and time.
- Language & Password Settings Area: Includes functions like Chinese-English language switching, password modification, and region modification.
Function Area: A detailed configuration area and data display area for different functions.

Enter the login password
When you access the gateway system login page, an interface prompting you to enter the login password will appear, as shown in the figure below:
Enter the login password (default password: admin), then click the Log In button to access the gateway configuration system.

Was this article helpful?