Connect to AWS
This article guides users through connecting LoRaWAN gateways to AWS using Basic Station mode, covering gateway addition, certificate creation, server configuration, and device management for seamless integration.
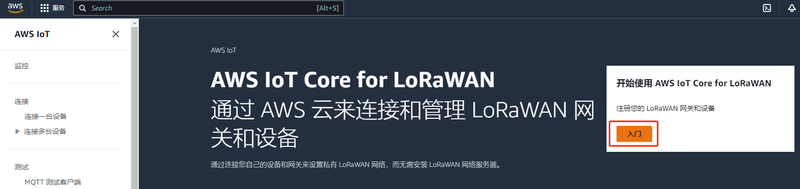
Connect to AWS using Basic Station
Using the Basic Station Mode LNS Server
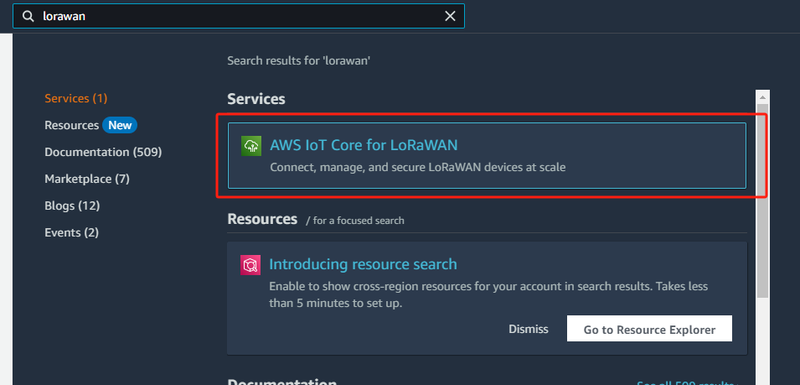
Search for "lorawan" on the homepage
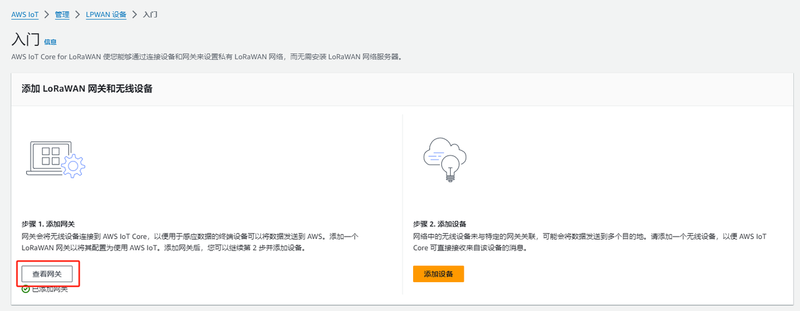
Click "Add Gateway"
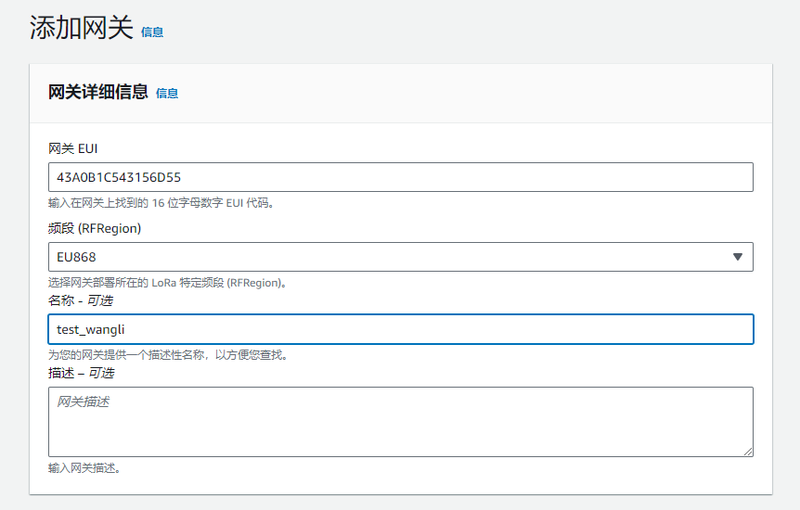
Click "Add Gateway", fill in the relevant information, scroll to the bottom and click "Add Gateway".
Click "Create Certificate"
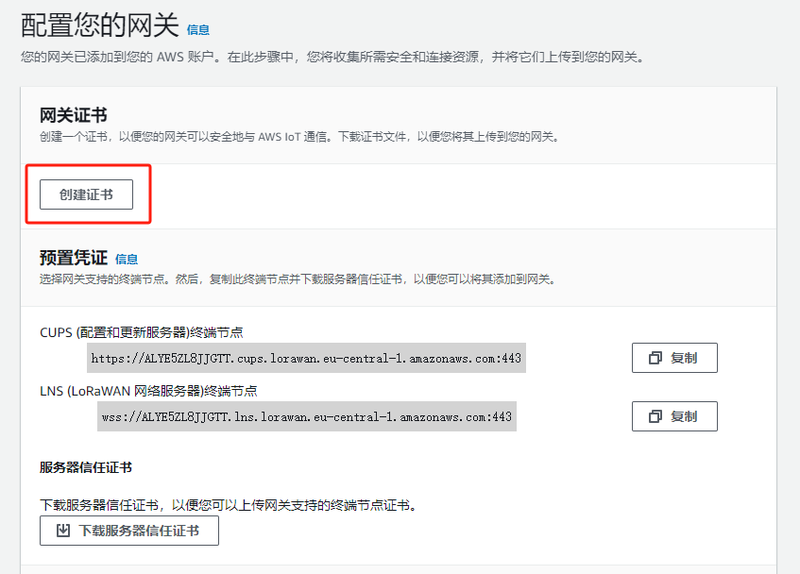
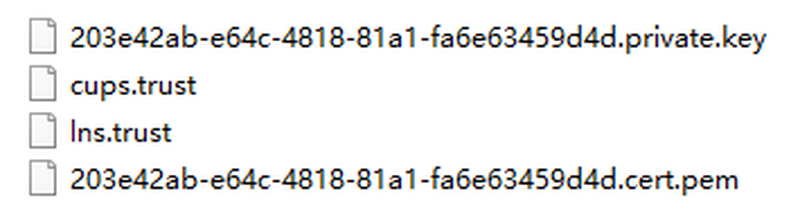
Download the certificates from these two locations; there are a total of four files.
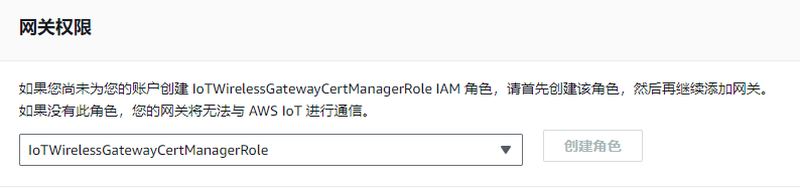
Select the default values and create.
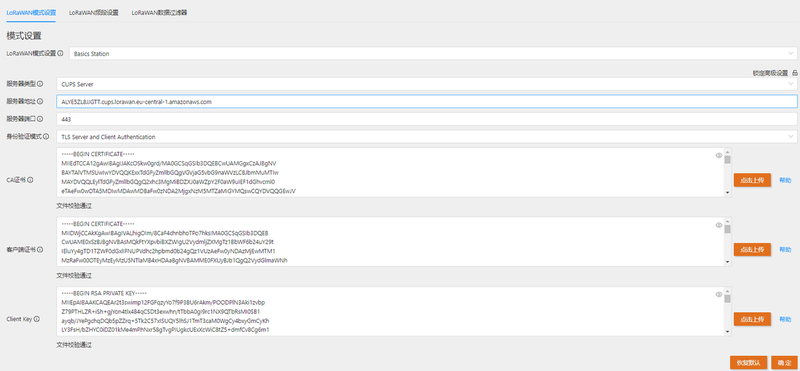
Copy down the server URL, remove the trailing ":443" and the leading "wss://", then enter the resulting content into the LoRaWAN gateway. The server port is 443.

On the LoRaWAN gateway page, enter "lns.trust" for "CA Certificate", the .pem file (content) for "Client Certificate", and the .private.key file (content) for "Client Key".
Using the Basic Station Mode CUPS Server
Refer to the LNS mode mentioned in the previous text.
Among the four downloaded files, one is named "cups.trust". On the LoRaWAN gateway page, enter "cups.trust" for "CA Certificate", the content of the .pem file for "Client Certificate", and the content of the .private.key file for "Client Key".
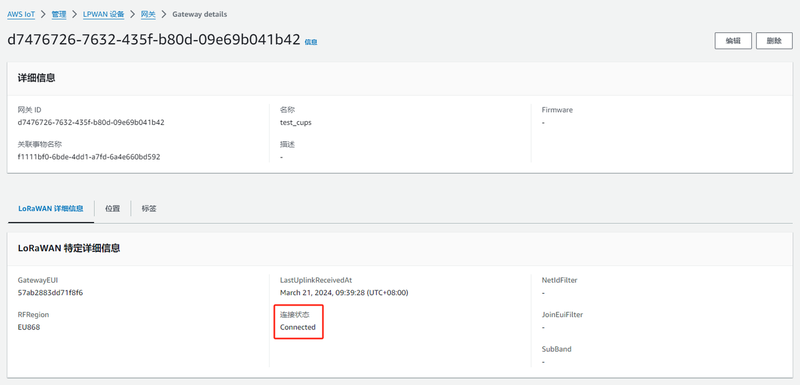
It can be seen that the connection to AWS has been successfully established.
Add Devices and View Device Information

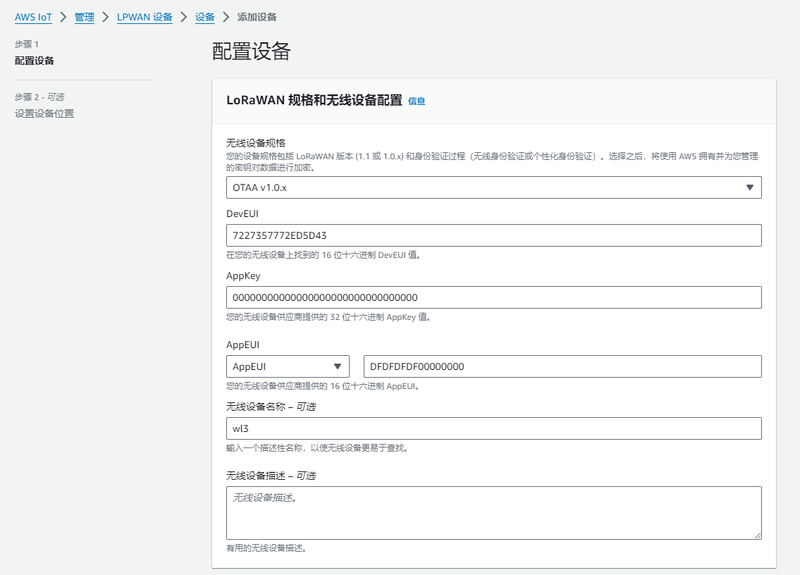
Enter the various types of information about the device
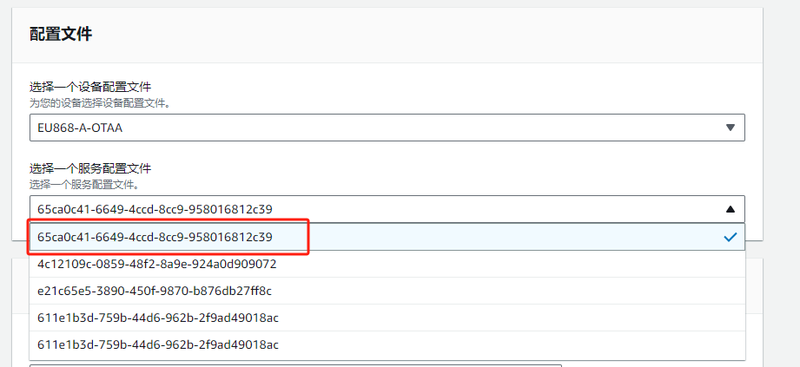
Select the default for the configuration file.
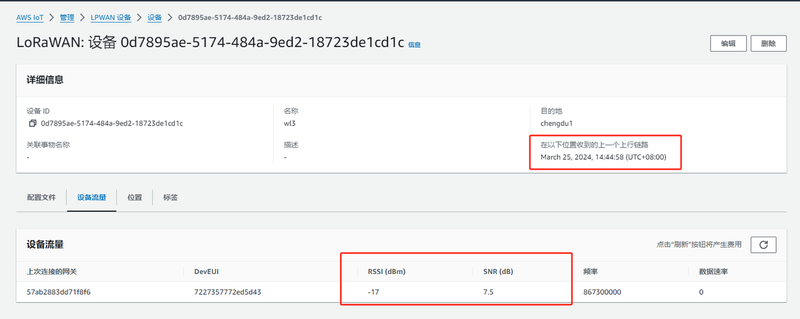
After creating the device, wait for 1 to 2 minutes, and you will be able to see the time of the device's data report and the signal strength.
Was this article helpful?