Node-RED Visual Programming
This article describes the methods for visual programming with Node-RED, including operations such as system login, demo import, and program deployment, facilitating the efficient management of IoT device lists.
- Access the gateway configuration system.
- From the navigation bar, go to Application Tools > Node-Red.

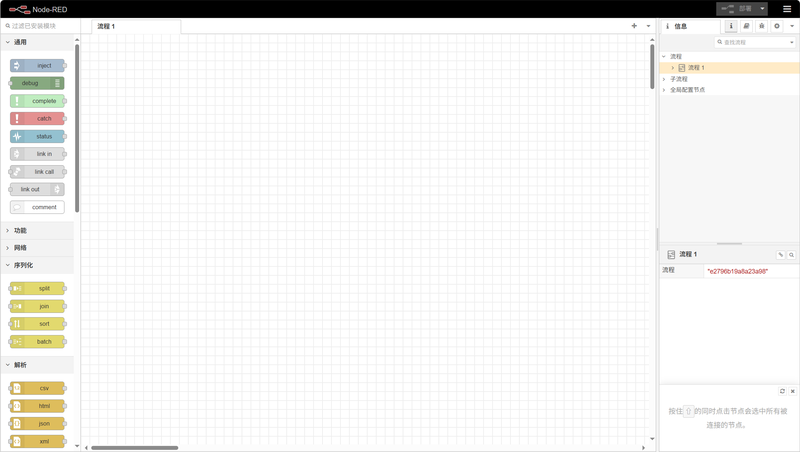
The main interface after accessing Node-Red:
Example: Obtain the Device List
In this example, the built-in demo will be called to obtain the list of devices of nodes in the current gateway. The method is as follows:
Click the menu icon in the upper right corner, and then click "Import" in the drop-down menu:

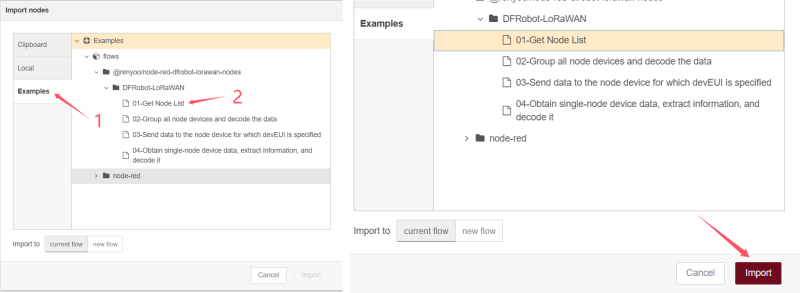
In the pop-up window, select "Examples". There are 4 built-in demos. Choose the demo named "01-get Node List", and finally click the "Import" button to import the program.
The imported program is as follows:

Click the debug icon in the upper right corner to open the debug window:

Click the red "Deploy" button to deploy the program:

Click the small square on the far left of the timestamp module to inject the timestamp. You can then view the current node device list and device information in the debug window on the right, as shown in the figure:

For more detailed instructions on using Node-RED, please refer to the official Node-RED documentation: https://nodered.org/docs/
Was this article helpful?