ATS2513 MP3 Playback and Recording Module V3.0
SKU: TOY0008
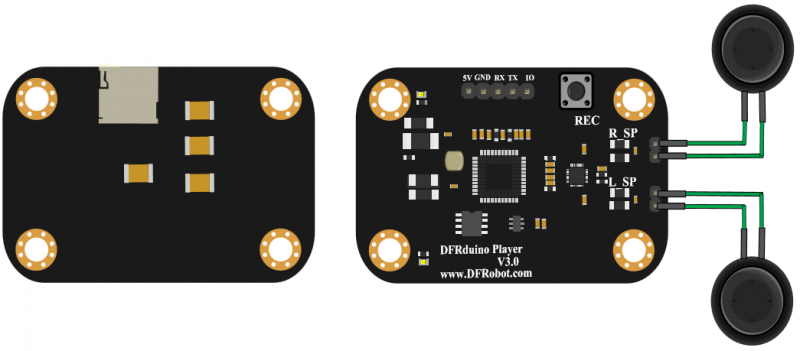
The DFRduino Player MP3 Module V3.0 (based on ATS2513) enables speech for projects. It supports recording, Chinese TTS, and up to 32GB TF cards. Features stereo audio, a 2-way amp (drives 3W speakers), and MP3 decoding without Arduino resources. Requires a TF card and speaker; the "OUT" port sends a high pulse post-song.