Devastator Tank Mobile Robot Platform (Metal DC Gear Motor)
SKU: ROB0128
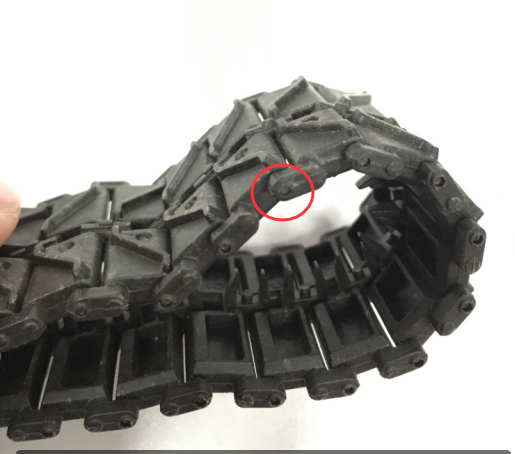
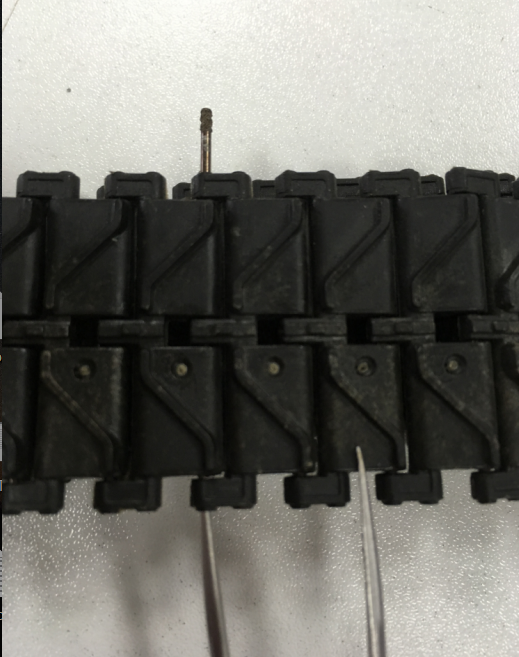
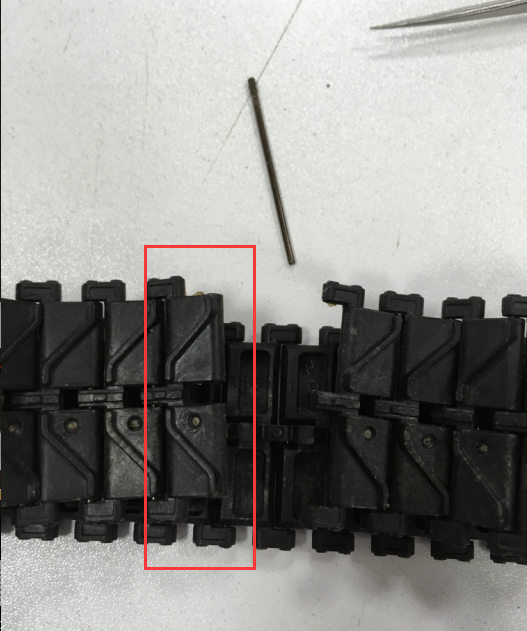
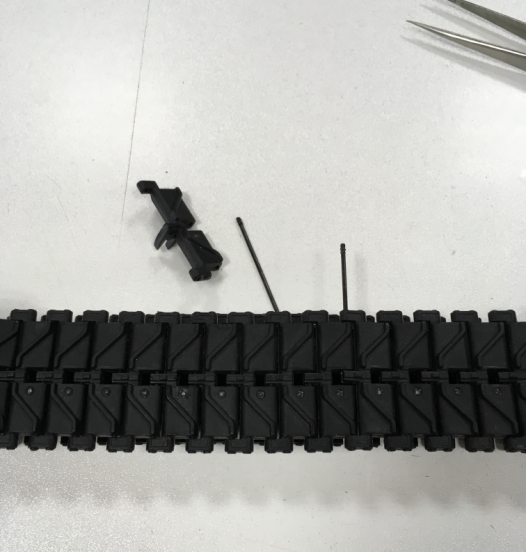
The Tank Mobile Robot Kit offers a durable and programmable robotic platform with powerful motors and a suspension system, ideal for navigating complex terrains and suitable for expansion.