Gravity: Digital Shake Sensor
SKU: SEN0289
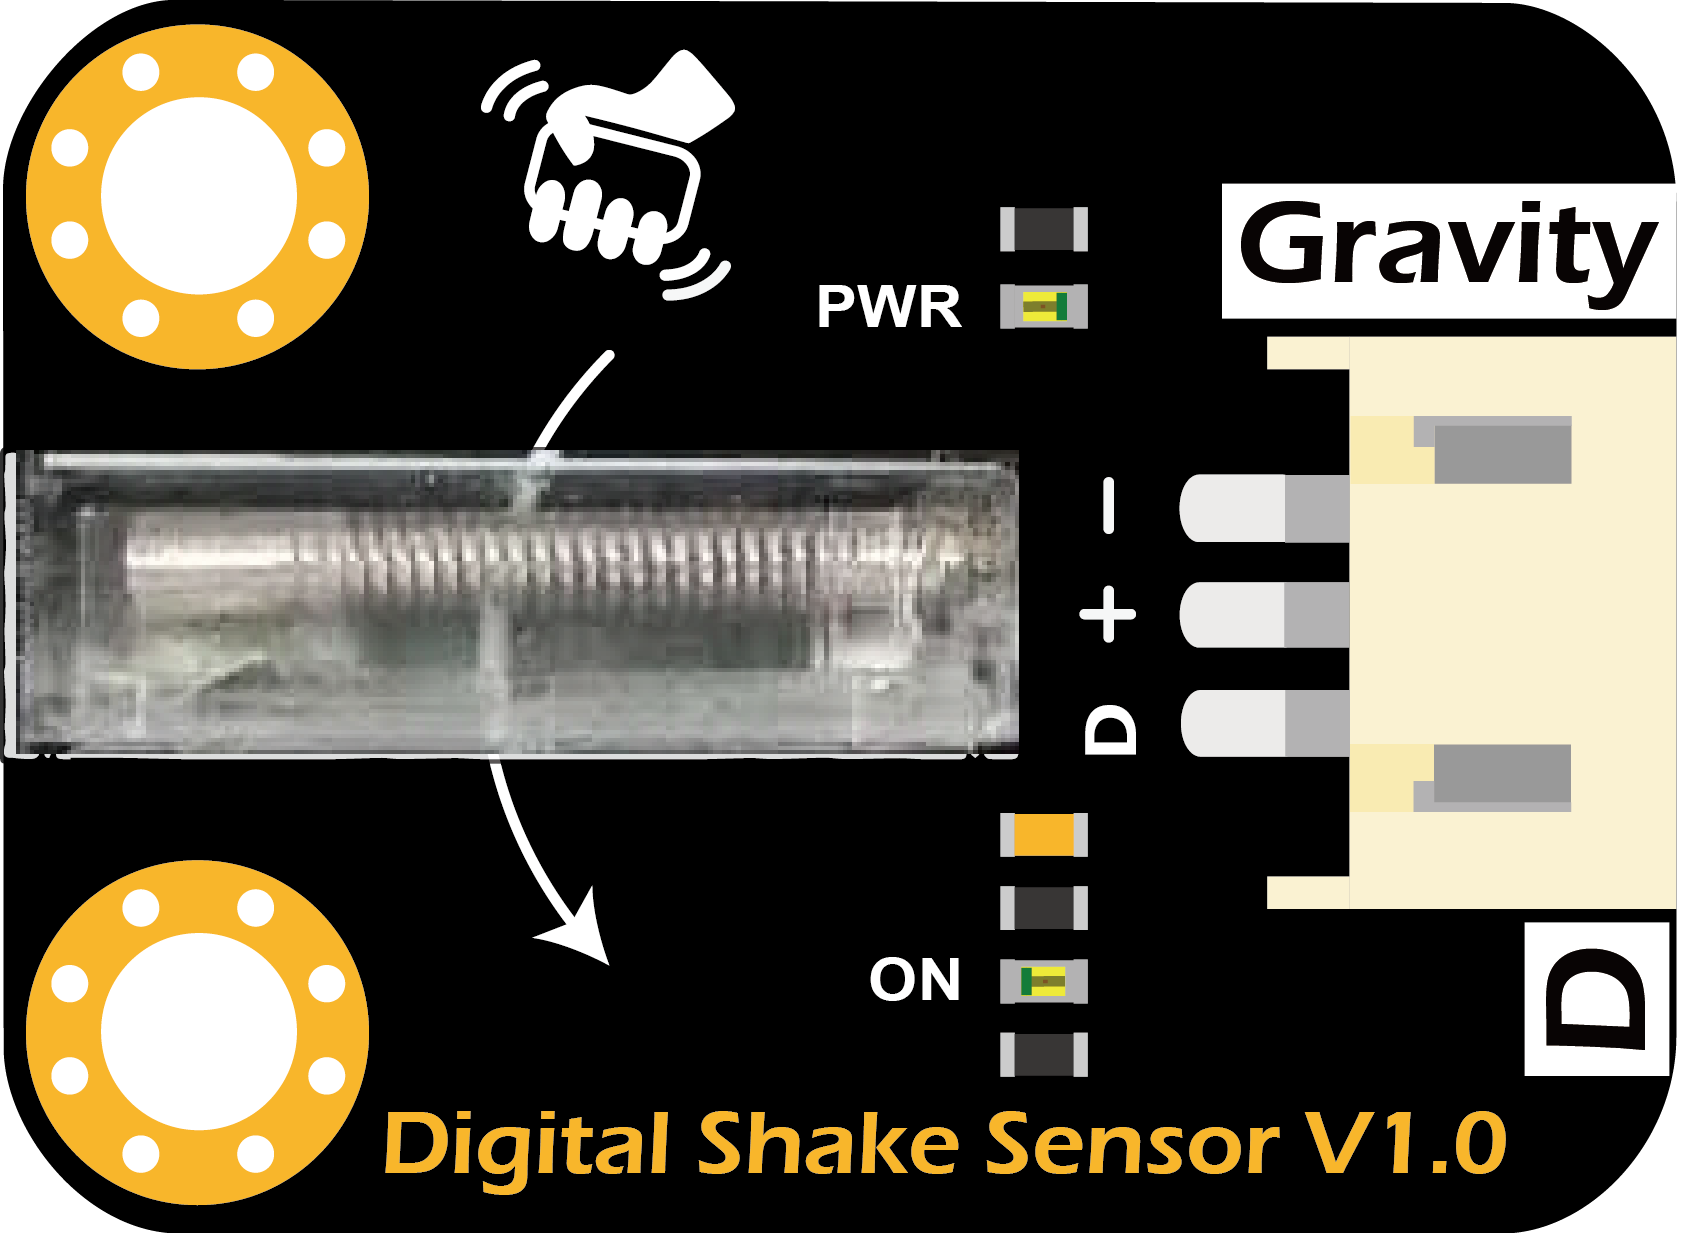
Want to switch lights by shaking your hand without a complicated, costly triple-axis accelerometer? This digital shake sensor detects unidirectional hand shaking. Its spring-type switch outputs a low-level pulse (on-board indicator flashes) when shaken in the specified direction. With unidirectional sensitivity and a filter circuit, it resists shock interference to avoid false triggering. Simple—control with one shake.