Fermion: IN100 BLE Sensor Beacon
SKU: TEL0168
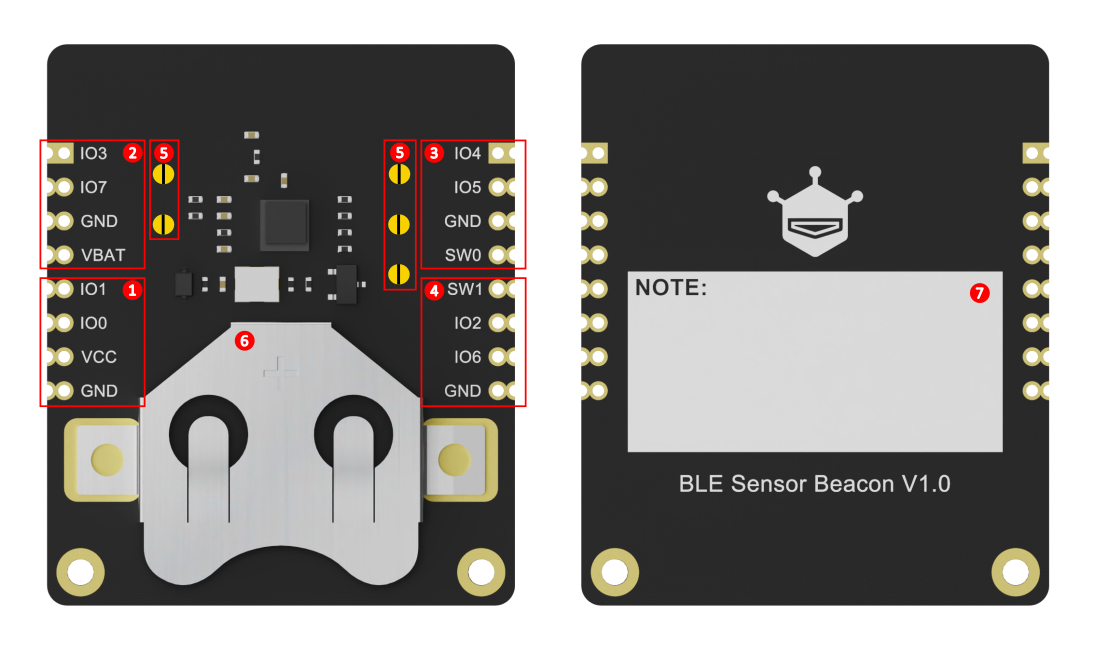
Fermion: BLE Sensor Beacon is a wireless beacon broadcasting sensor data via Bluetooth. It has built-in 11-bit ADC acquisition and I2C functions, supporting digital, analog, or I2C sensors. BLE-enabled devices (mobile phones, ESP32, etc.) can access data within range. Integrating low-power Bluetooth 5.3, it allows configurable data formats (iBeacon, Eddystone, user-defined) via a no-code graphical interface. After setup, it auto-collects and broadcasts sensor data as set.