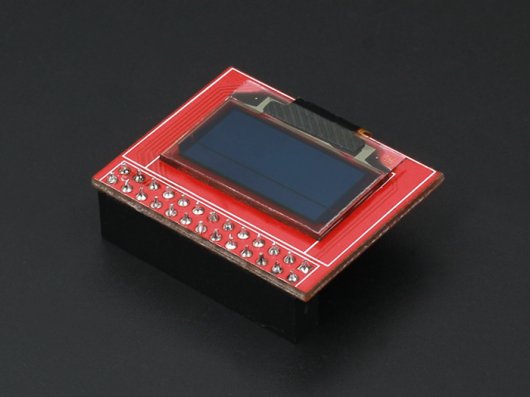
Introduction
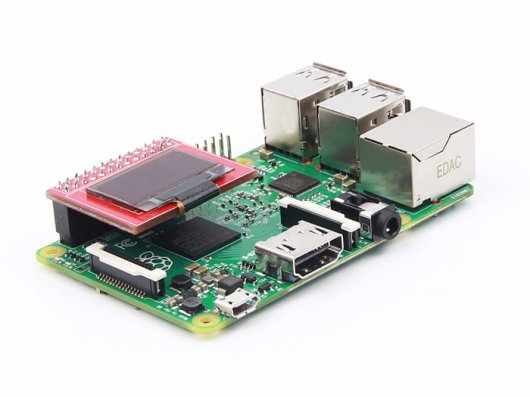
Sometimes your Pi projects require a display to output system information, e.g. system status, temperature, IP address, etc. Having a full sized display attached is inconvenient if you want your project to be portable. Use this small OLED to output your required information and keep your product in a nice portable configuration. The display is a 0.96" 128 x 64 px OLED. The controller is a SSD1306 and communicates via 4-wire SPI. The display also includes a built in backlight and is high contrast with an extremely wide viewing angle.
Specification
- Operating Voltage: 3.3V (1.6~3.6V)
- Continuous Current: 12.25uA
- Maximum Current: 100uA
- Ultra low power supply
- Internal DC/DC voltage converter
- SPI driver support, at 64MHz~125MHZ
- FP frequency: 64fps~368fps
Tutorial
Requirements:
- Hardware
- Raspberry Pi 3 Model B x 1
- 0.96 Inch OLED x 1
- HDMI cable x 1
- USB Keyboard and Mouse x 1
- Display with HDMI port x 1
- 8G SD card x 1
- Software
- Raspian System Image (or similar) click to download
- Win32diskimager click to download
Install OS to SD Card
1. Use an 8GB SD card at least, preferably class 4 or greater. Using a low speed card has a direct impact on the speed of the operating system.
2. Download Raspian system image file at the following address:
http://www.raspberrypi.org/downloads
3. Install Win32diskimager
Download: http://www.onlinedown.net/soft/110173.htm
Installation
1. Unzip the downloaded system from the archive. Change the extension to .img, e.g. "raspian.img"

3. Extract and run Win32diskimager
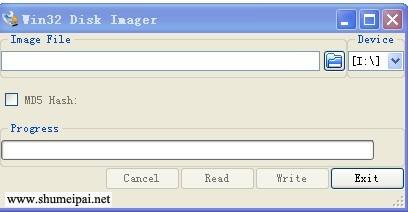
4. Select the .img file, and select your SD card under "Device", and then select "Write", if the next dialog box appears, select "Yes".

The card will then be written to. The speed will depend on the speed of your SD.
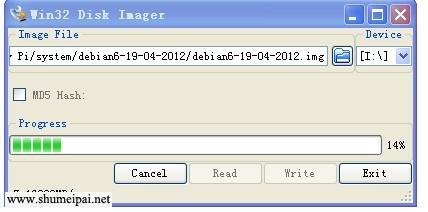
5. When complete a dialog box will pop up. If the installation was unsuccessful, please try turning off your firewall and re-inserting the SD card.

6. Insert the system SD card into the Raspberry Pi.
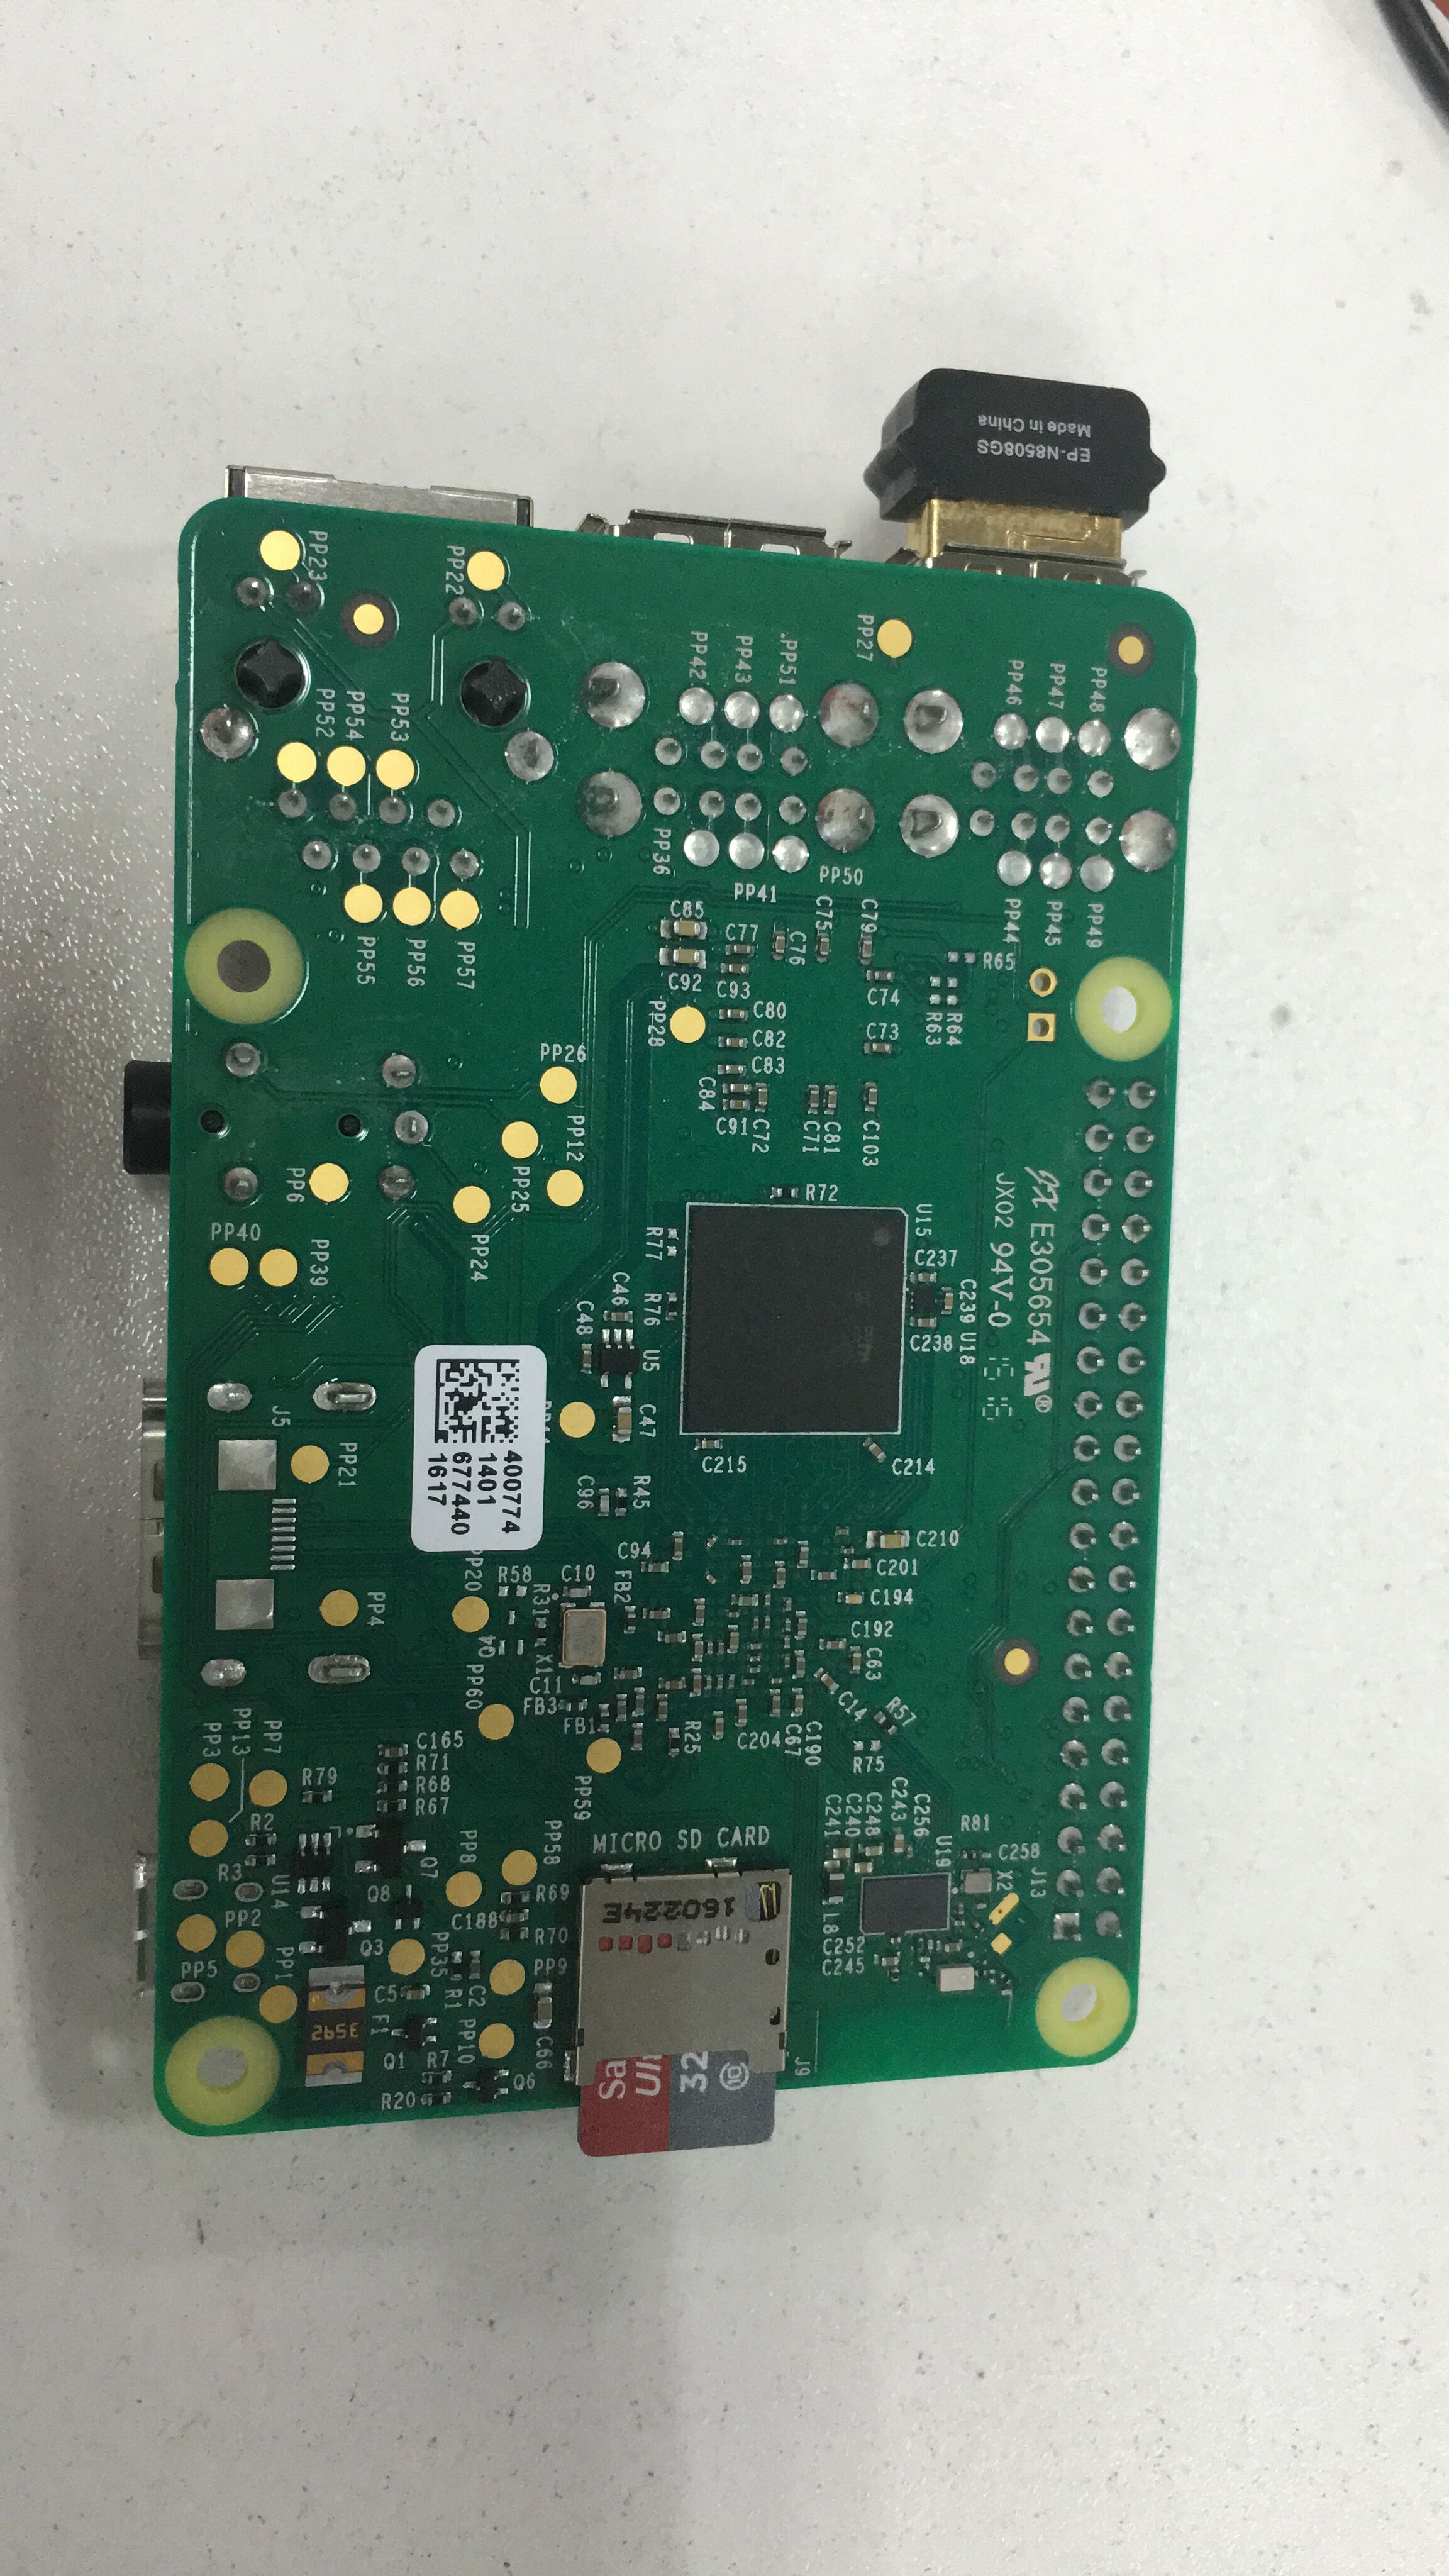
7. Connect the USB keyboard and mouse.
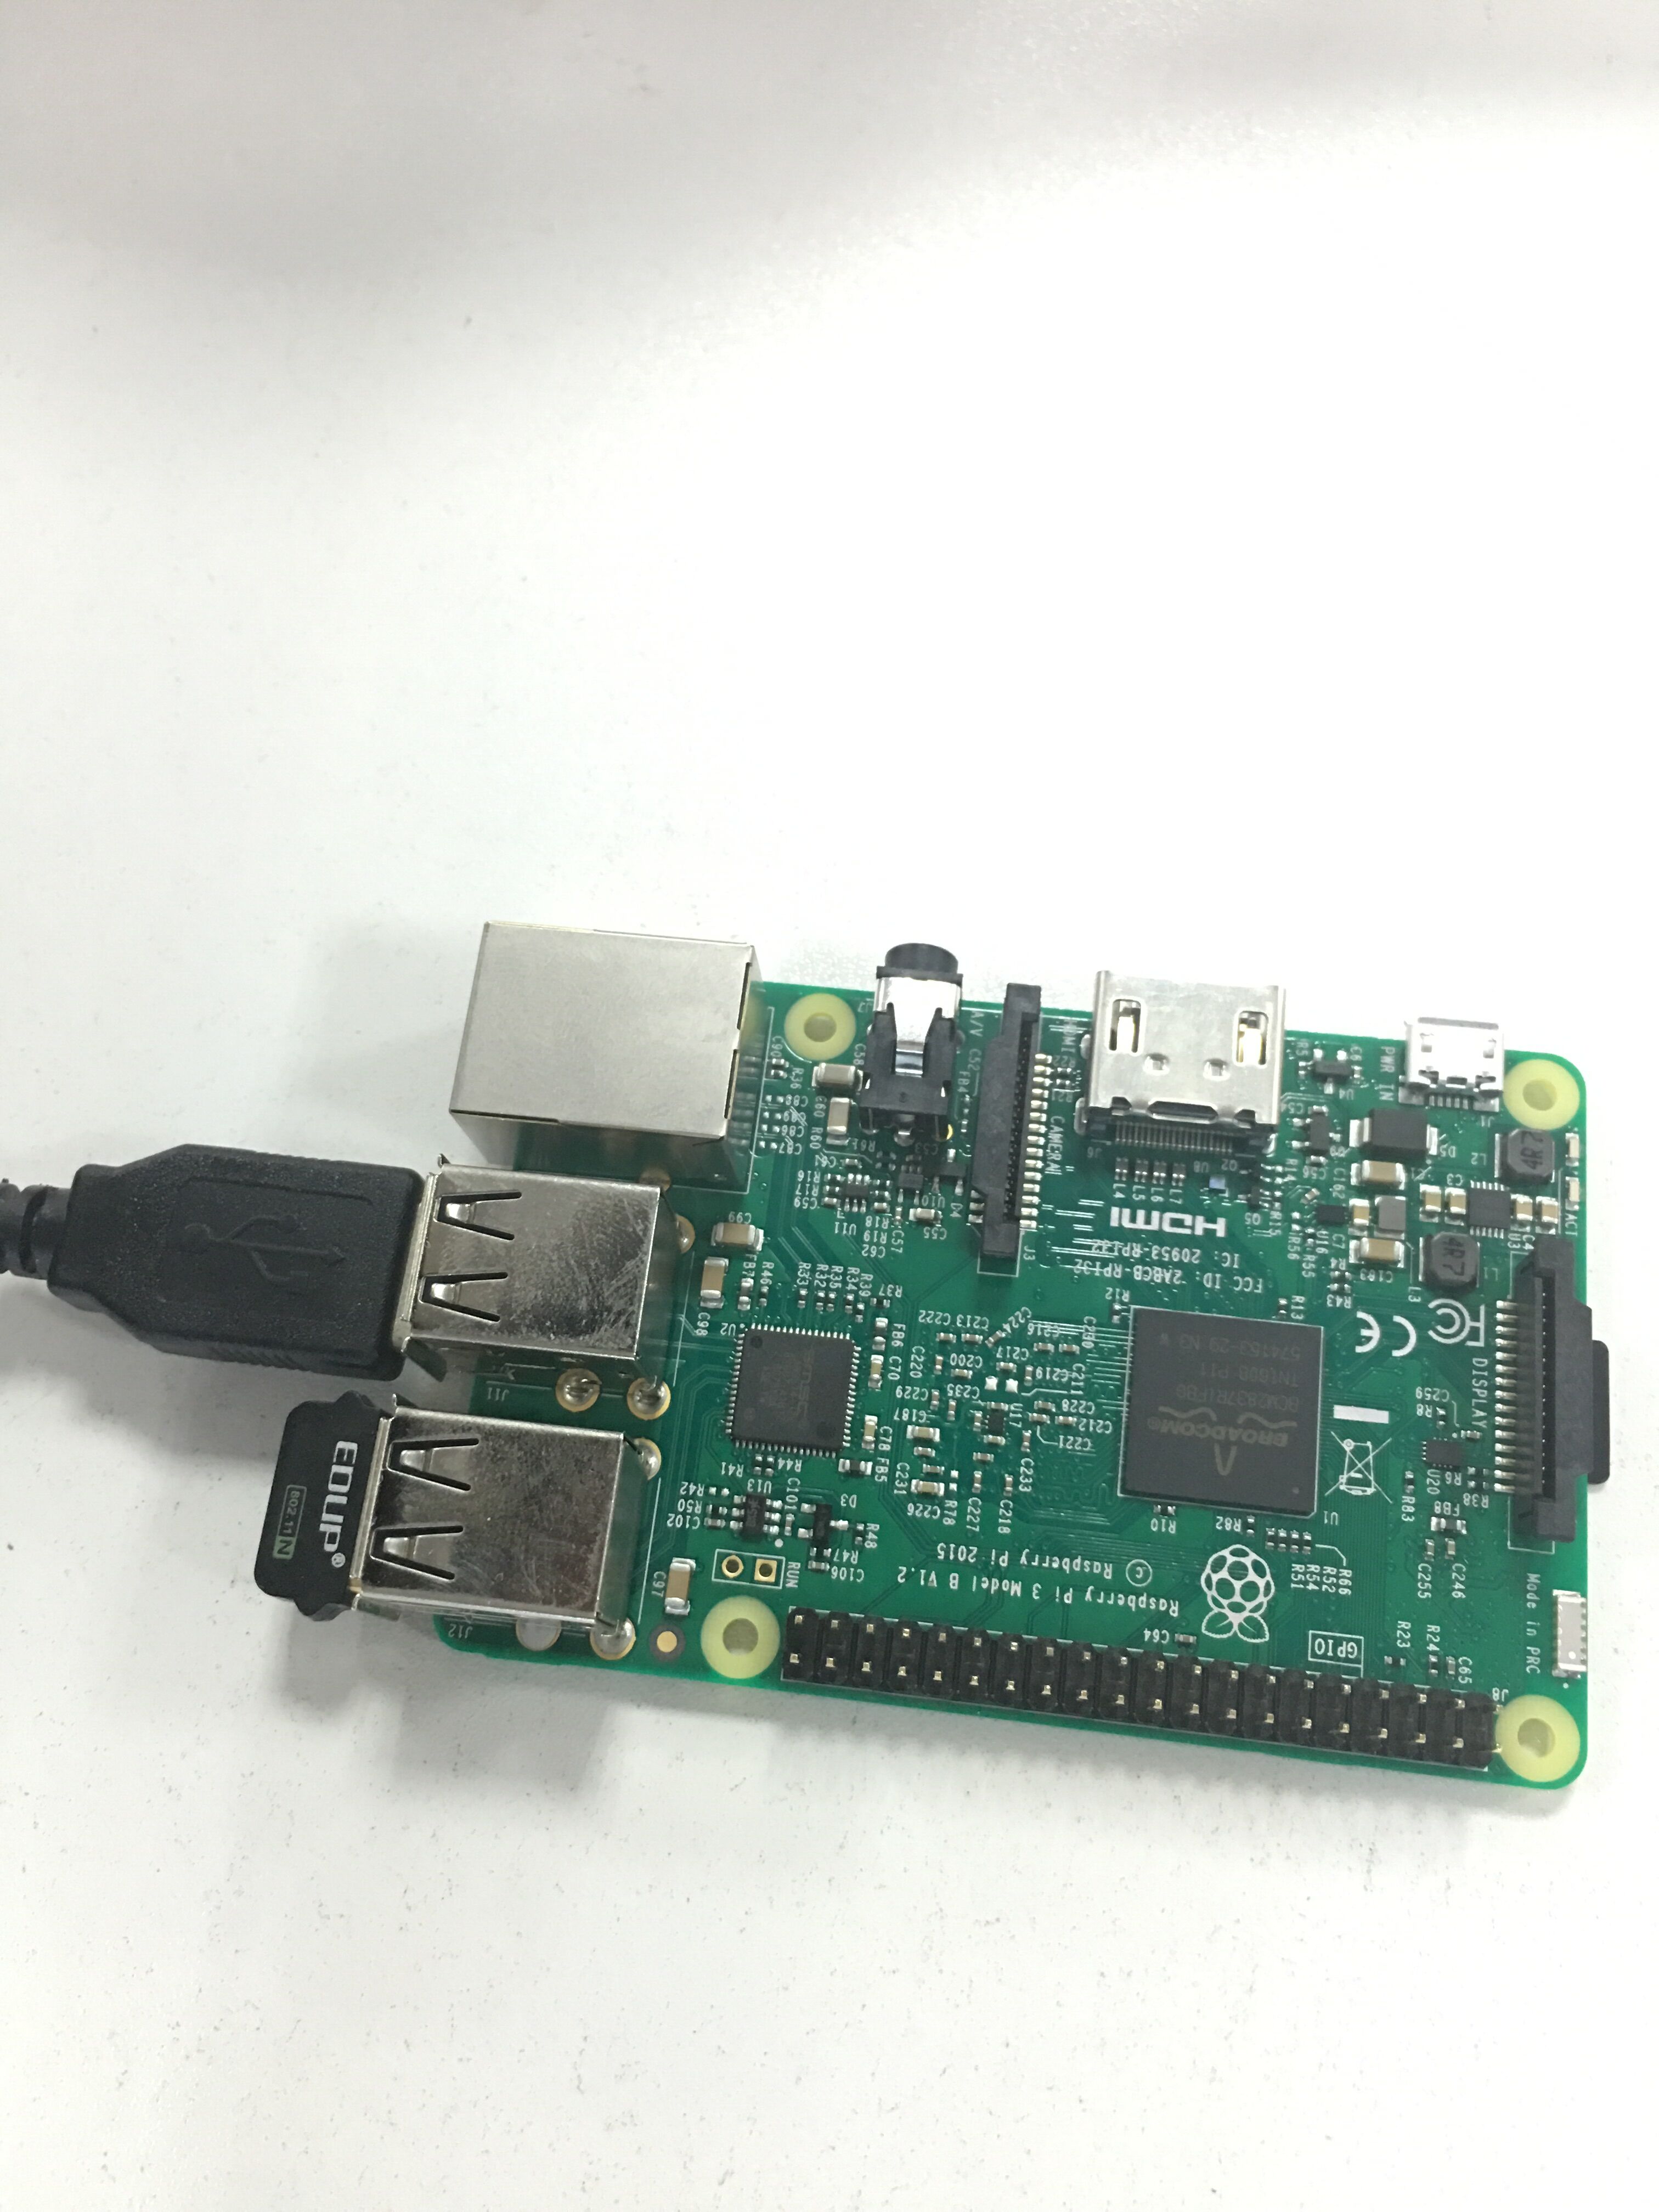
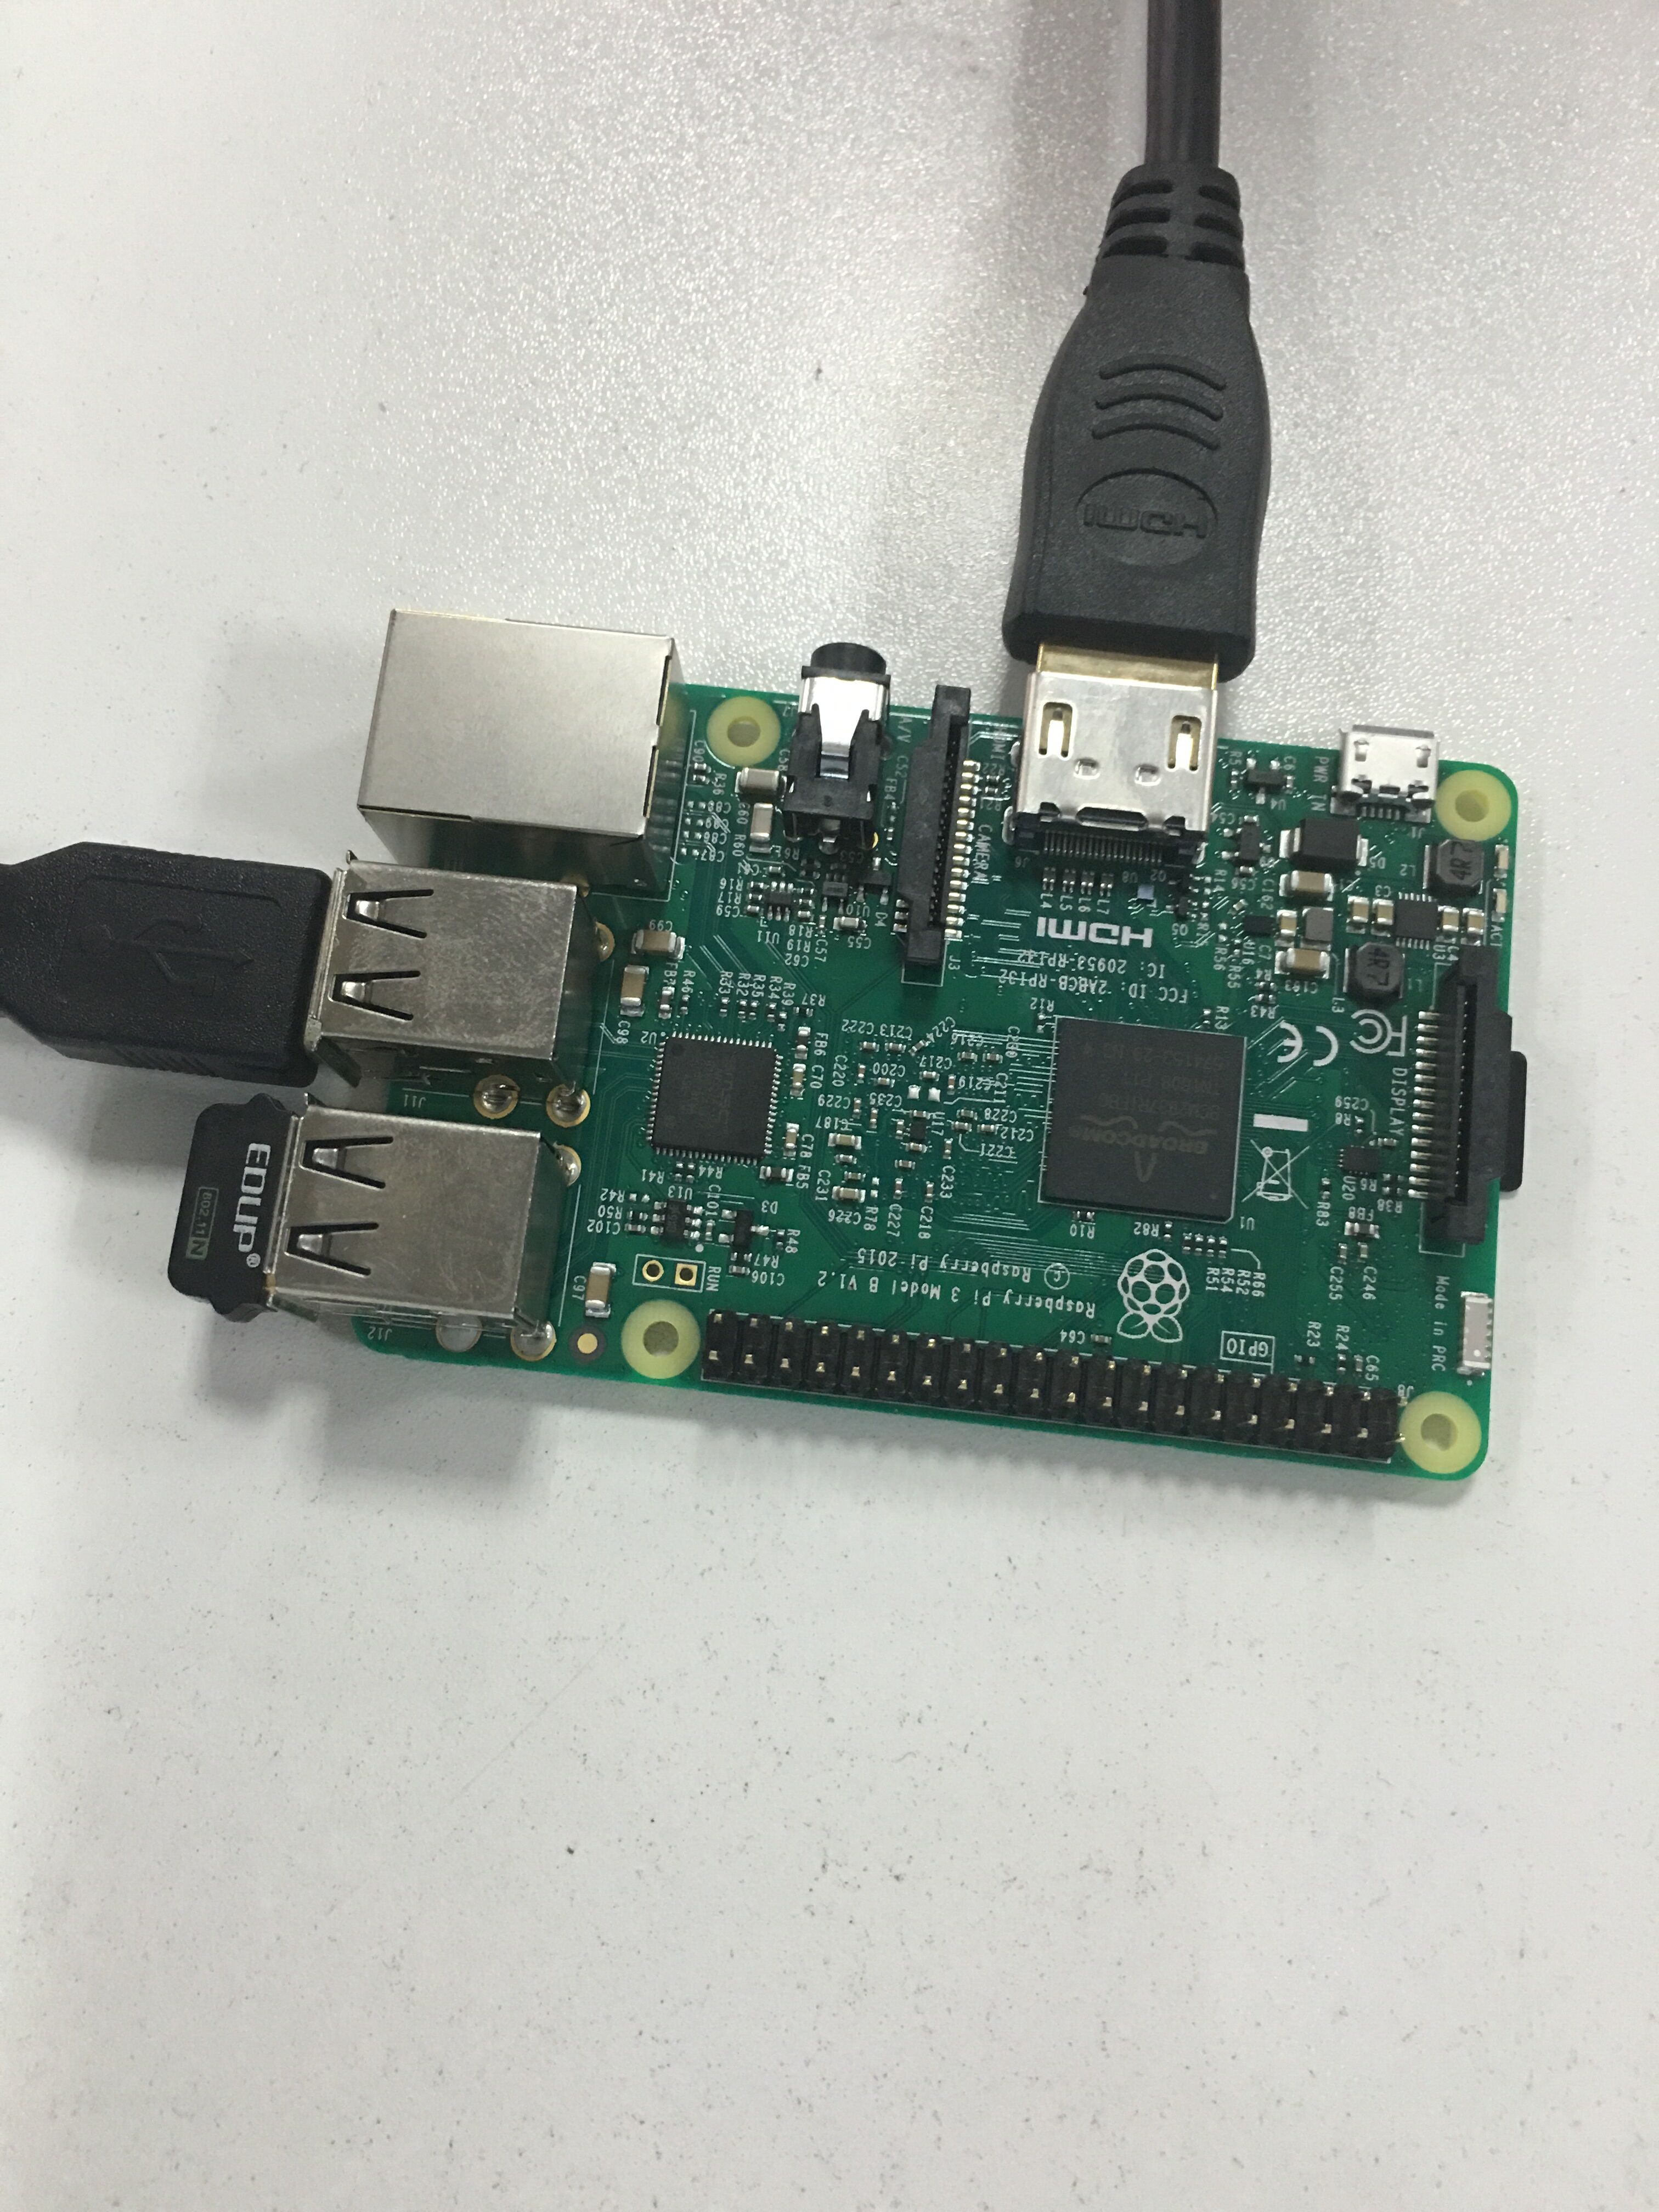
8. Connect the HDMI cable.
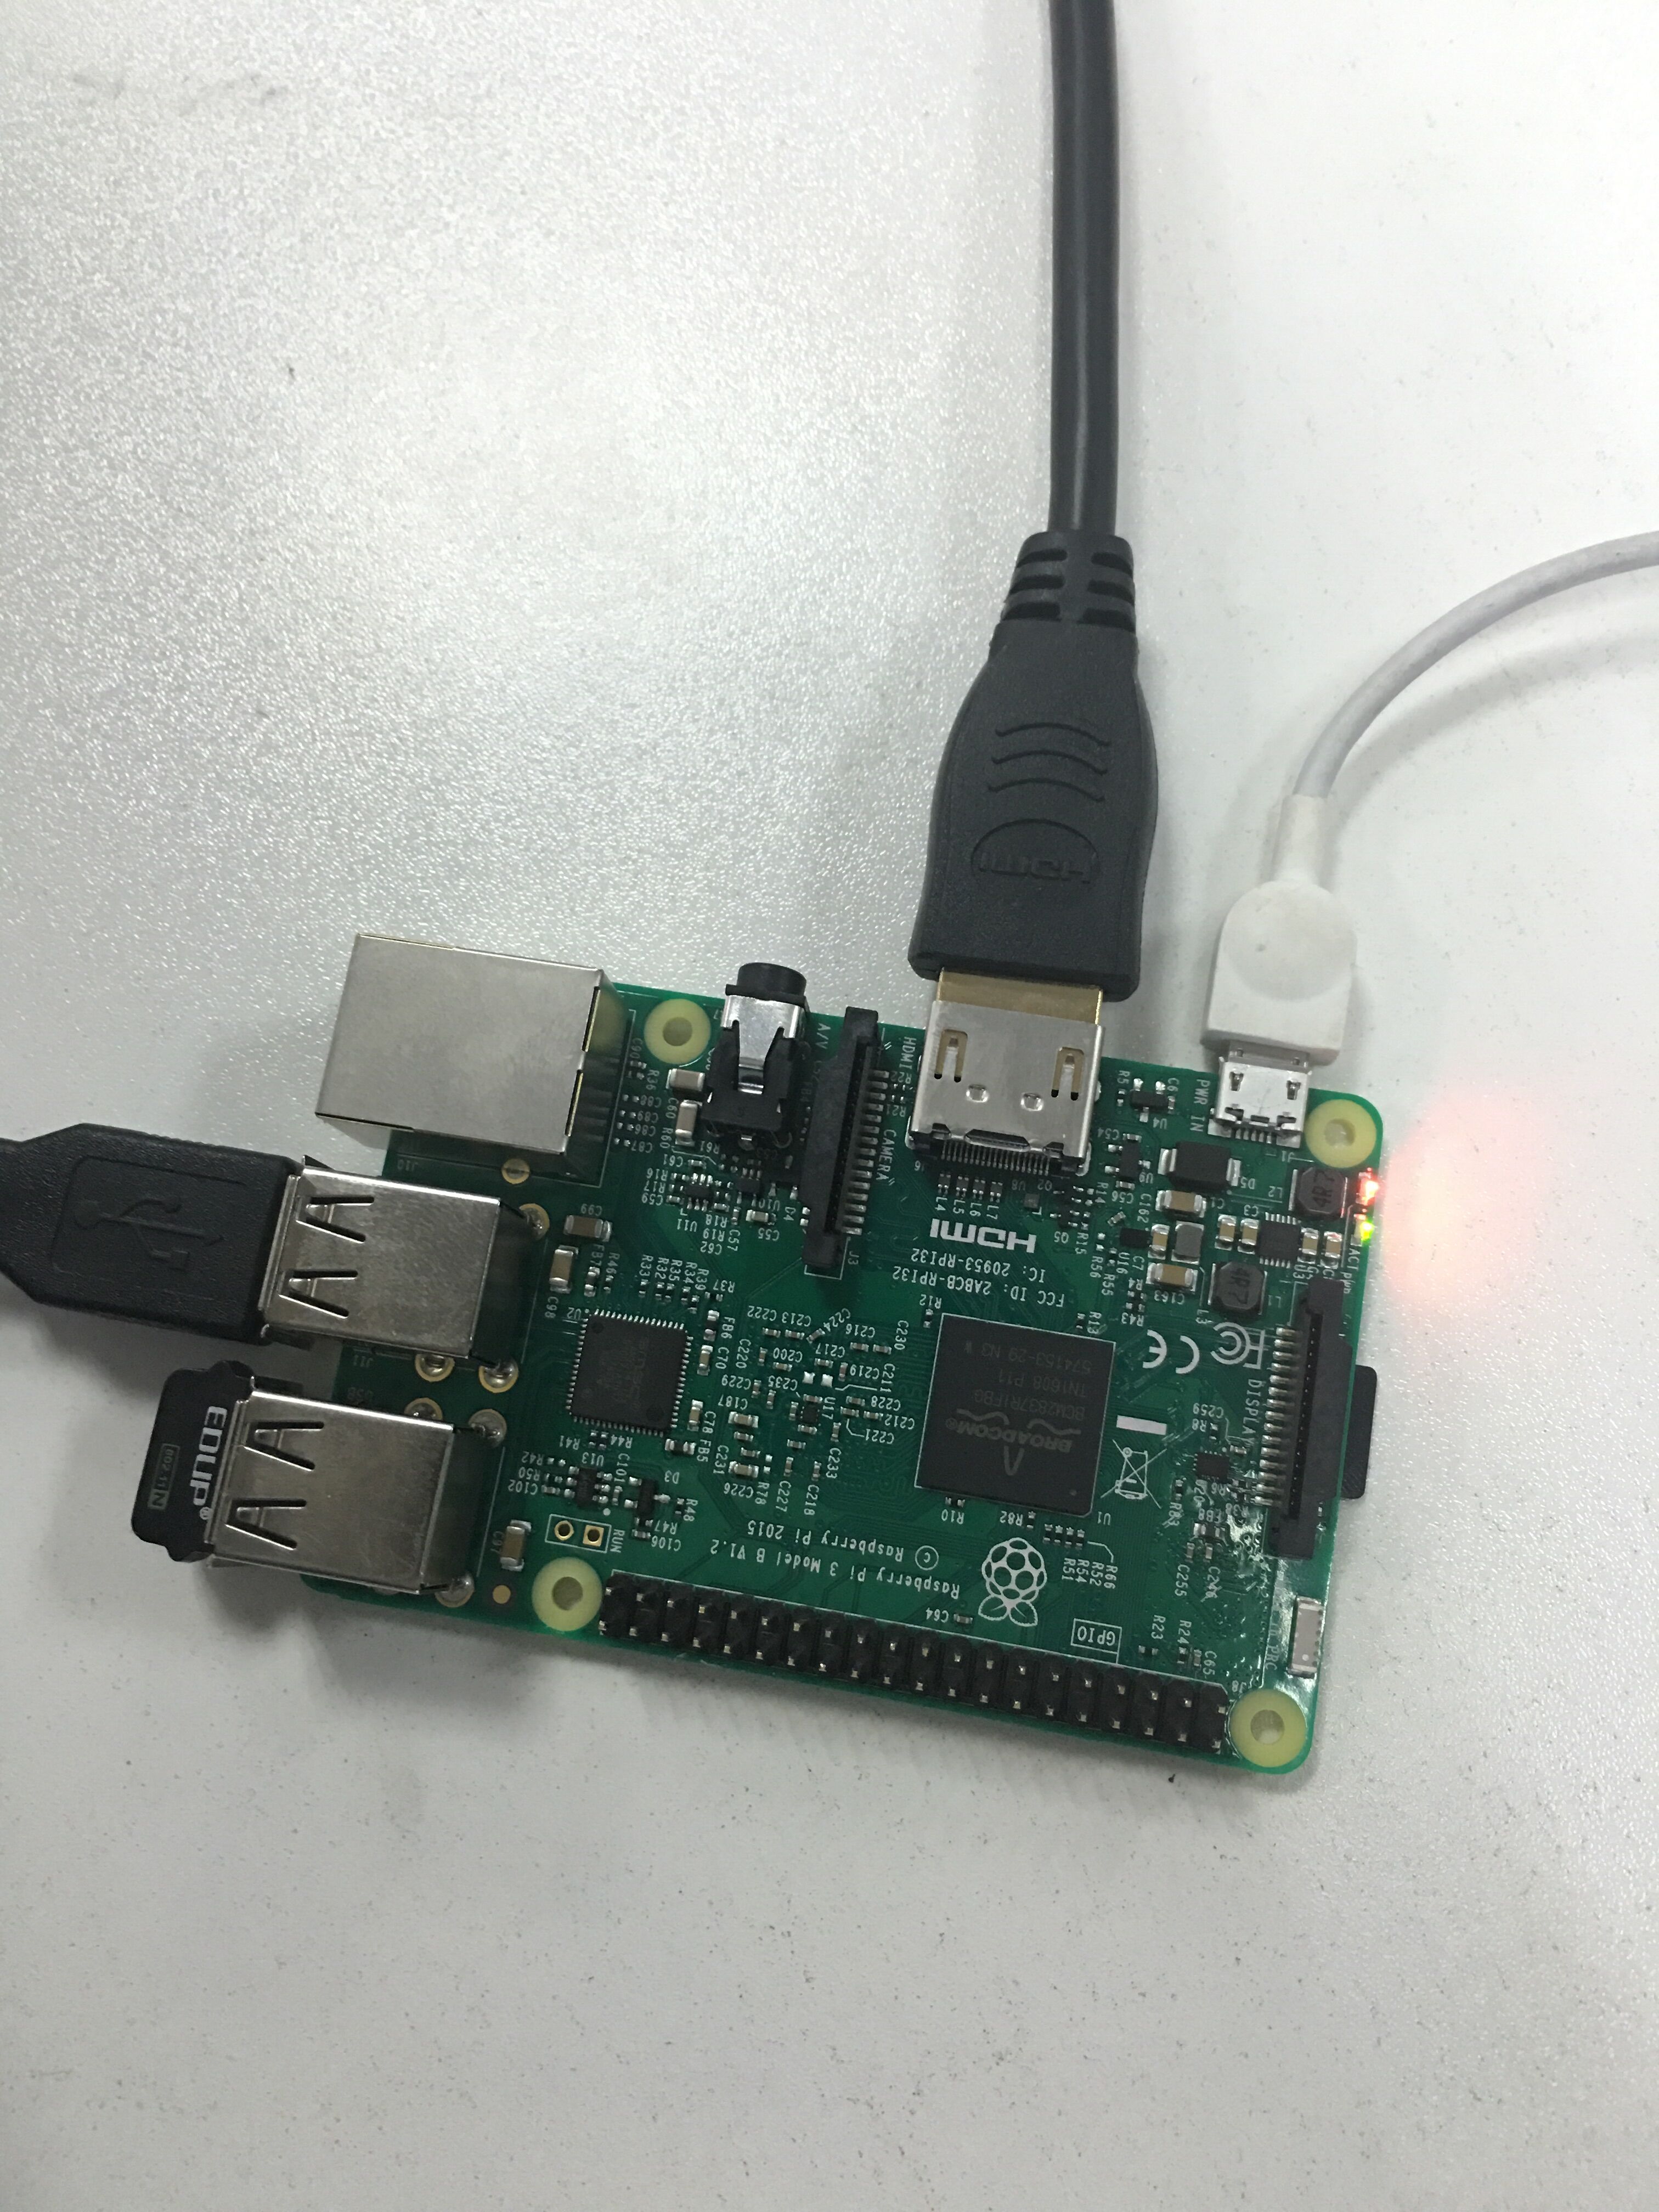
9. Connect the USB power cord and turn on the power.
Booting the Pi
1. The power monitor will display the startup process as shown. If no display appears, check the SD card is properly inserted and the HDMI cable is connected properly.
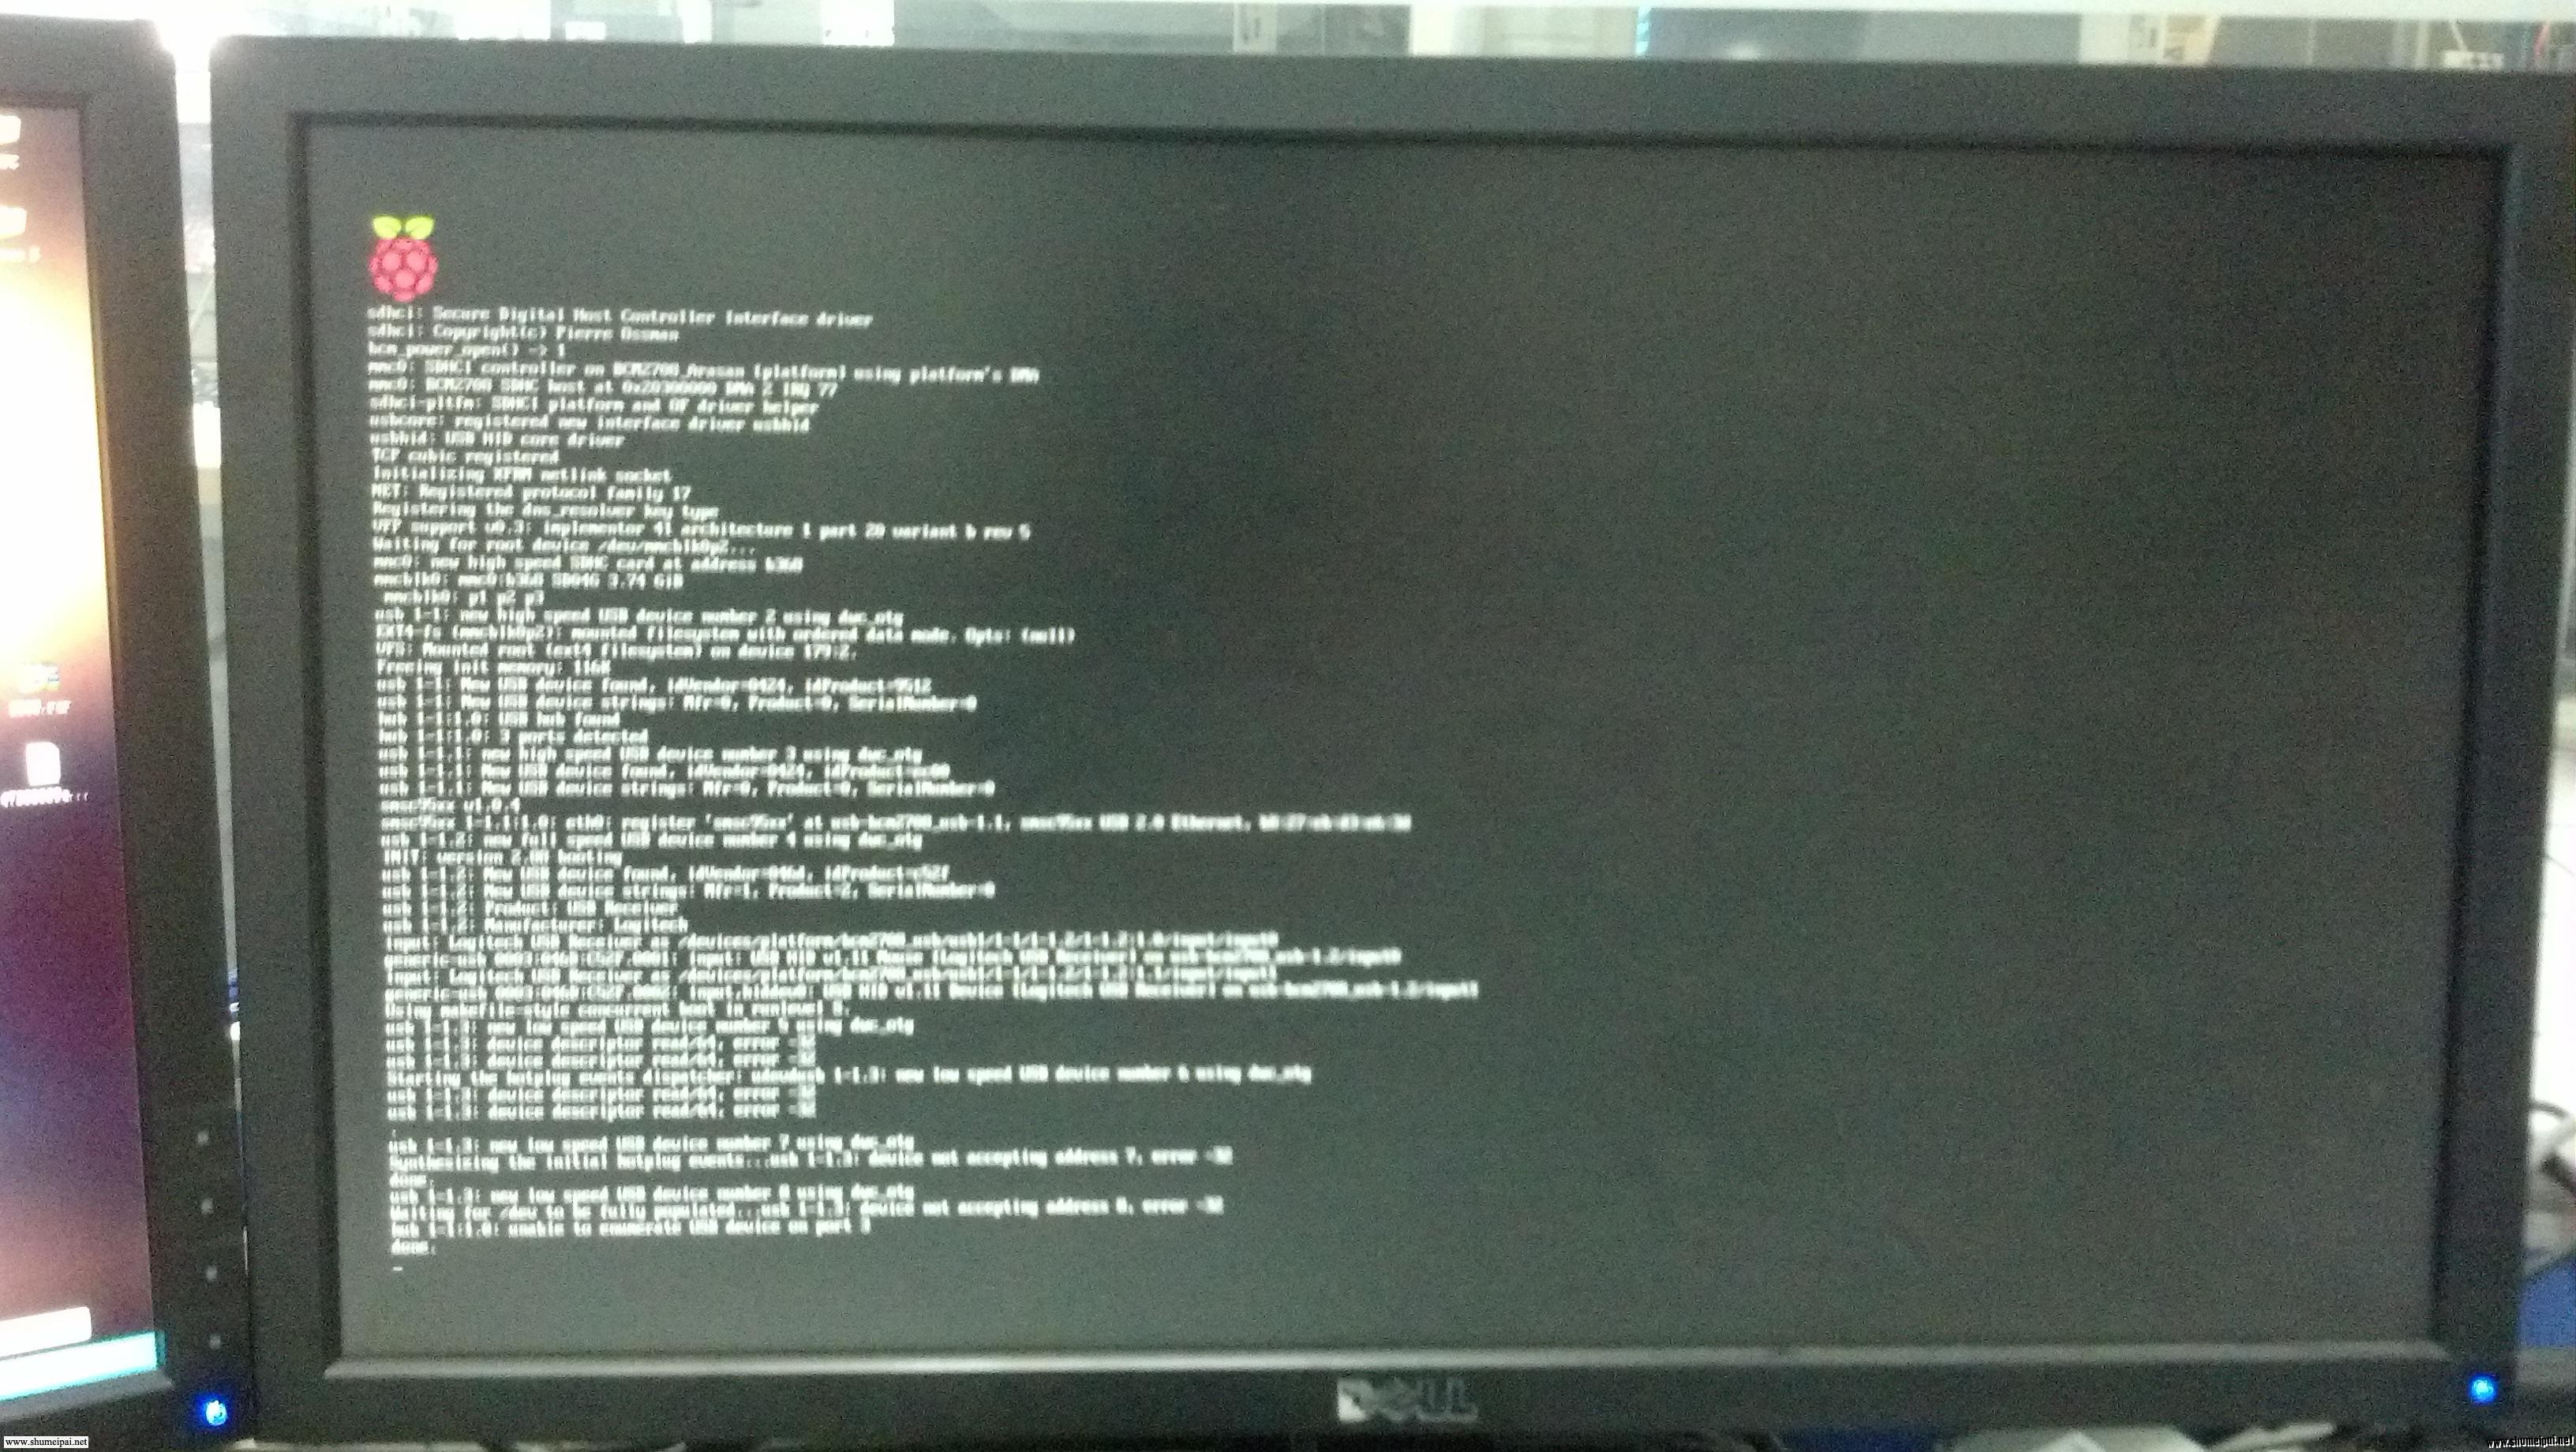
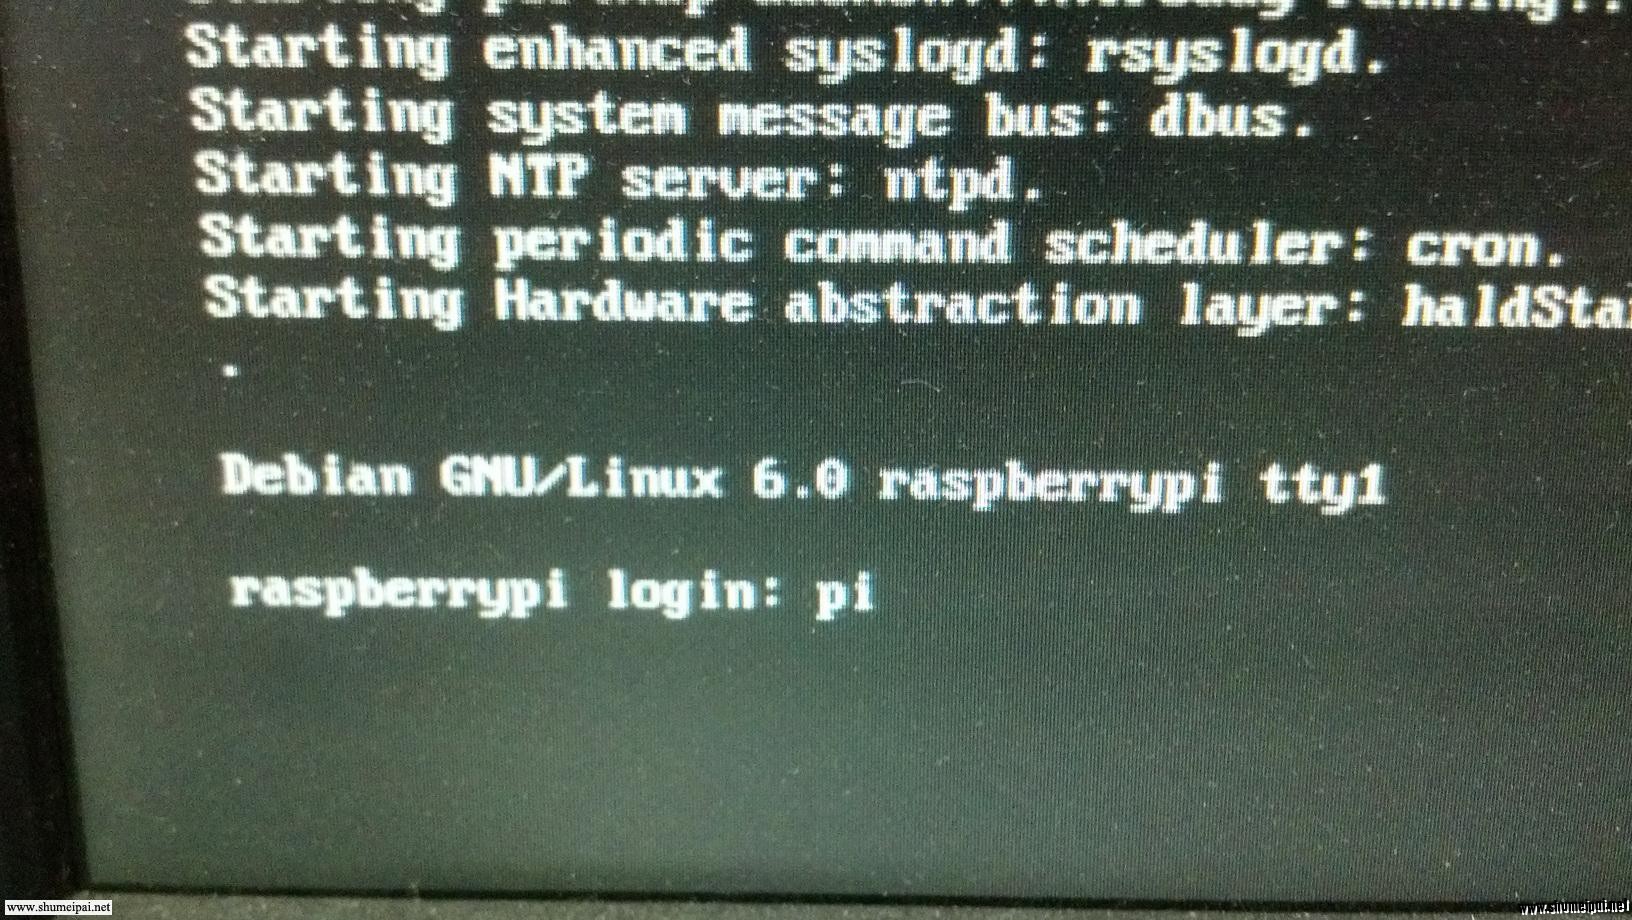
2. The flow of text will stop at the user login screen. Enter user name: "pi", password: "raspberry".
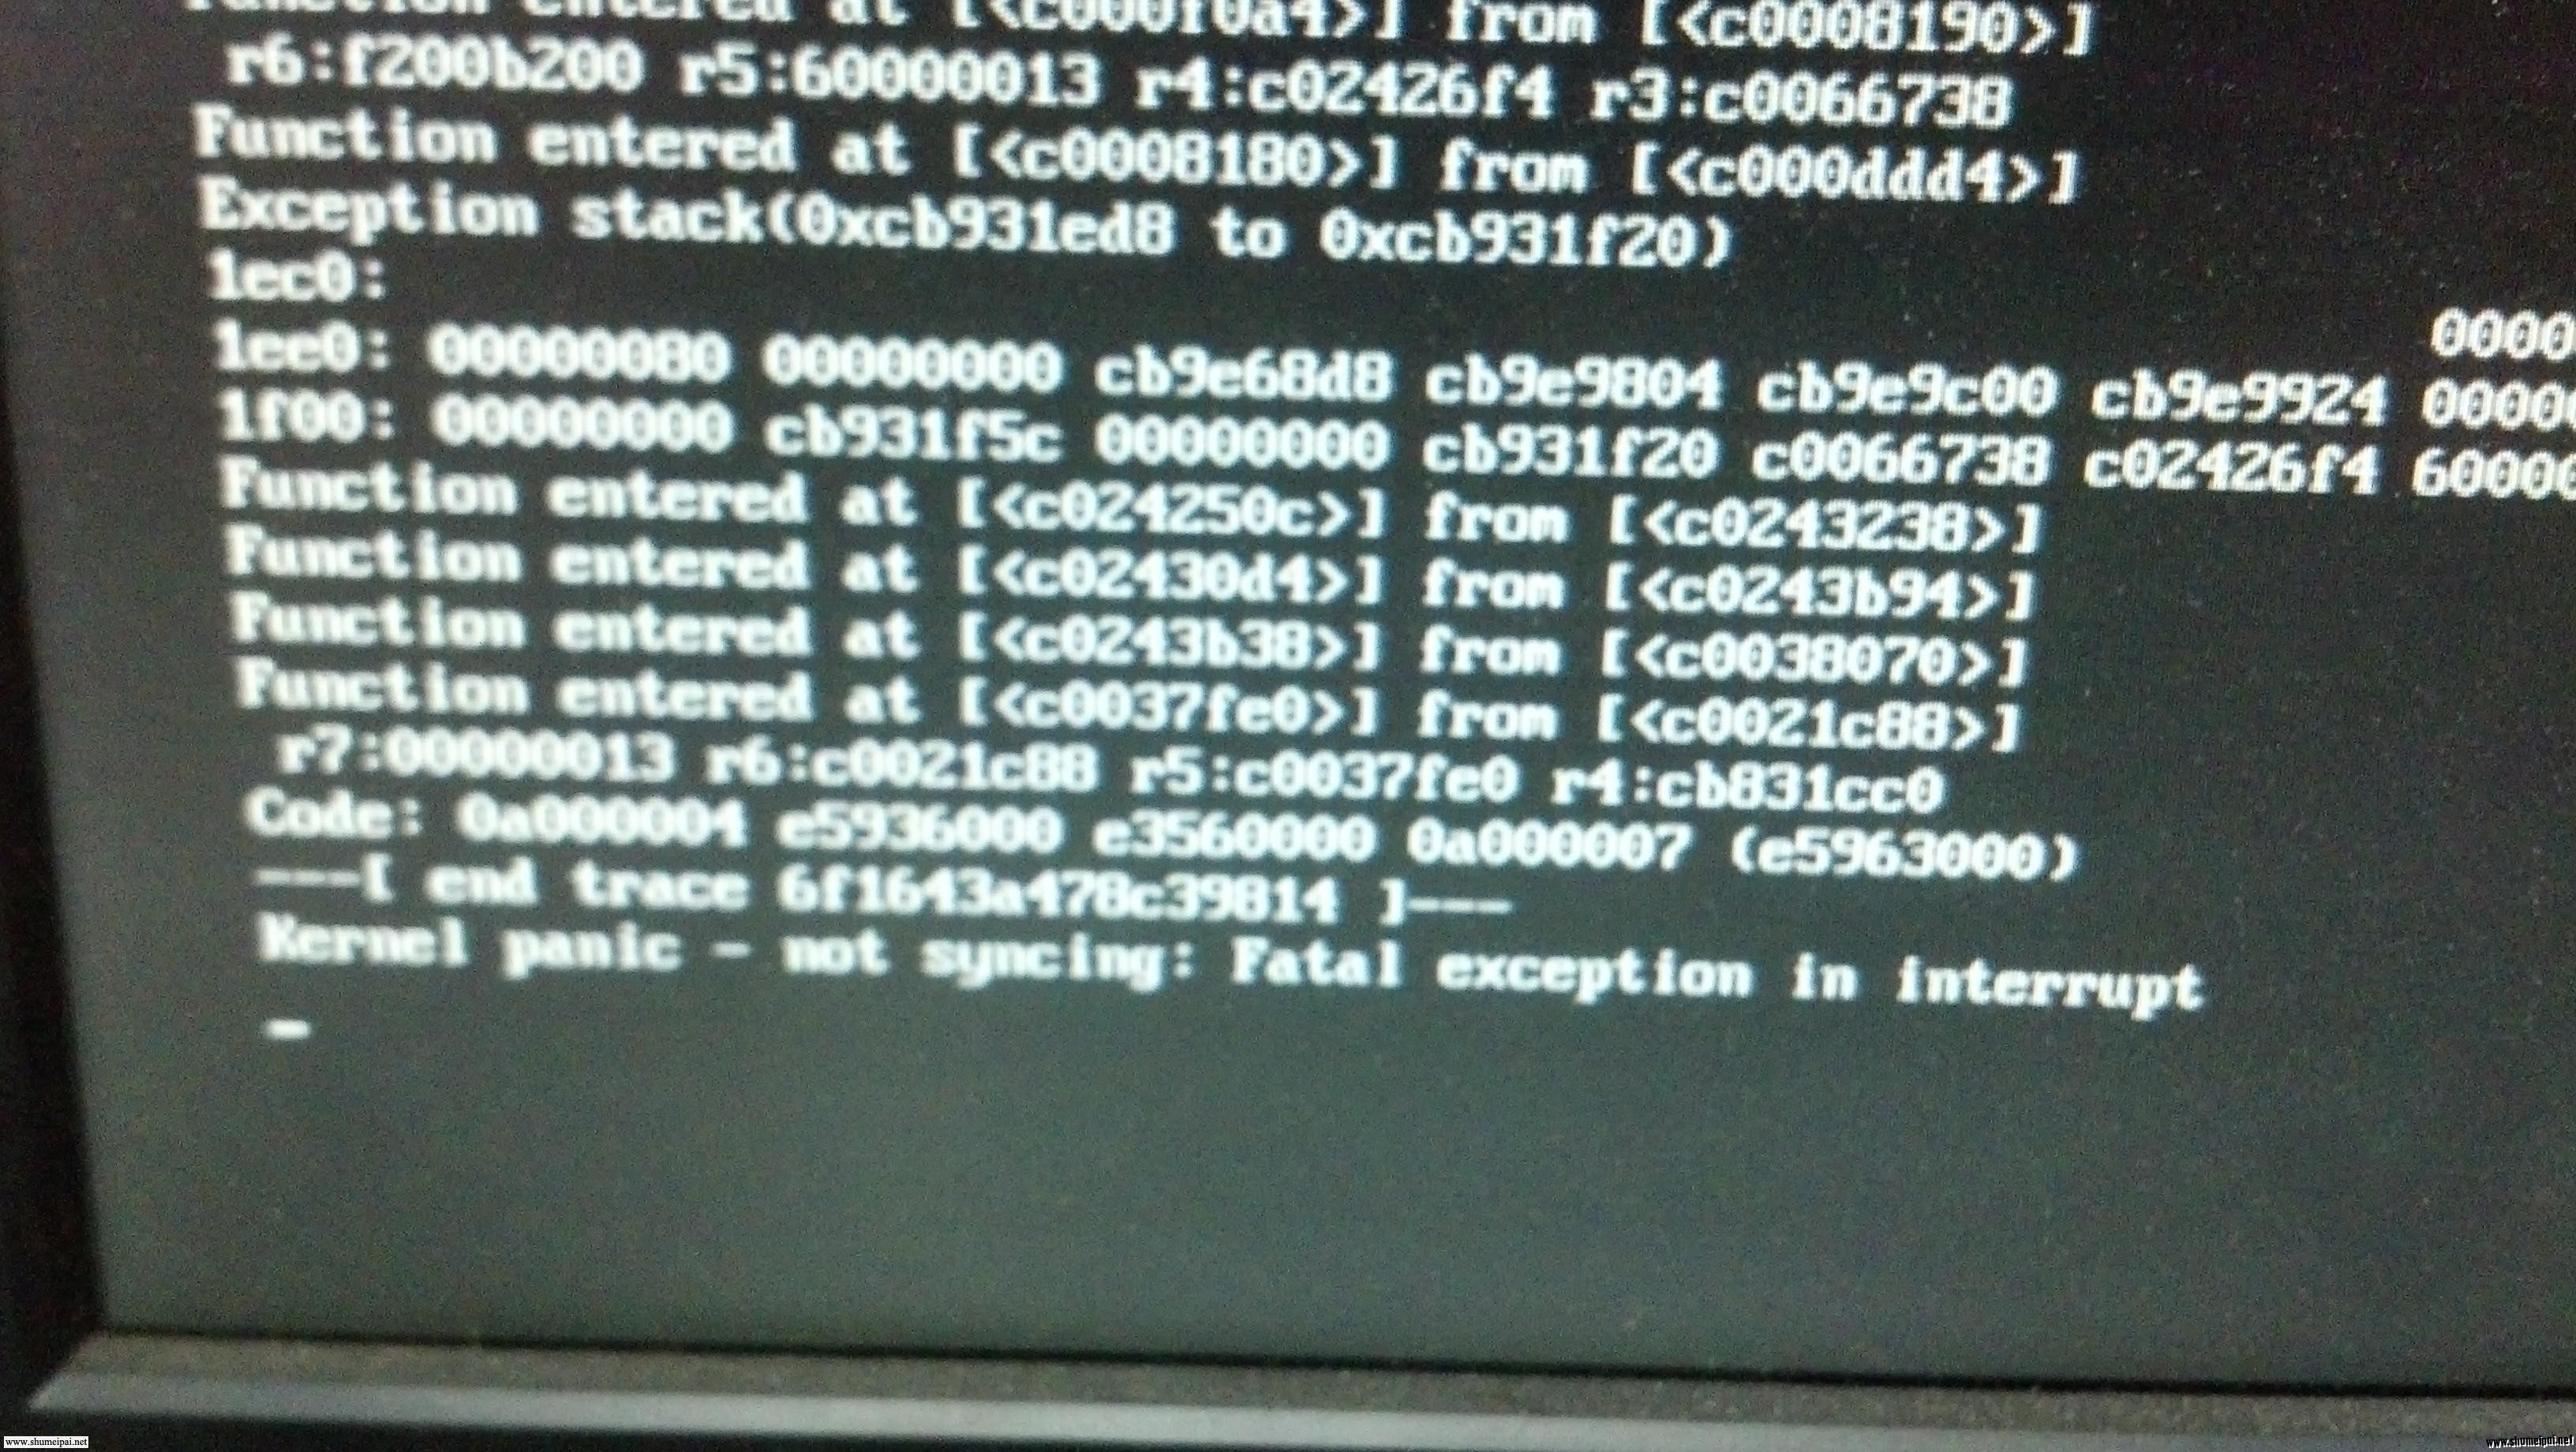
3. If you see this text displayed your Pi may be under powered. Check your peripherals. Consider using a powered USB hub to power peripherals if your Pi is under powered.
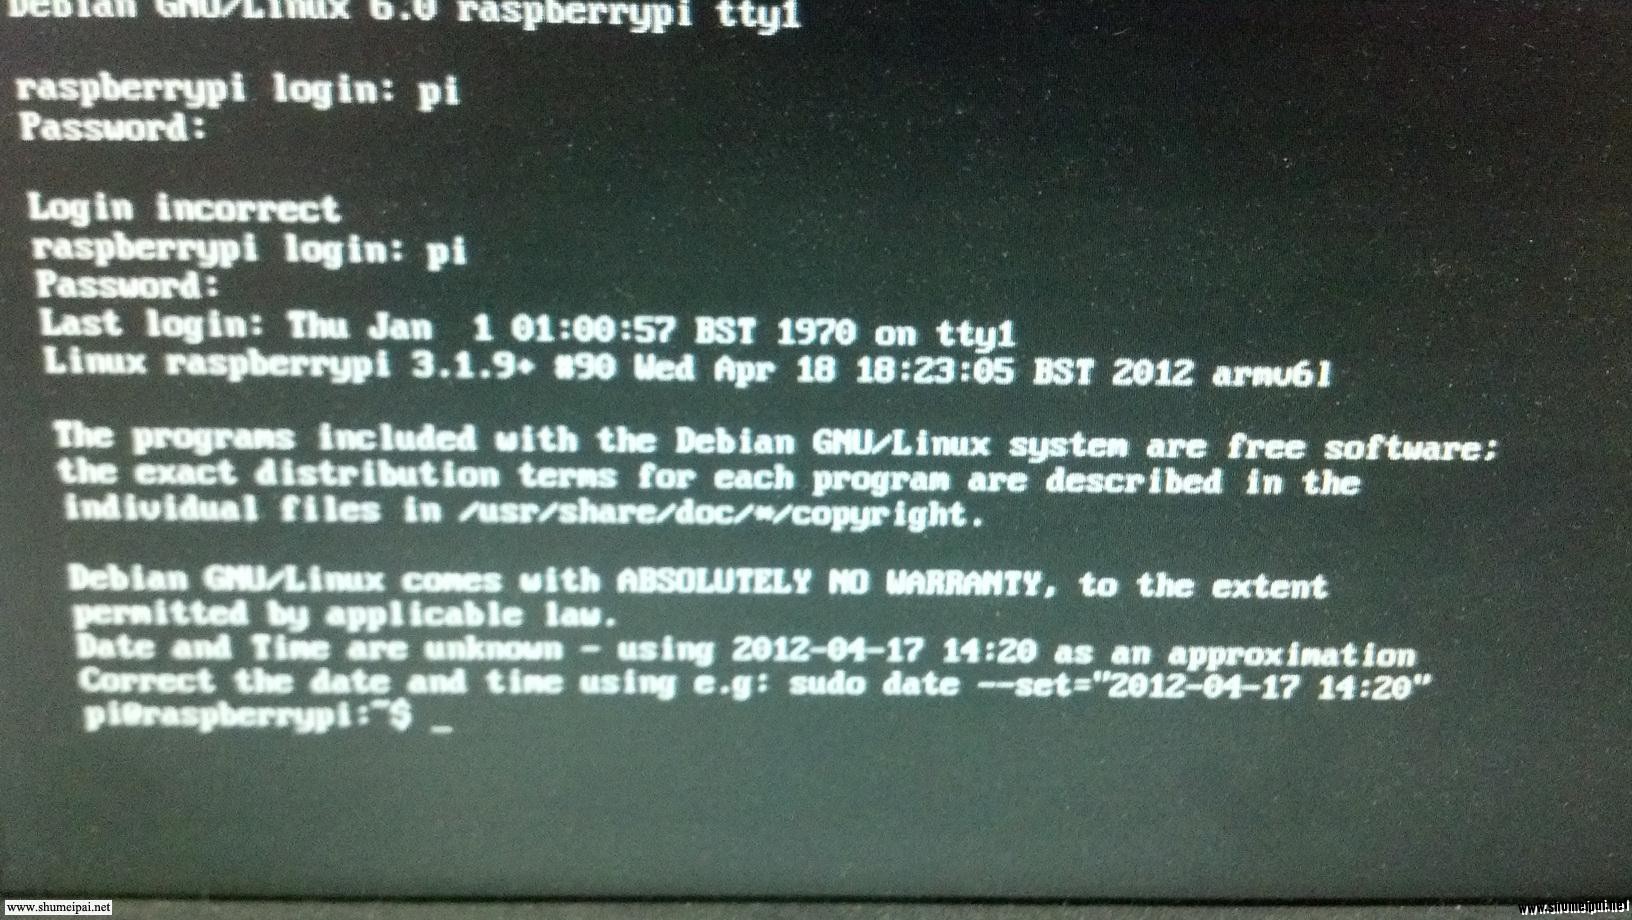
4. Enter the correct username and password, the following screen appears, indicating that Raspberry Pi has been properly started.
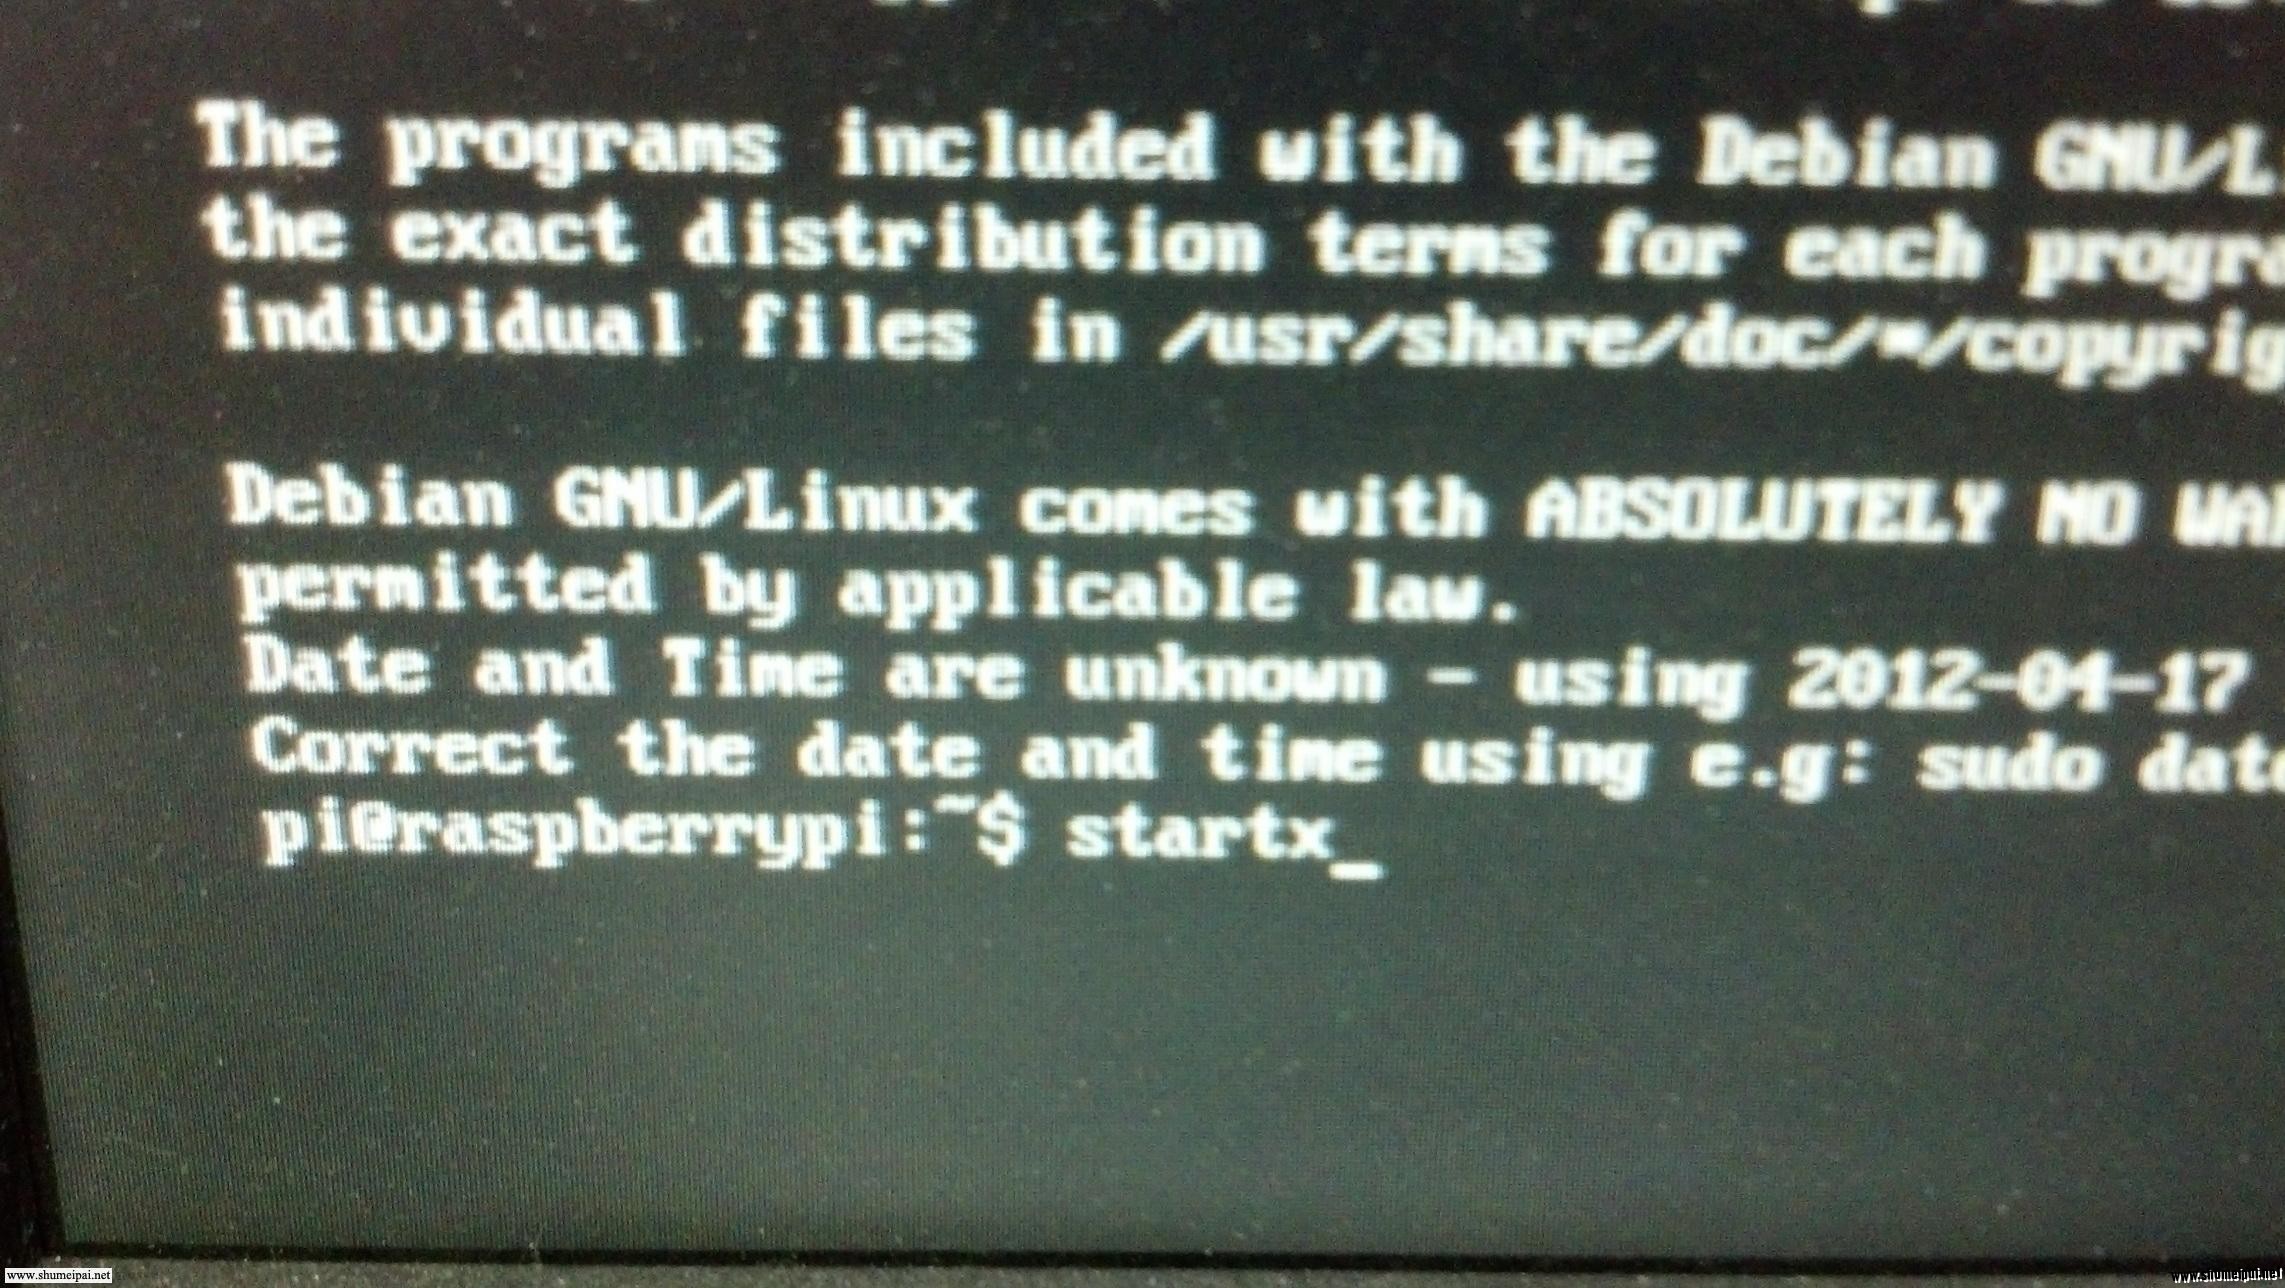
5. Type "startx" to start the Pi's GUI.
OLED Driver
Connecting the OLED to the Raspberry Pi
Connect the OLED to the Pi's GPIO headers as shown:
Activate SPI Pins
The Pi's default SPI and I2C pins are disabled, so you must activate them before use. Use a terminal on the Pi connected to another display, or SHH in to the Pi from another PC and run the following command:
sudo nano /etc/modprobe.d/raspi-blacklist.conf
Place a # before the line which start as "blacklist spi-bcm2708" to comment it out. This will enable the SPI interface on the Pi.
If you wish you can also comment out the line which start as "blacklist i2c-bcm2708". This will enable the i2c interface on the Pi.
Type ctrl x and then y to save changes to the configuration file.
Reboot your Pi by typing "sudo reboot" in to the command line.
When the Pi has rebooted the SPI GPIO pins will be activated. You should see two files in the /dev directory: spidev0.0 spidev0.1 spidev0.0 corresponds to SPI pin 0 spidev0.1 corresponds to SPI pin 1
Use C to Drive the LCD via SPI
Terminal or SSH in to your Pi and run the following commands:
sudo apt-get update sudo apt-get install vim sudo apt-get install build-essential sudo apt-get install cmake sudo apt-get install git mkdir oledtest cd oledtest vim oledtest.c download
- The program will be copied into ledtest.c lcdtest and compile:

- gcc -Wall -o oledtest oledtest.c -lwiringPi

- sudo ./oledtest
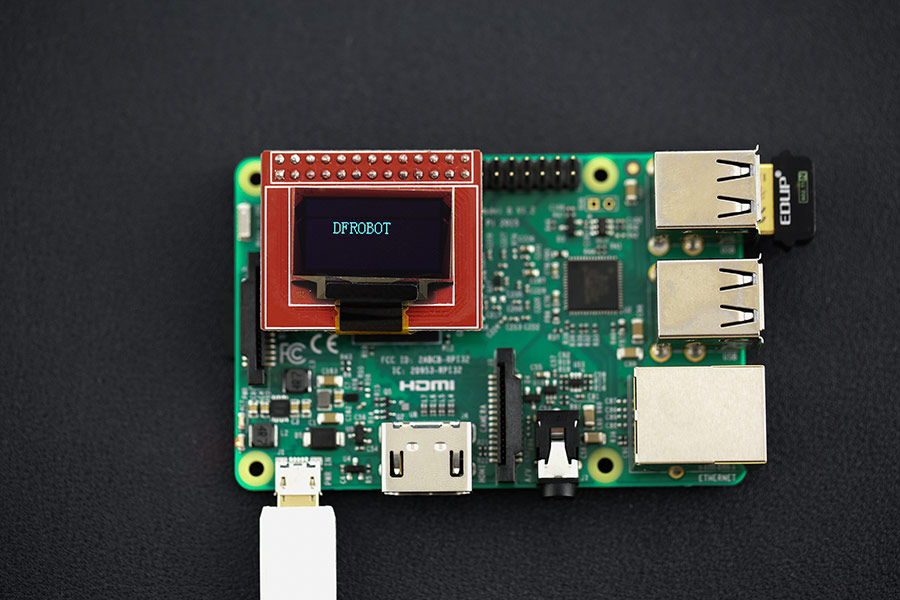
Expected Results
More Documents
Sample code oledtest.c and product details download here.
