Introduction
CheapDuino is the most cheapest Arduino compatible processor in the world. It's aimed to supply a low cost processor for the students and DIYers from second and third world countries.The price for each cheapDuino controller is almost 1/5 price of the Arduino UNO. So it's also suitable for you to DIY custom project,workshop,gift for friend,E-Textiles and education usage.
Specification
- Working voltage: 3~5 volts
- Recommended power supply: 5v
- Microctonroller: Atmel AVR ATmega8
- bootloader(Board option in Arduino IDE): Arduino NG / w ATmega8
- 3 digital pins, 3 analog pins with easy-to-solder hexagonal pads
- Integrate 3 pwm pins,I2C interface and UART interface
- Suitable for workshop,education usage and DIY custom projects
- Low cost Arduino compatible controller
- Designed for the students and DIYers from second and third world countries
- Dimensions: 2cm x 2cm x 0.2cm
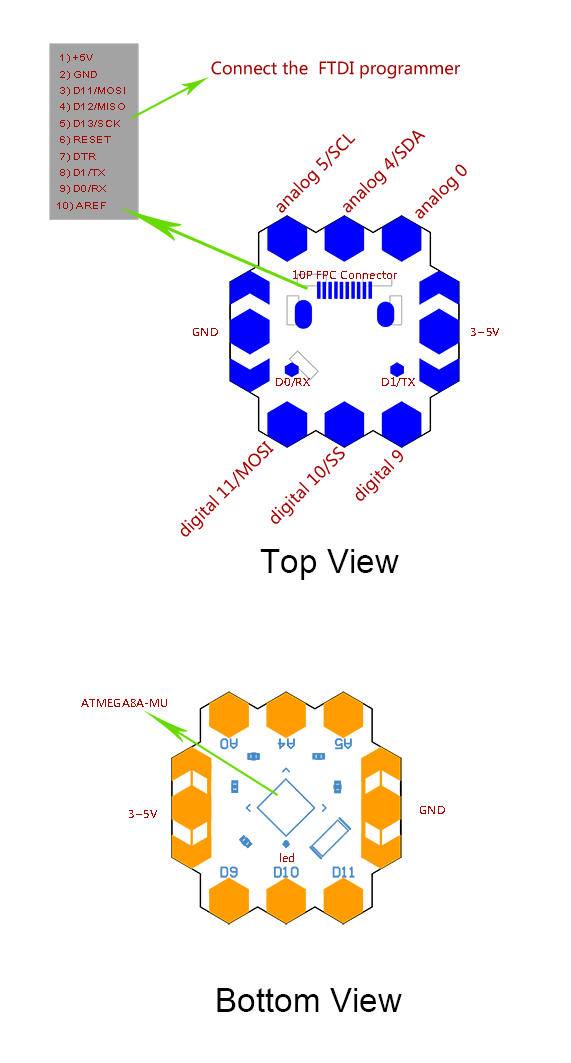
Pinout Diagram

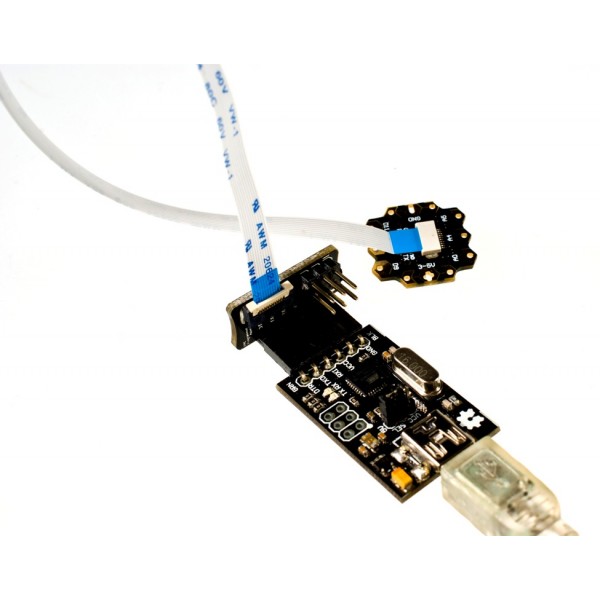
Connection Diagram

Note:
- When plugin the fpc programming cable to DFRobot FPC programmer and cheapDuino, please the blue side facing upward.
Example Code
- Choose the right com port of your programmer in the Arduino IDE first.
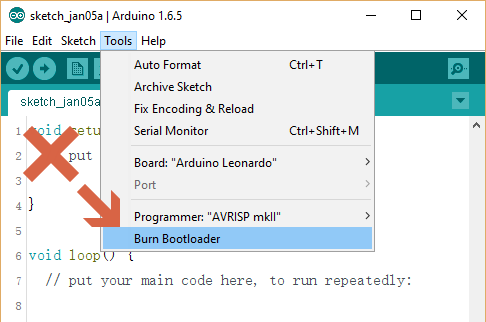
- Choose "Arduino NG or older /w ATmega8" in the "Boards" option.
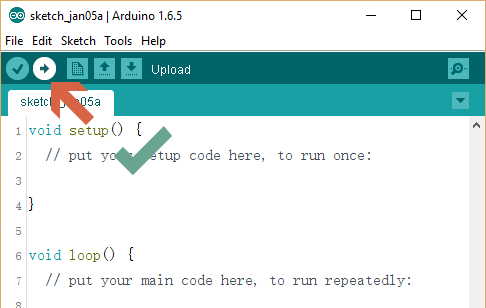
- Then just upload your arduino sketch to the cheapDuino. The "Blink" sketch will be used to drive the LED connected to the D13 pin onboard.
const int ledPin =  13;      // the number of the LED pin on the cheapDuino

// Variables will change:
int ledState = LOW;             // ledState used to set the LED
long previousMillis = 0;        // will store last time LED was updated

// the follow variables is a long because the time, measured in miliseconds,
// will quickly become a bigger number than can be stored in an int.
long interval = 1000;           // interval at which to blink (milliseconds)

void setup() {
  // set the digital pin as output:
  pinMode(ledPin, OUTPUT);
}

void loop()
{
  // here is where you'd put code that needs to be running all the time.

  // check to see if it's time to blink the LED; that is, if the
  // difference between the current time and last time you blinked
  // the LED is bigger than the interval at which you want to
  // blink the LED.
  unsigned long currentMillis = millis();

  if(currentMillis - previousMillis > interval) {
    // save the last time you blinked the LED
    previousMillis = currentMillis;

    // if the LED is off turn it on and vice-versa:
    if (ledState == LOW)
      ledState = HIGH;
    else
      ledState = LOW;

    // set the LED with the ledState of the variable:
    digitalWrite(ledPin, ledState);
  }
}
FAQ


Q1. How is it programmed? For the board, I've selected Arduino NG or Older and Processor is Atmega8. I'm using the adapter board that came with the Cheapduino. With no luck I've tried an FTDI Basic and a Bus Pirate configured as an STK500v2...
For any questions/advice/cool ideas to share, please visit DFRobot Forum
More Documentation
- Document