Introduction
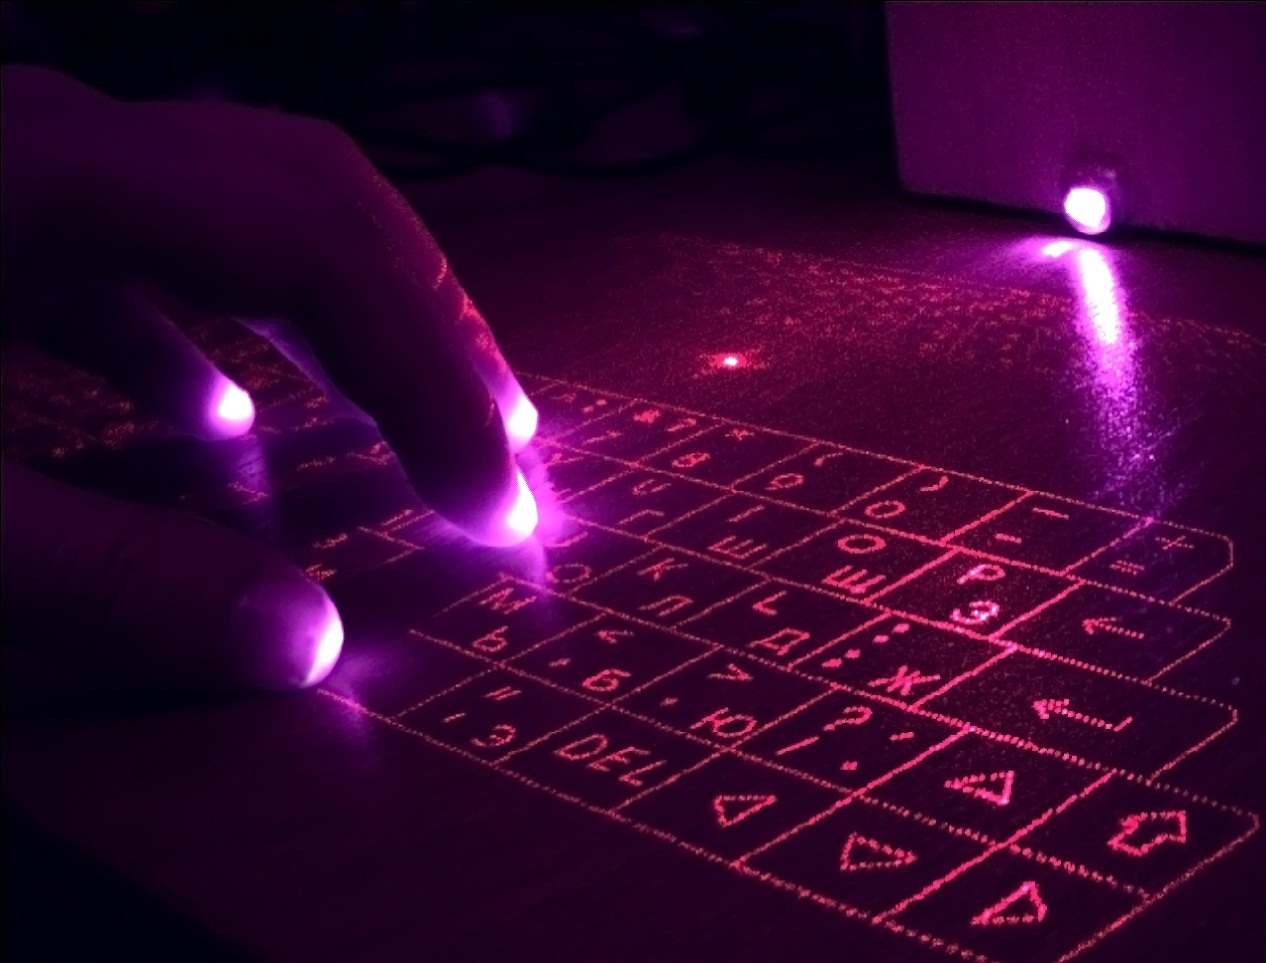
The Laser Projection Keyboard Kit is based on the open-source laser keyboard project designed by RoboPeak Team. After a few quick and simple assembly and calibration process, your laser projection keyboard is ready to work! The laser keyboard works just like a standard keyboard on your PC/MAC with the help of the related signal processing software designed by RoboPeak. The signal processing software also supports turning your laser keyboard kit into a multi-touch pad. As an open-source project, you can freely make any changes/improvement to the current design and go through the implementation detail of the kit.
The Laser Projection Keyboard kit contains the following 3 major key parts: an infrared light camera, a keyboard pattern projector and a linear laser.
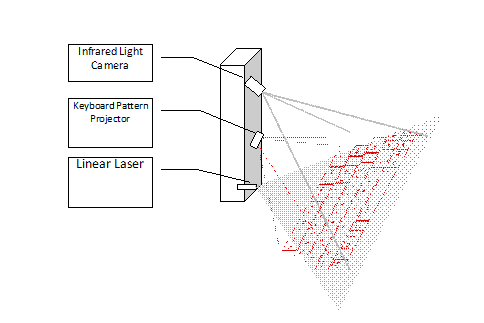
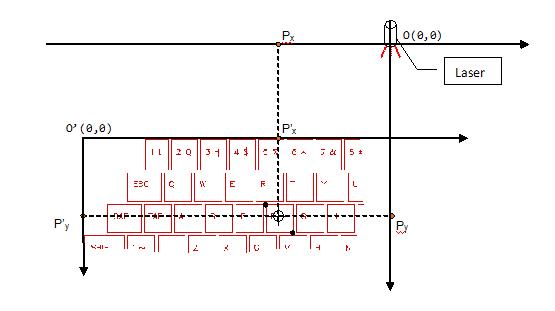
The keyboard pattern projector displays a virtual keyboard pattern on a flat surface, such as a desktop surface. When a user touches virtual keys using his/her fingers, the top of fingers will be illuminated by the lighting plane created by the linear laser. Since the infrared light is used, the user won’t notice his/her fingers are illuminated.
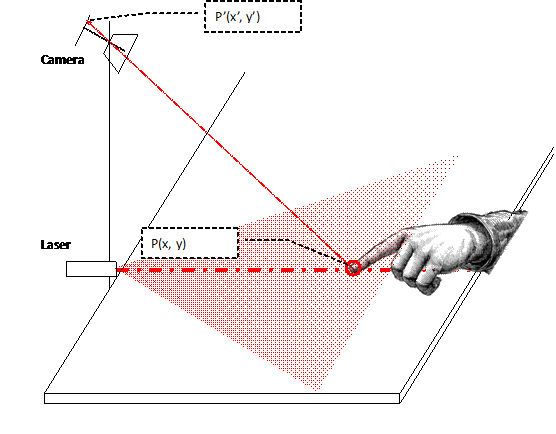
The infrared light camera captures the images of the illuminated fingers, and sends the images to the signal processing software. The position of the illuminated fingers is detected and localized by the software, and it will be transformed to the related key input events.
Specification
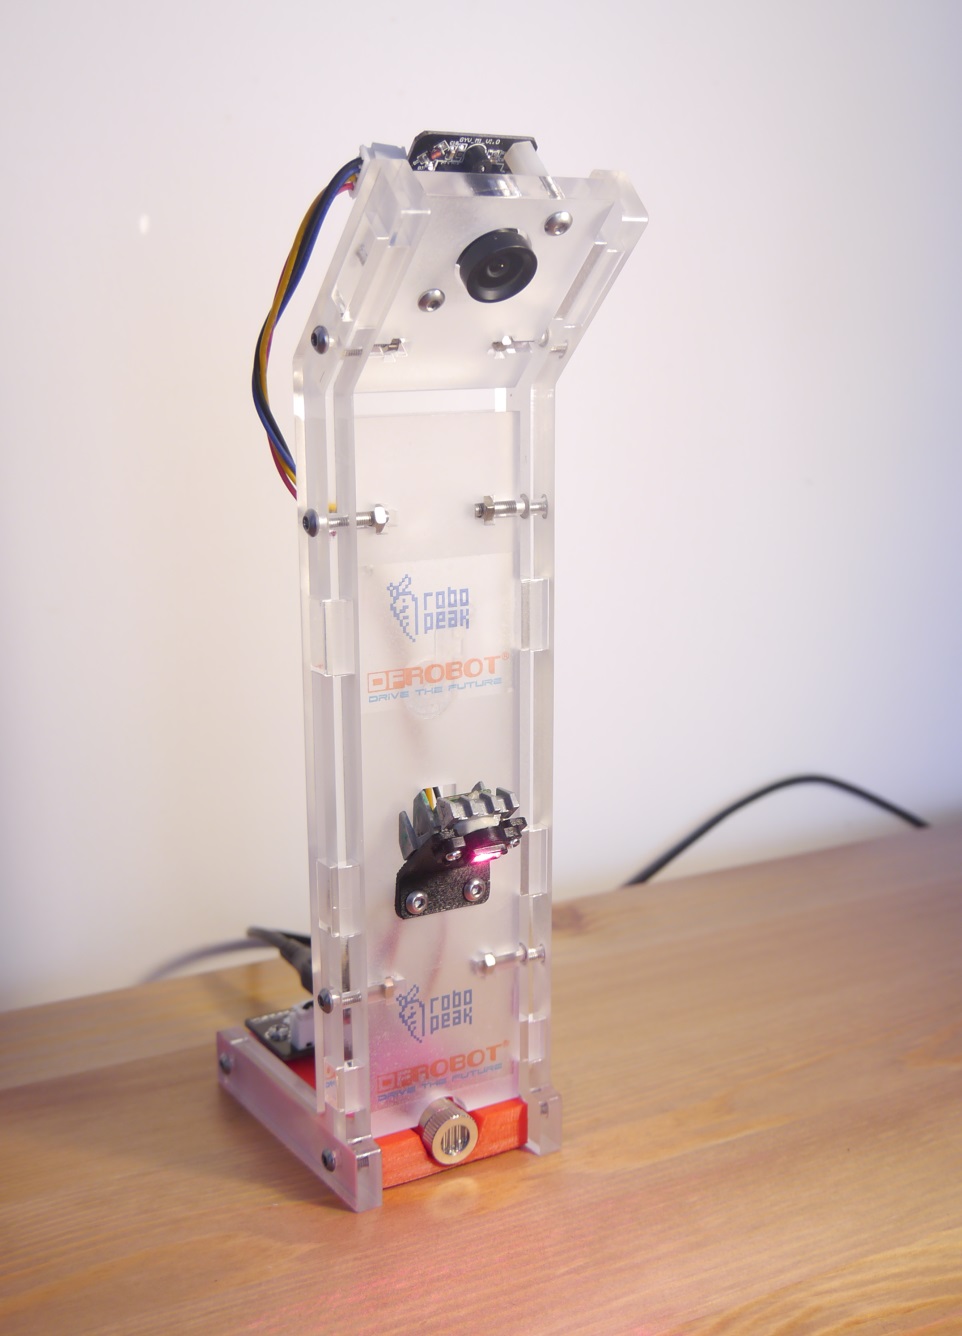
- Side Frame x2
- Front Panel x1
- Camera Dock x2
- Bottom Base x1
- Pattern Projector Dock x1
- Linear Laser Locker x1
- Nylon column x2
- Infrared Light Camera x1
- Keyboard Pattern Projector x1
- Linear Laser x1
- Power & Sockets PCB x1
- Camera Signal Cable x1
- Screw Cap x8
- Self-tapping Screw x2
- Screw pad x4
- 5mm Screw x4
- 10mm Screwx4
- 12mm Screw x7
- 16mm Screw x6
**NOTE:**Your laser projection keyboard kit needs to be assembled before you can use it. This manual will provide you the instructions to assemble the RoboPeak laser project keyboard kit quickly and easily.
For more assembly details, please refer toLaserProjectionKeyboardKit-Assembly
Tutorial
**Note:**You need to assemble and calibrate the kit first to make the kit work.
1 Basic calibration process
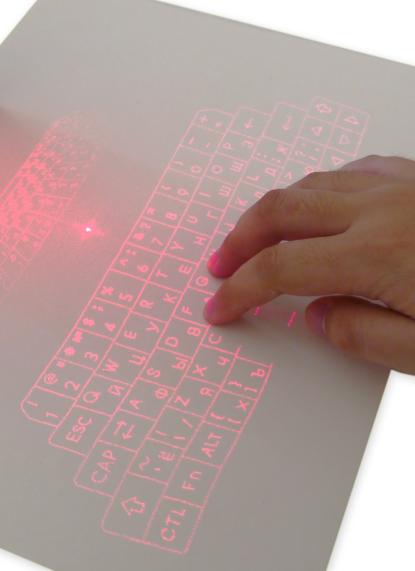
Power-on Check:Connect the assembled kit with your computer using a USB cable. You should see the keyboard pattern projected on your desktop:
Connect with the software(driver)
- The kit requires the related signal processing software designed by RoboPeak to work. Please run this software.
- The software supports both Windows and MacOS:
software for Windows [software for Mac] (https://www.dfrobot.com/index.phpDownload) - After the software launched, select the camera named: Vimicro USB Camera(Altair)
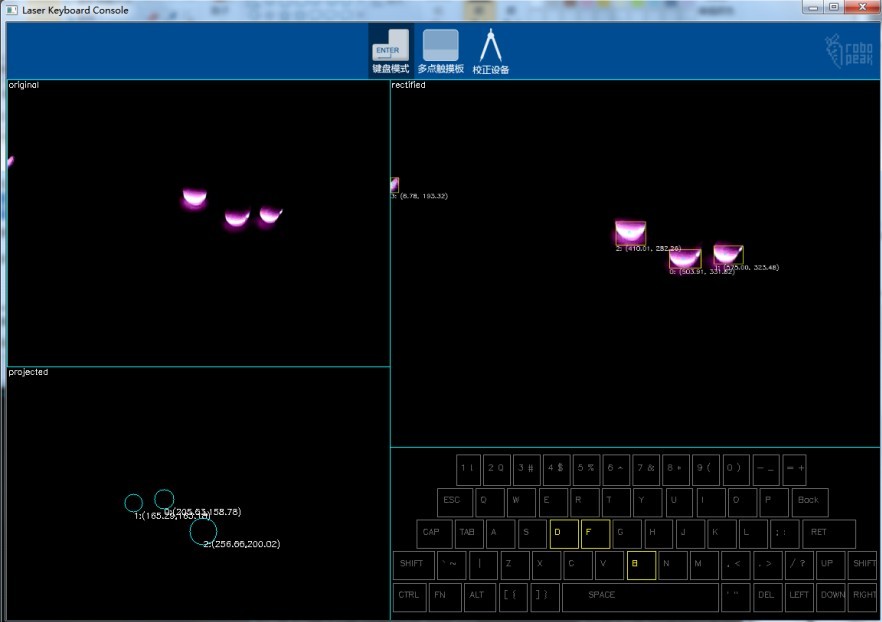
- If everything works well, you should see the following window:
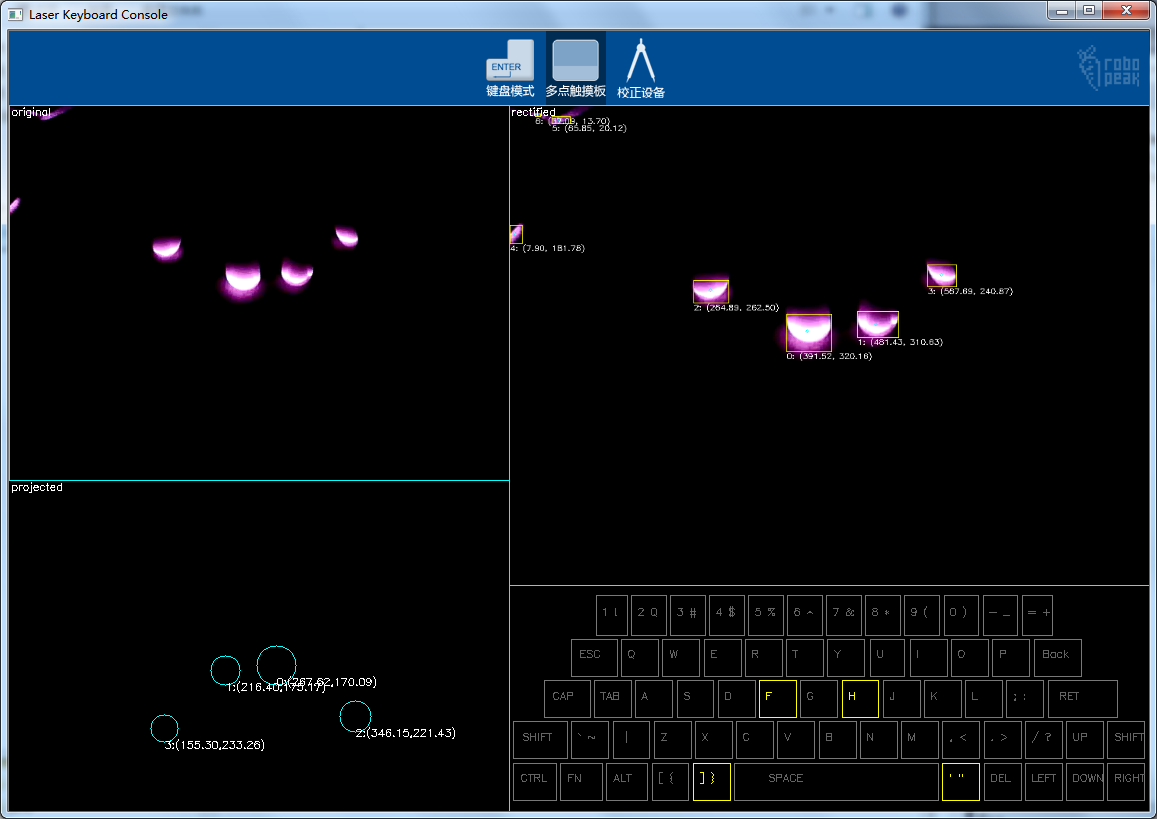
Do not close this window. You will need its help in the following calibration process.
Tuning the parts(optional):
You may need to tune the following parts: – The direction and heading of the linear laser – The focus of the IR camera 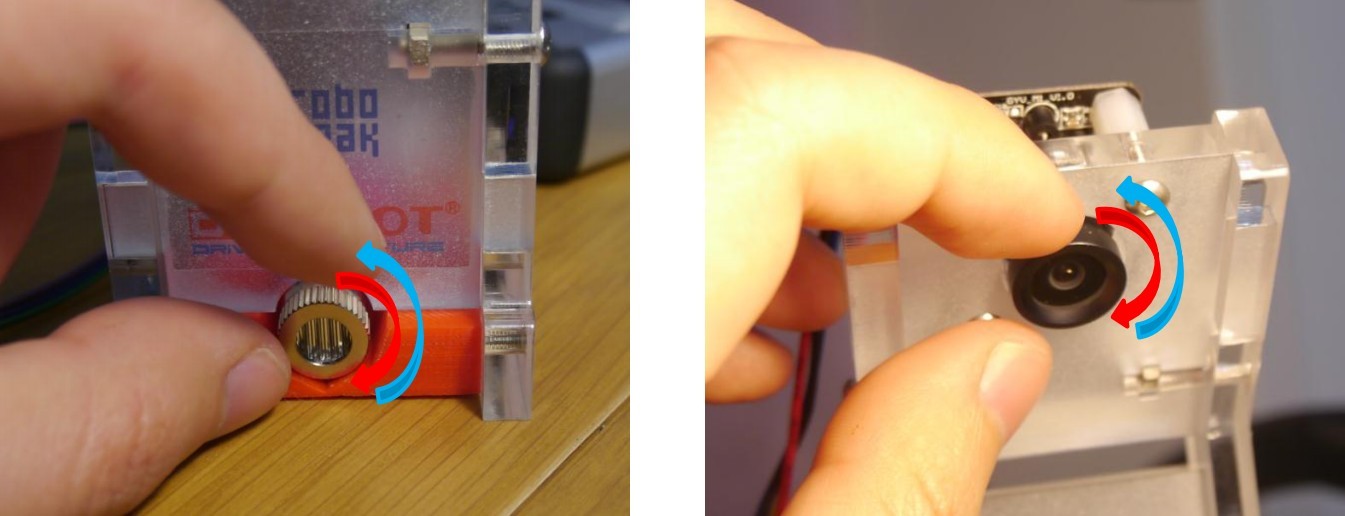
- Prepare a square box with white color and place it in front of the laser keyboard.
- Check the image displayed on the software window and adjust the laser head.
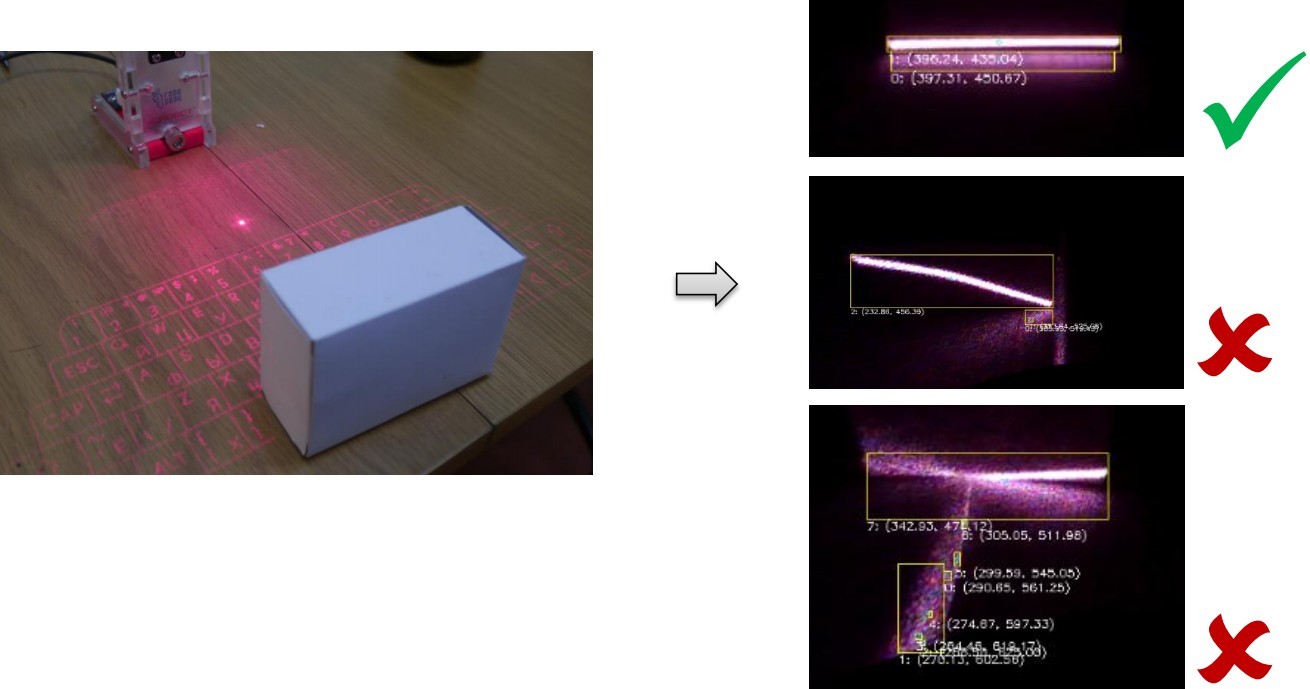
- Adjust the camera lens and check the image software window to set the correct focus.

Keyboard Calibration:
-
Follow the tips displayed on the software window:
-
Place your finger to the place which is indicated by the flashing “key” on the software window – Click the related light blob on the window. – Repeat the above steps until the calibration is done.

-
Your laser projection keyboard should work like a normal keyboard after you finished the previous steps in most cases.
-
If you feel something wrong, please refer to the more detailed Calibration and Use manual for help.
