Enter the Makecode Programming Environment
Click the link to enter the Makecode online programming environment: https://makecode.microbit.org/ (The loading speed may be a little bit slow for the first time, please wait patiently.)

- A:Menu Bar
It has several features, the most prominent being the central button that allows you to switch between Blocks and JavaScripts editors.
- B: Micro:bit Simulator
The simulator runs automatically after you have made a change to your program. Buttons under the simulator allow you to stop/start program execution and control other aspects of the simulator.
- C: Toolbox
This is where you can find different categories of programming blocks.
- D: Programming Canvas/Editor
Construct/edit your programming.
- E: Toolbar
It most prominently features a Download button, which you use to compile a program to a file for copying to the micro:bit.
Programme and Download the Graphical Codes
Step 1. Drag and snap the graphical blocks as the way shown in picture below.

Step 2. Connect the micro:bit and your computer with a USB cable.
Step 3. Download the program.

Click "download", select a driver disk named "MICROBIT" and downlod the program into it. The micro:bit LED will keep blinking in downloading, and please do not disconnect the USB. The download will be done after 1 or 2 seconds when the LED turns off.
Step 4. Check the Result
Result: the micro:bit LED panel constantly displays the word "hello".
Swtich the Interface Language
Step 1. Click the setting button at the right-upper corner.

Step 2. Select "Language" in the drop-down menu.

Step 3. Choose the language you need in the pop-up box.

Add Software Library
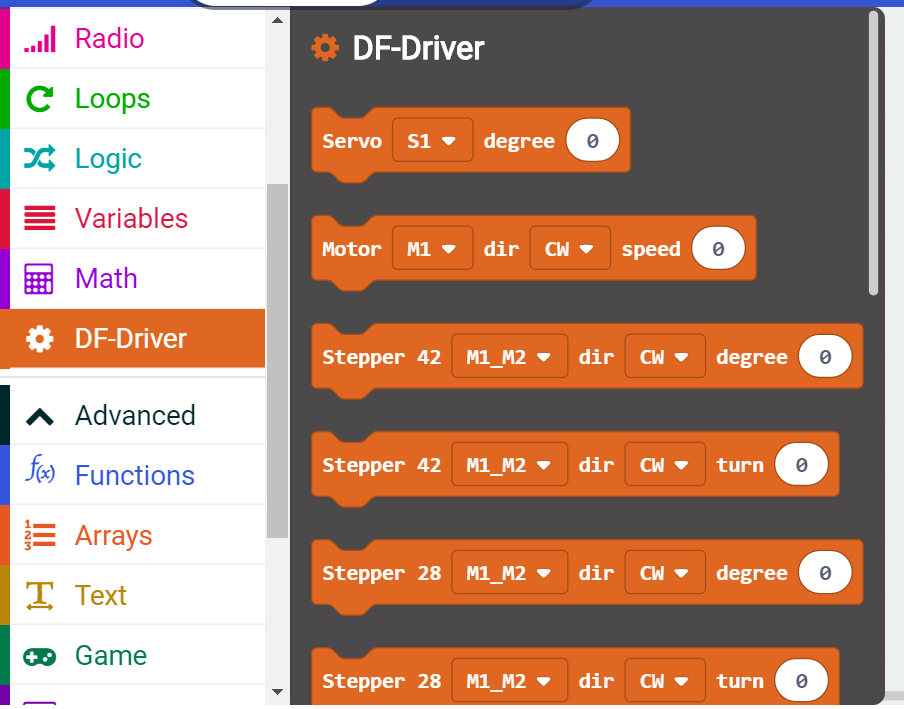
Click Advanced->Extensions.

Copy the library address: https://github.com/DFRobot/pxt-motor
Paste the address into the search bar, and search.

Click the result you got.

Load the library, wait for a while then you will see your library is displayed in the module list.


FAQ
For any questions, advice or cool ideas to share, please visit the DFRobot Forum