123
Introduction
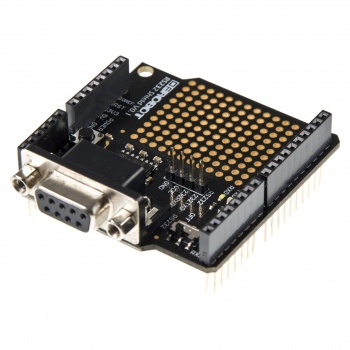
his RS232 Shield For Arduino is designed for the Arduino controller,and it can easily convert UART to RS232 interface.
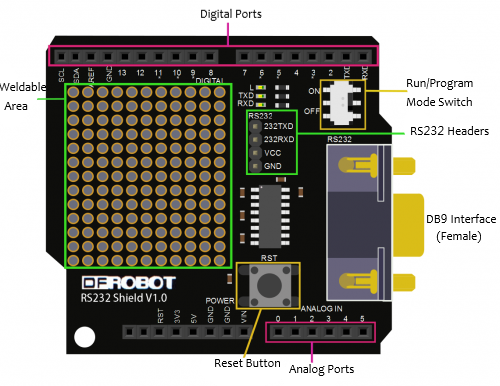
The RS232 shield integrates DB9 connectors (female) that provide connection to various devices with RS232 interface. Also the RS232 shield headers will facilitate your connections and commissioning. It provides the welding areas to make full use of extra space on it, which is highly convenient for prototyping. It provides a run / program mode switch. When switched OFF, you'll be able to programme the Arduino controller; When switched ON, you can use the shield normally. Gold immersion PCB. Long pins on the back that are compatible with most Arduino controllers such as arduino Uno, arduino Mega, Leonardo.
Specification
- Voltage: +5V
- 16 digital IO port (including a I2C interface)
- 6 analog IO port and power
- Operation and programming mode switch
- Transceiver indicating LED
- DB9 connectors (female), RS232 pins
- Weldable area
- Reset switch
- Dimension: 55mmx53mm (2.16"x2.08")
Application
- RS232 Communication
Board Overview

| DB9 Female Pin Definition | |
| P2 | TXD |
| P3 | RXD |
| P5 | GND |
| Run/Program Mode Switch | |
| OFF | Download programs for Arduino |
| ON | Convert Arduino Microcontroller's UART to RS232 Interface |
Tutorial
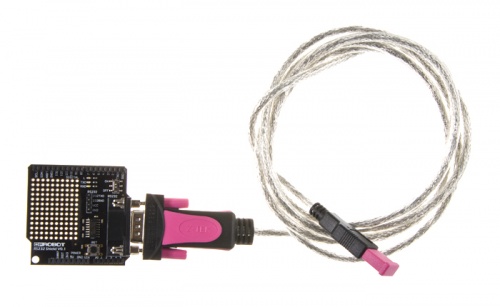
Plug the RS232 shield onto a Arduino microcontroller, connect the DB9 pin male of USB-RS232 converter to RS232 shield's DB9 pin female. Then download the sample code.
Connection Diagram

Sample Code
# This sample codes is for testing the RS232 shiled.
# Editor : YouYou
# Date   : 2013.9.25
# Ver    : 0.1
# Product: RS232 shield
# SKU    : DFR0259
*/
int led = 13;    //define the LED pin
void setup()
{
  Serial.begin(9600);    //init serial
  pinMode(led,OUTPUT);
}
void loop()
{
  int temp;    //serial data temporary cache
  if(Serial.available())    //if serial receives data
  {
    temp=Serial.read();    //store the received data temporarily
     if(temp=='V'){
      digitalWrite(led,1-digitalRead(led));    //change the LED statu if receiving the char "V".
    Serial.println("OK");    //reply OK to show that the char "V" has been received and the LED statu also has been changed
     }
  }
}
Expected Results

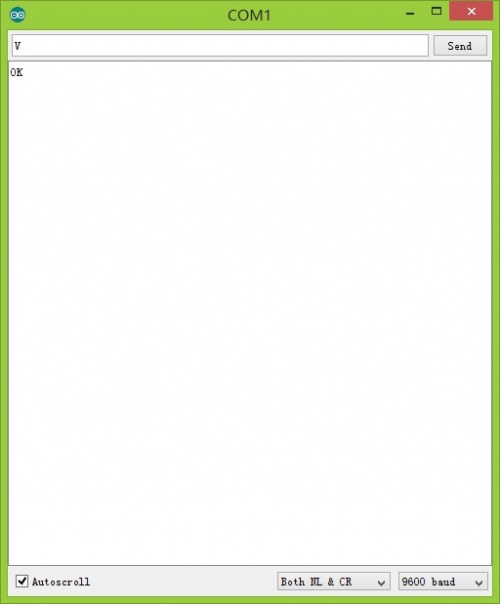
Open the Serial debugger, find the COM related with USB-RS232, send a char "V", then the LED statu will be changed and it will reply "OK".
FAQ
For any questions, advice or cool ideas to share, please visit the DFRobot Forum
