Rainbow Ring V2 Guide (SKU:DFR0141)
NOTE: Please go to the new Wiki for Rainbow Ring V3
This guide will walk you through the process of connecting, and testing the Rainbow Ring V2.
Hardware requierments
- 1x Arduino Microcontroller
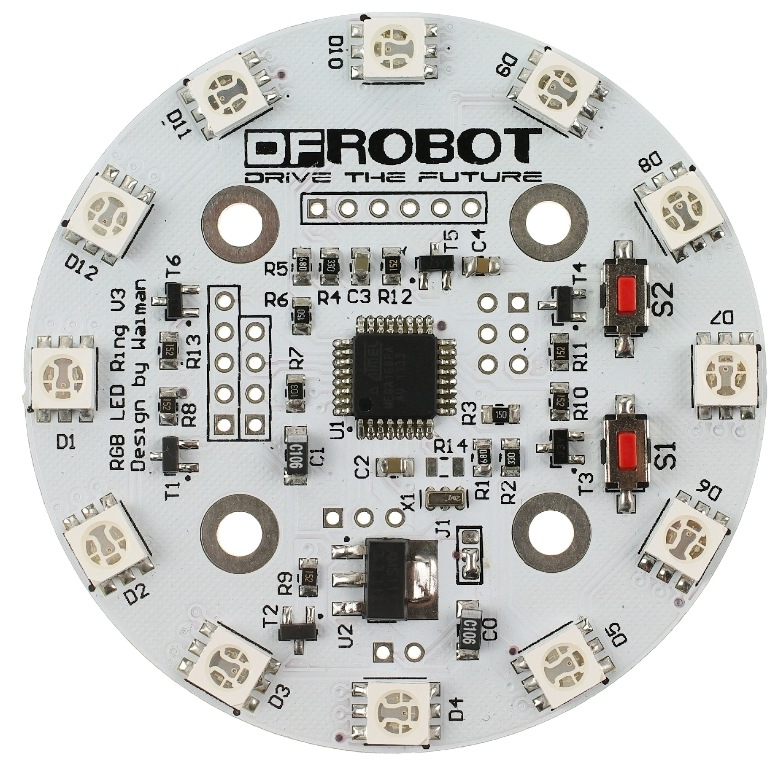
- 1x Rainbow Ring LED V2[missing link]
- 1x FTDI Basic Breakout 3.3/5V
- 1x USB mini cable
- 1x A/B USB cable
tools used
- Soldering iron/solder
- 12x Male pin headers
- 7x Female/male jumper wire
optional tools for trouble shooting
You can use an extra LED to monitor the "L" LED on the LED Ring. This can help in case of trouble shooting
- 1x LED (color is not important)
- 1x 1KOhm resistor
Software
- Arduino IDE
- Serial Monitor (i.e.: Putty)
Procedure
The Rainbow Ring ships with no pin headers. This gives you the option to solder the pins according to your project needs. Before starting to program the LED Ring you should solder the pin headers on to the board.
FTDI connection instructions

After soldering your pin headers, connect your Rainbow Ring to the FTDI board and power it using the two aditional power pins behind LED D4.
CAUTION: Only supply power to 1 of the 3 power pins provided at any one time.
Once you have connected the Rainbow Ring to the FTDI breakout board connect the FTDI board to your PC. After windows has finished installing the drivers, find which com port it was assigned to by going to Control Panel and then Device Manager.
Now you should be able to program your Rainbow Ring via the Arduino IDE. You may also connect to it from a serial terminal.
I2C connection instructions

Connect your Arduino to the Rainbow Ring. Since we are providing power from the FTDI board do not plug in the 5V Vcc to the I2C side of the Rainbow Ring. The only two wires you need to connect are the SDA to pin 4 and SCL to pin 5.
Prepare sketches and library
- Download the Rar file with the source code and library.
- Place the RGB_Ring_V2.h include file in:
Arduino-0022\Libraries\
- The sender.pde sketch needs to be uploaded to the Arduino. Please be mindful to upload the correct sketch to the correct board
- The Receiver.pde sketch needs to be uploaded to the Rainbow Ring.
- In the Arduino IDE please select "LiliPad Arduino W/ATmega 168" from the Tools>Boards menu.
NOTE: If you accidentaly load the sketch to the wrong board just start over, just make sure to choose the correct board and com port for each board.
Setting up serial terminals
These sketches have been optimized to work with a serial terminal. You can use PuTTY or any other serial monitor. You can open a terminal window for each of the devices. Both are configured as follows:
your com port/ 9600 baud rate/ 8 data bits/ 1 stop bit/ no parity/ Hardware flow control
The hardware flow control will not affect the Arduino, but it is important for the Rainbow Ring, this will reset the Ring every time the serial port is opened or closed. Once the serial monitor is open for each you should be greeted by the words "hello from Arduino" and "Hello from LED Ring" This will help you identify which is which. Now you can start passing commands to the Rainbow Ring via the Arduino Serial terminal.
Rainbow Ring interaction
The following are the commands used to control your Rainbow ring. Included are the parameters needed and the terminal command to execute each command. //Term command`
`#set_led_rgb(LED, INT, INT, INT);  //b     The first parameter is the LED number from 0-11, INT = intensity 0-64`
`#set_led_unicolor(LED, RGB, Int);  //u     RGB = 0, 1, OR 2.`
`#set_all_rgb(R, G, B);         //r     int = intensity  i.e.:RED 00, GREEN 25, BLUE 34: set_all_rgb(00, 25, 34);`
`#set_all_unicolor(RGB, Int);       //a`
`#rotate(color, dir);           //o     Color, direction, color is set from 0-7 and rotation from 0-2`
`#clearCommand();           //- No parameters needed`
`#random_leds ();           //x indicate how many LEDs to light and the delay between each`
`#fader ();             //f how many times to repeat`
`#fader_hue ();             //h how many times to repeat`
`#sequence();               //S how many times to repeat    *NOTE: CAPITAL S`
`#color_wave (0) ;          //w amount to increase ,delay`
Each terminal command should be preceeded by a "c" and ended with an "s". These commands are case sensitve.
This will send the command (c) rotate(o) the color Blue (02) times (99) clockwise (01) send (s)
Please study the sketch, it has been commented to give you a better idea of the functionality.
Color enumeration:
- RED
- GREEN
- BLUE
- YELLOW
- TURQUOISE
- FUCHSIA
- WHITE
- BLACK = OFF
rotate CW = 1, CCW= 2
Additional Notes
Color intensity ranges from 0-64
- NOTE: These sketches are provided as a guide to demonstrate the functionality of the Rainbow Ring. Please feel free to modify it or make your own sketches to interact with the Rainbow Ring.