Introduction
This Wiki page attempts to briefly introduce how to use your Xbee module, keep in mind that due to being several different models, we will cover the Xbee configuration briefly.
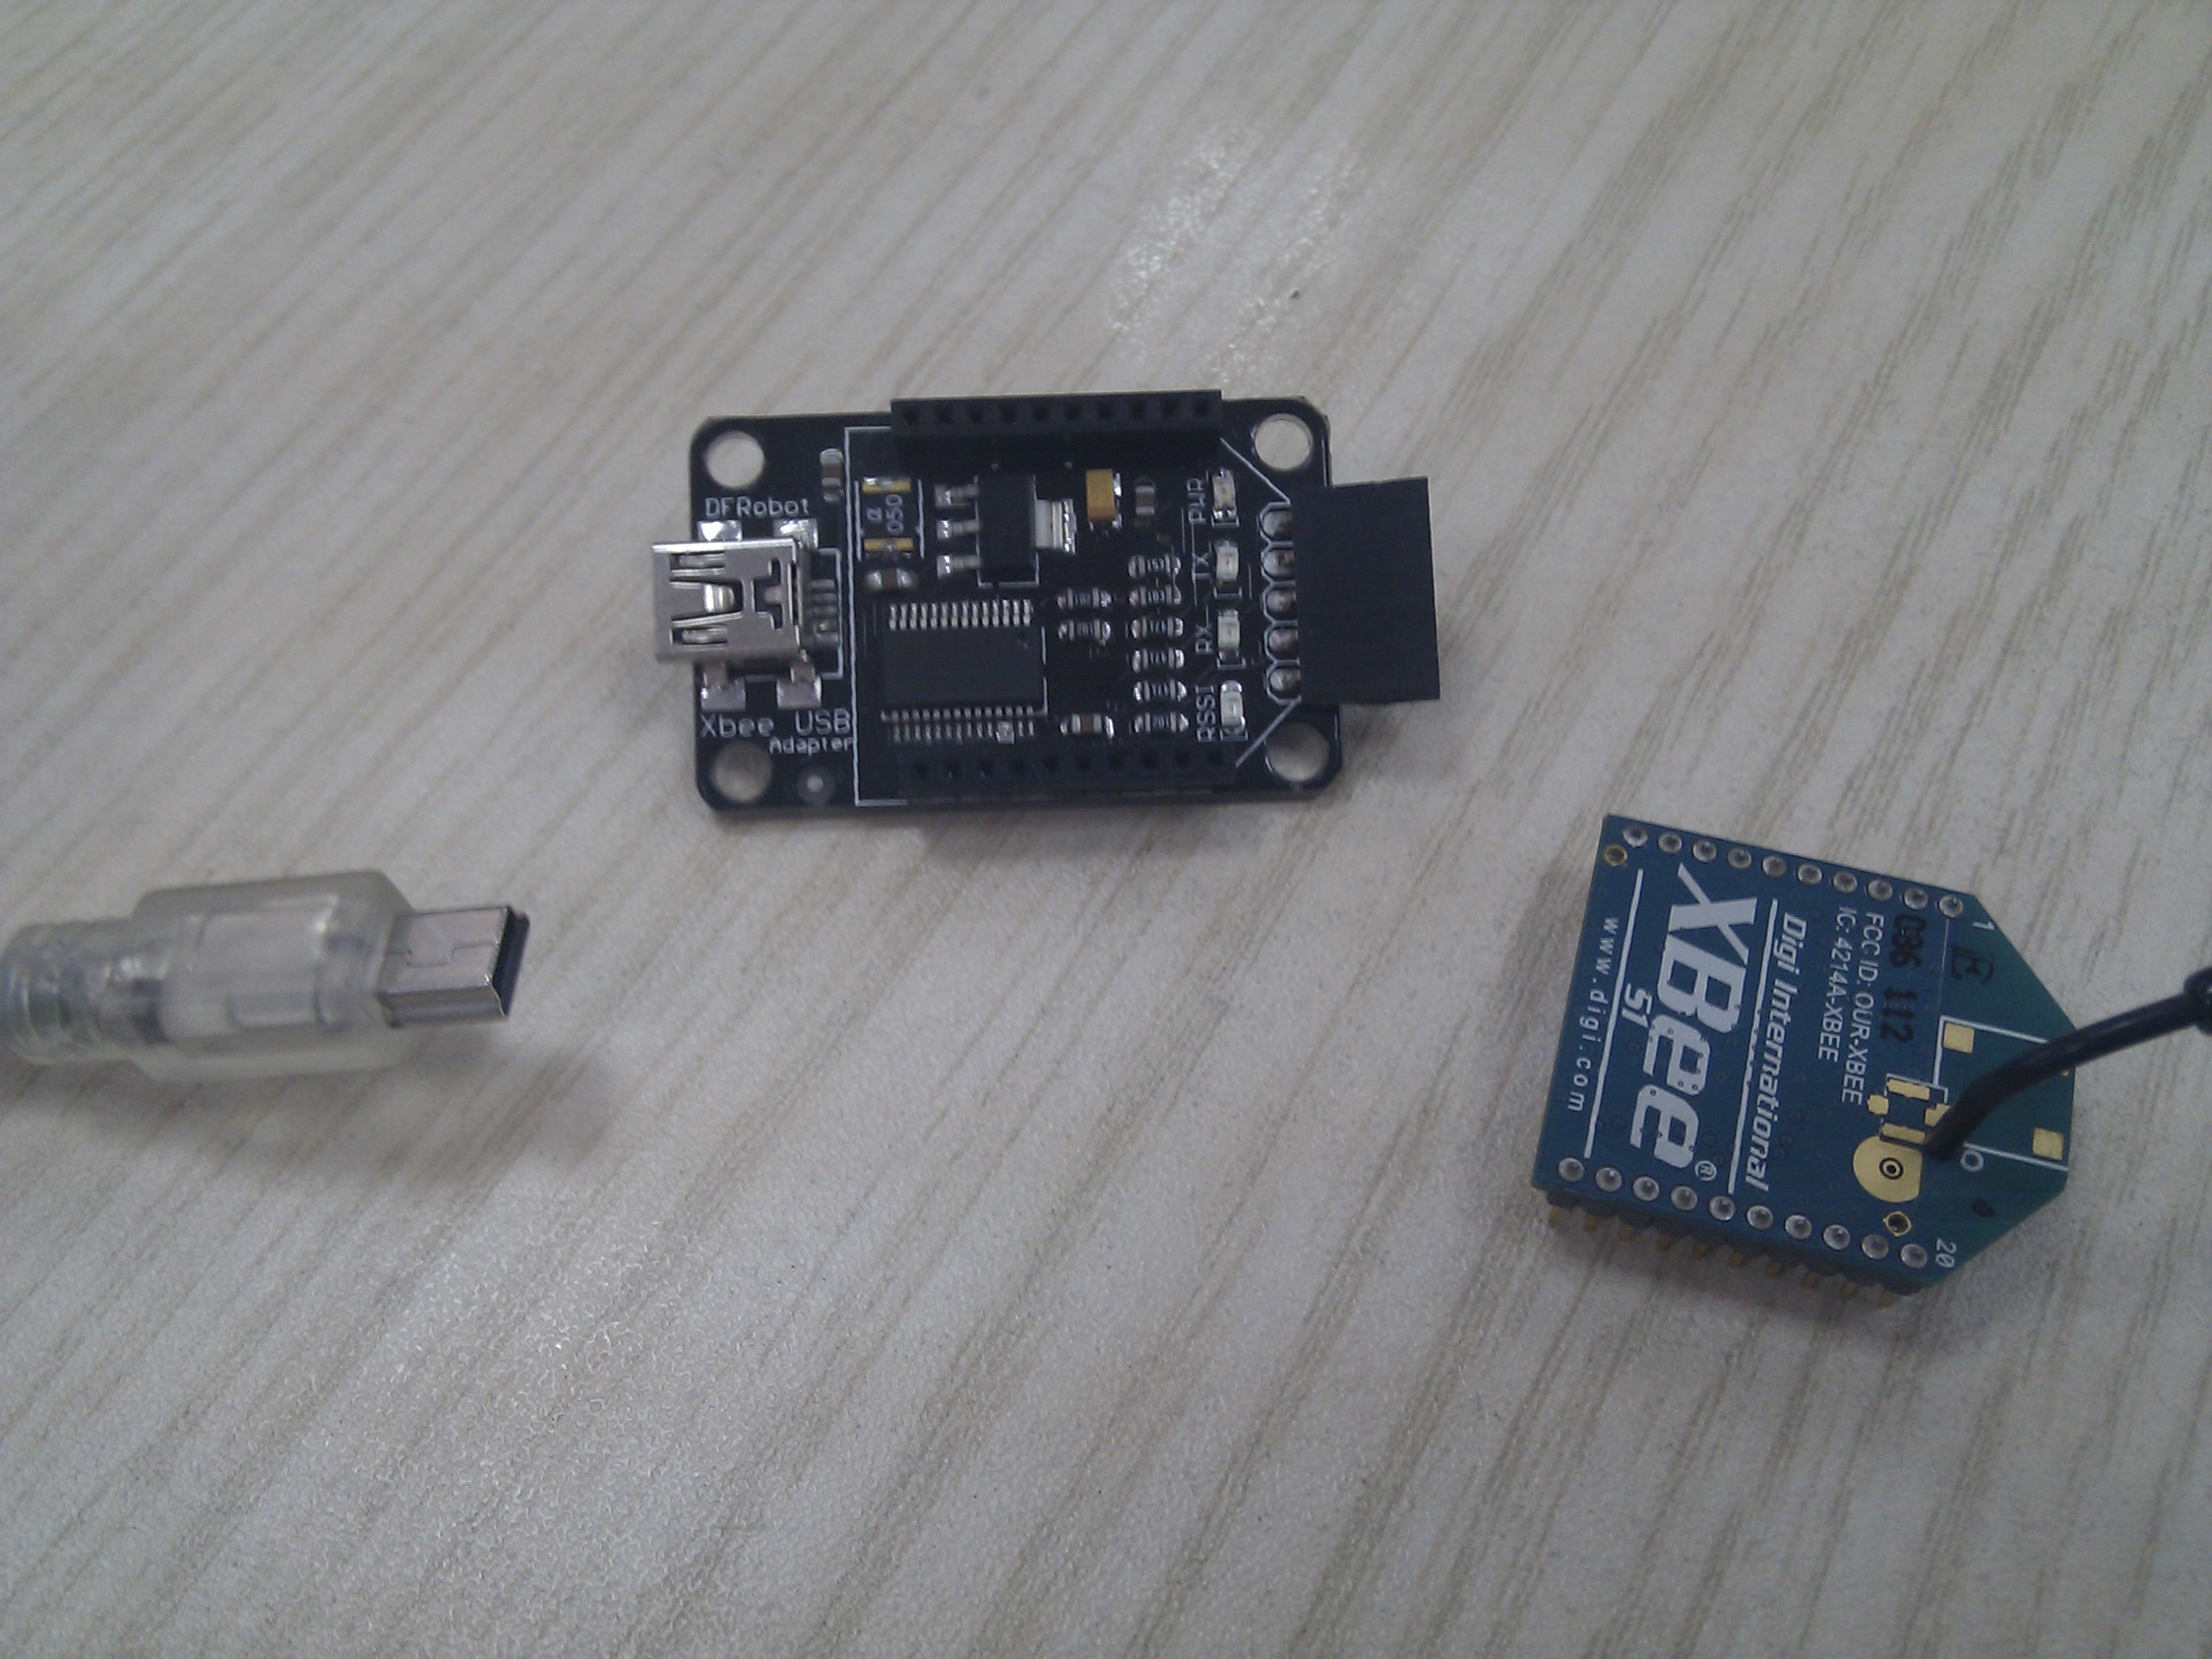
Required Hardware
- Adapter
- Mini USB cable
- 1
- Expansion board
Connection Diagram
Before you started
Download X-CTU software, and drivers if required for your operating system.
Configuring your module
Plug the Xbee on the adapter and connect to your computer as shown in Figure A. Refresh X-CTU, and read the configuration settings of your module.
Select the appropriate settings for your application.
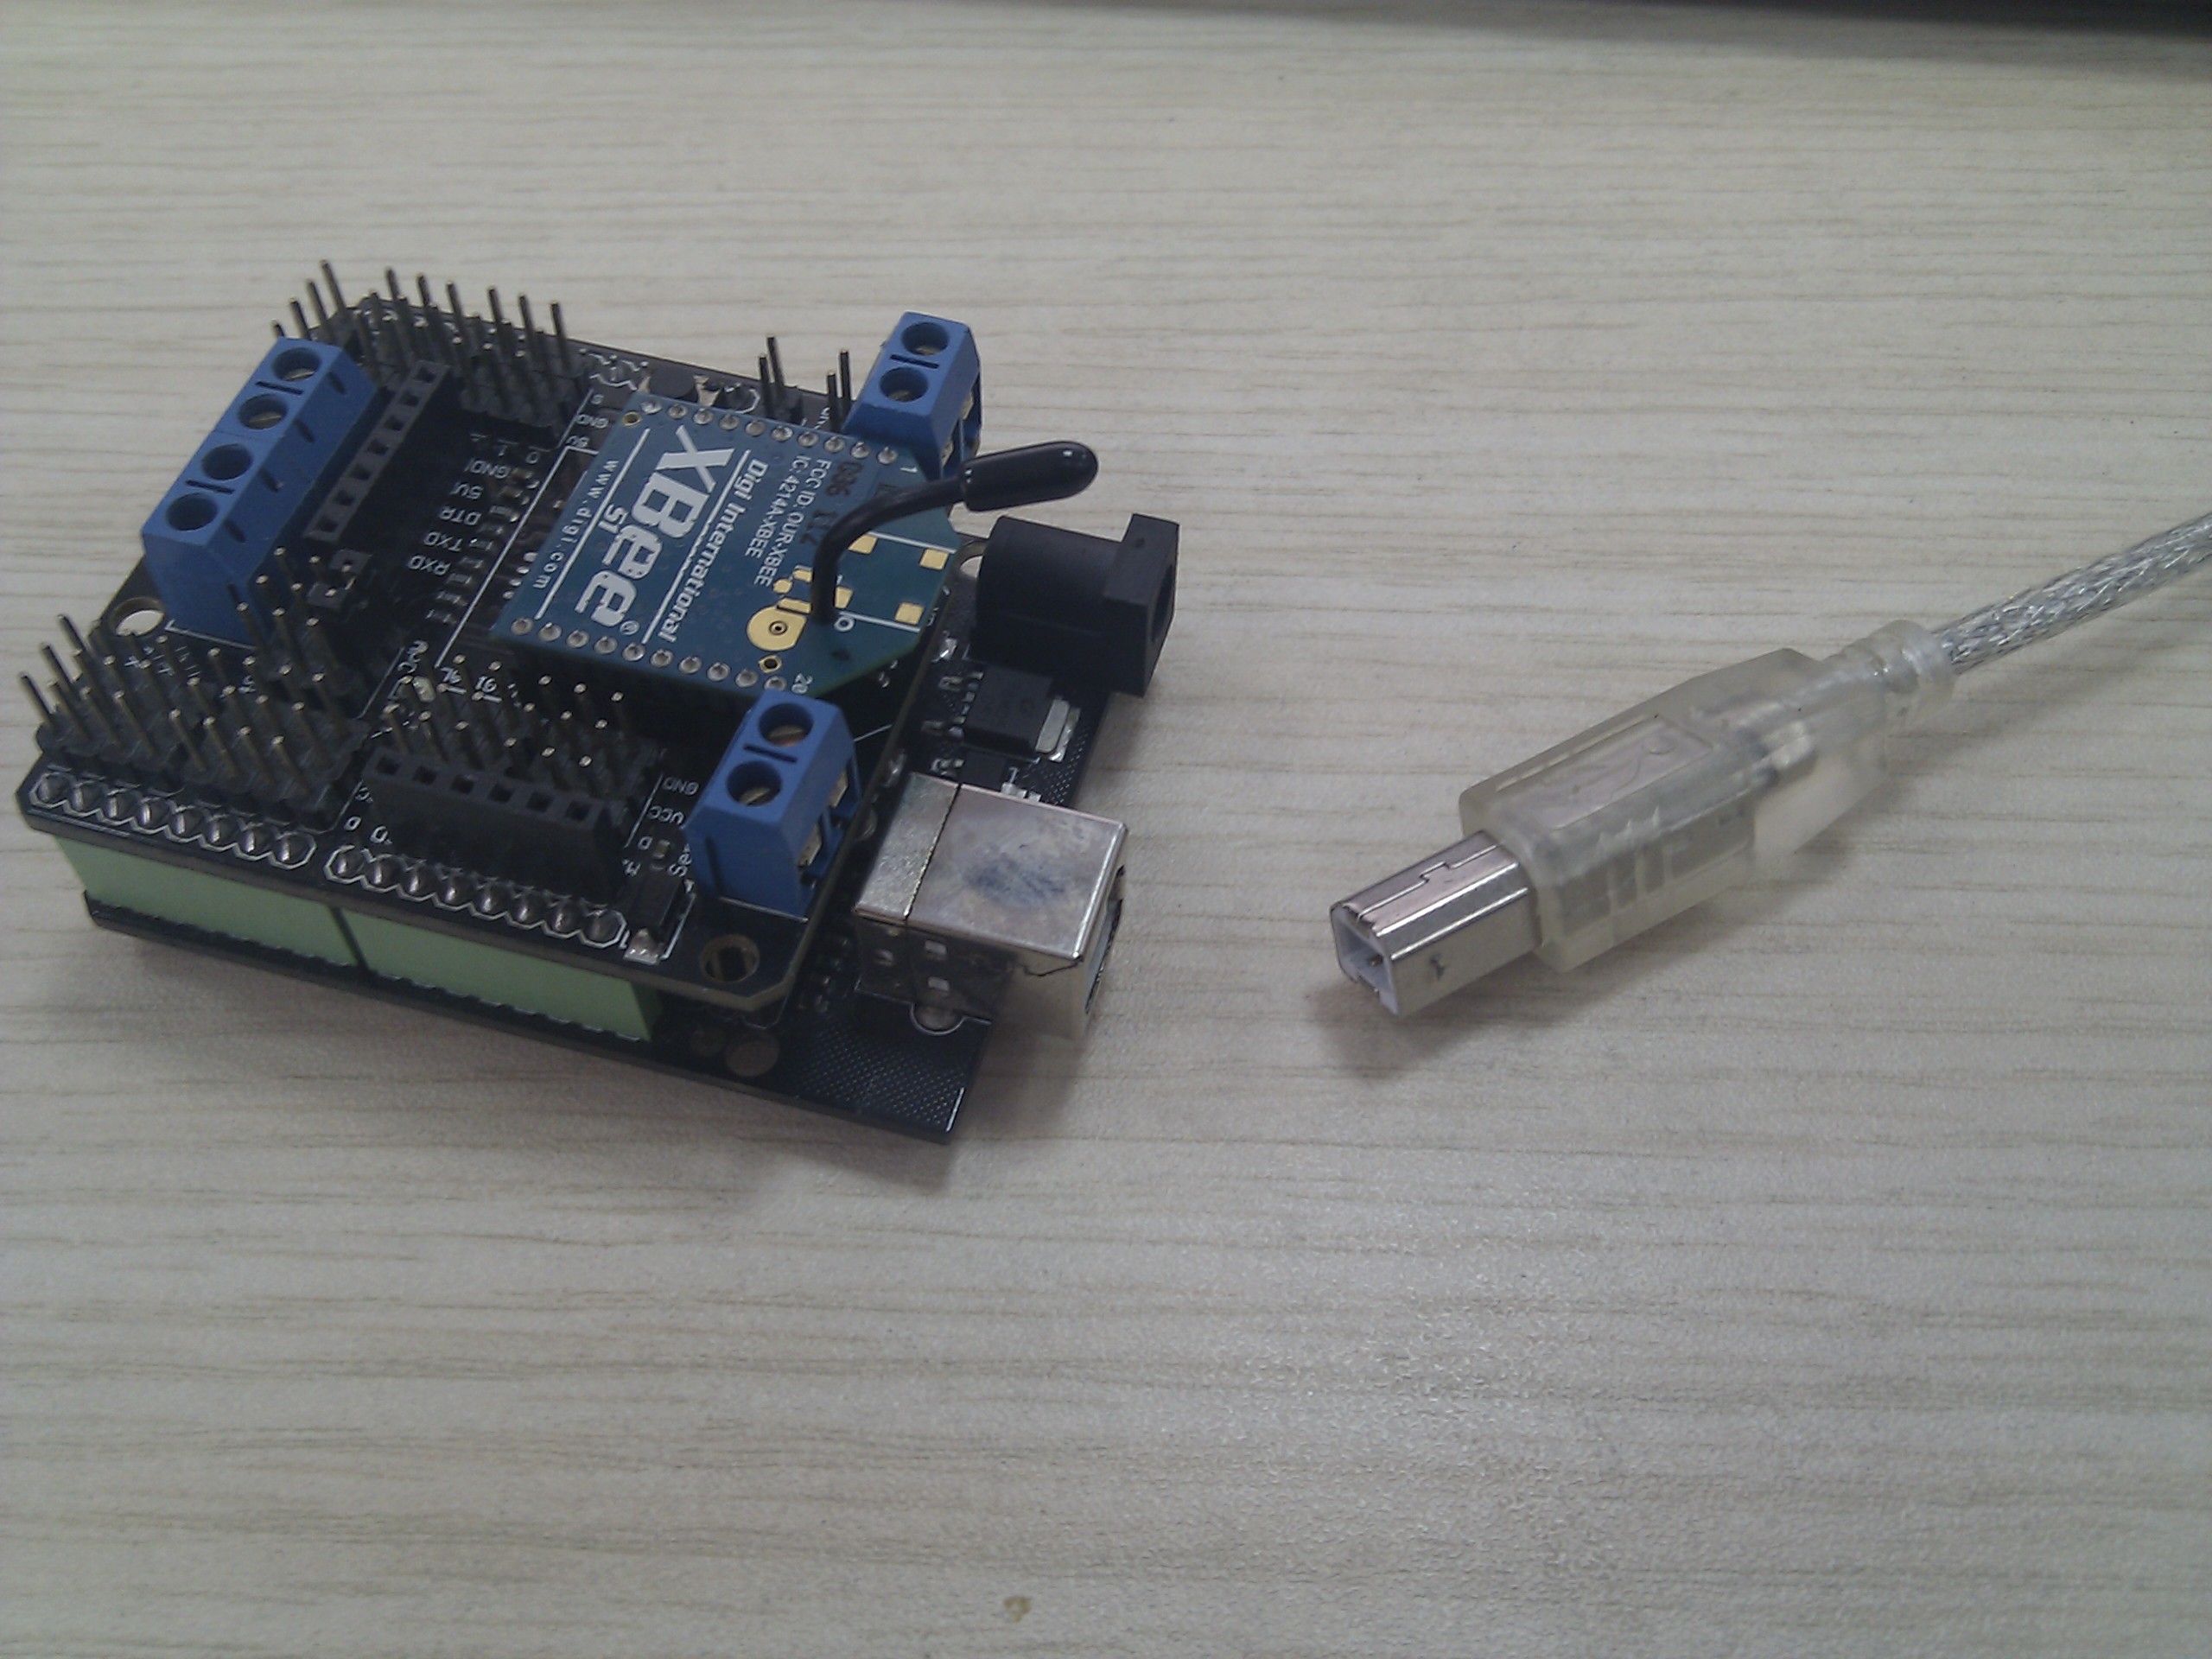
Connecting your robot
Xbee has two modes of operating, once preconfigured is rather simple. Attach it to the IO expansion shield, Xbee shield or others to your robot or device. As shown in Figure B. Please remember that this shield version connects the Xbee to Arduino directly and not to the USB. While connected uploading a new sketch will not work due to Xbee module using the Serial port of Arduino.
void setup() {
  // Select the same baud rate as your Xbee module
  Serial.begin(9600);
}

void loop() {
  // print on the serial for debugging purposes to check
  // whether or not the other Xbee is receiving.
  Serial.println("hello world");
  delay(1500);  // Add some delay, to avoid crashing the IDE and to allow reading easily.
}
Receiving data
On the other side, connect your second Xbee to your adapter and computer, Open up the X-CTU terminal or other serial software tool, select the same baud rate and read the "Hello World" string from our robot.
Click the "Test / Query" button to test whether the XBee module has connected. If all goes well, we will see the following figure xbee test dialog,and it will display the module type and version number.

First click on "Modem Parameters and Firmware" in the "Read" button to read out the current parameters XBee module, and then read out in the "Networking & Security" will "Channel" is set to "C", the "PAN ID" setting "3332."

In the "Serial interfacing" the "Interface Data Rate", you can modify the XBee baud rate, XBEE module default baud rate 9600

After the main parameters has been set up, click on "Write" button to write the parameter to XBEE module. The two XBee module parameter settings should be consistent. If you have changed the baud rate, and you suddenly want to "read" the XBee module parameters.It will go wrong, because you have to set the baud rate in X-CTU interface the "PC Settings" option in the baud rate to what you set. And then you can read XBee module parameters.
Notes
Shields and other expansion boards connect the Xbee to Arduino directly, not to computer. Therefore you can't Use X-CTU. But you can let your Arduino do all the AT commands for you.