Introduction
The film pressure sensor is a flexible sensor based on resistive pressure-sensitive technology, capable of real-time monitoring of the pressure applied to the sensing area. As the pressure increases, the resistance value of the sensor gradually decreases, forming a variable resistance. For ease of teaching, we have designed it as an electronic module that can be easily connected to Arduino and micro:bit main controllers through sensor wires. It is suitable for learning the applications of pressure sensors in industrial automation, automotive electronics, medical equipment, aerospace, and other fields in educational settings.
Features
**Easy to use:**The module design is simple, the size is small, and the thickness of the sensing element is only 0.4mm. Peel off the protective film and stick it to the place where the pressure needs to be measured.
**Strong compatibility:**It can be easily used with a variety of main control boards, such as Arduino, Micro:bit, Row Empty Board, etc.
**Quick response:**With an activation time of less than 0.01 seconds, it is suitable for dynamic pressure sensing.
High sensitivity: Capable of detecting pressure ranging from 30g to 1.5kg, making it suitable for various application scenarios.
**Durability: **Able to withstand over 1 million pressure cycles, ensuring long-term stable use.
Typical applications
In-bed and out-of-bed monitoring
Sleep state monitoring
Smart switch: equipped with force recognition to prevent accidental operation.
Counter: records the number of pressure occurrences.
Detecting the degree of pressure on the human body in medical equipment.
Specifications
**Operating voltage:**3.3~5V
**Lateral pressure range:**30g~1.5kg
**Output type:**Analog signals
**Interface type:**PH2.0-3P
**Size:**55.5x22mm
**Weight: **2.9g (total weight including packaging and sensor wires is 14g)
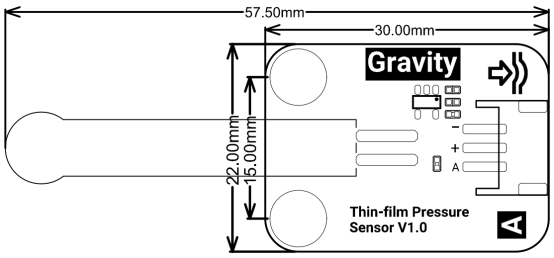
Pin Description
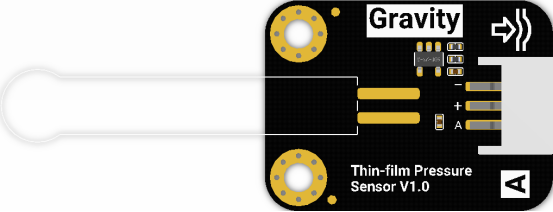
| Serial number | Silk screen | Description of the function |
|---|---|---|
| 1 | A | Analog output |
| 2 | + | Positive terminal of the power supply |
| 3 | - | Negative terminal of the power supply |
Delivery list
Gravity: Thin-fllm Pressure Sensor 1 pc
Gravity: Analog sensor cable (30cm) 1 pc
Micro:bit Tutorial
Requirements
-
Hardware
- 1 x micro:bit
- 1 x IO Expansion board
- 1 x Thin-film pressure sensor
- 1 x Digital cable
-
Software
Project Description-Mind+
Write a program using Mind (example code shown below), burn it to the Micro:bit, and observe the serial port output results.
Wiring diagram-Mind+
Connect the sensor to the P1 pin on the expansion board.

Example code-Mind+

Effect display-Mind+
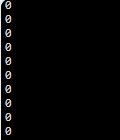
| When no pressure is detected | 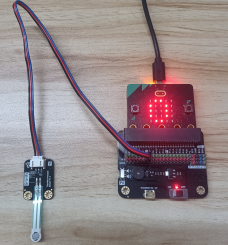 |
 |
|---|---|---|
| When pressure is detected | 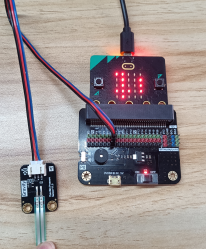 |
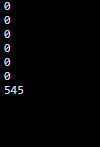 |
Note: The greater the force, the higher the detected value will be.
Makecode Tutorial
Write a program using Makecode (example code shown below), burn it to the Micro:bit, and observe the serial port output results.
Wiring diagram-Makecode
Connect the sensor to P1 pin of the expansion board.
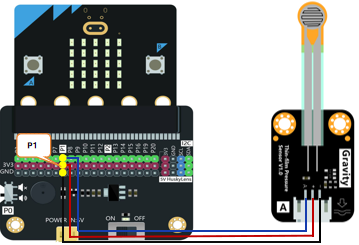
Example code-Makecode

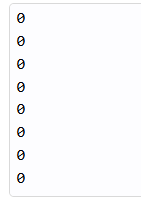
Effect display-Makecode
| When no pressure is detected | 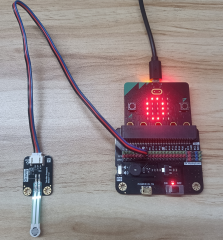 |
 |
|---|---|---|
| When pressure is detected | 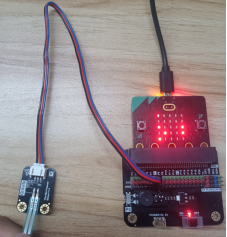 |
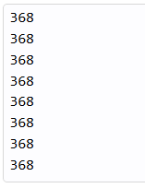 |
Note: The greater the force, the higher the detected value will be.
Arduino Tutorial
Requirements
- Hardware
- 1 x DFRduino UNO R3
- 1 x IO Expansion board
- 1 x Thin-film pressure sensor
- 1 x Digital cable
- Software
Project Description
Write an example program using Arduino IDE, burn it to the Arduino controller, and observe the serial port output results.
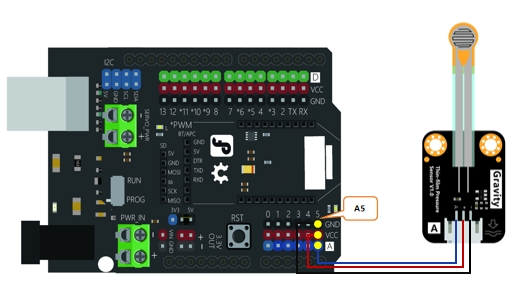
Wiring diagram
Connect the sensor to the A5 pin on the expansion board.
Example code-Arduino IED
void setup() {
Serial.begin(9600);
}
void loop(){
Serial.println(analogRead(A5));
delay(500);
}
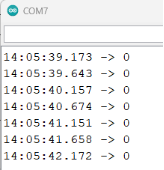
Effect display
| When no pressure is detected | 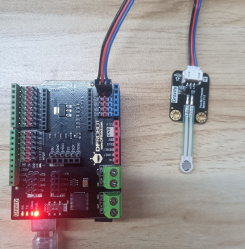 |
 |
|---|---|---|
| When pressure is detected | 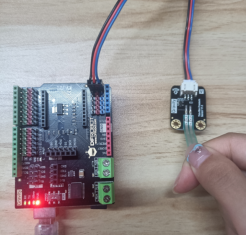 |
 |
Unihiker Tutorial
Requirements
-
Hardware
- 1 x Unihiker
- 1 x Thin-film pressure sensor
- 1 x Two ends PH2.0-3P white silicone stranded wire
-
Software
-
Tutorial
Project Description-Graphical
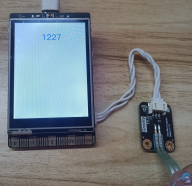
Write a sample program, burn it to the unihiker controller, and observe the display results on the unihiker.
Wiring diagram-Graphical
Connect the sensor to the P22 pin of the unihiker.
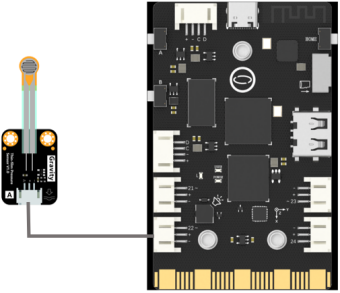
Example code-Graphical

Effect display-Graphical
| When pressure is detected | When no pressure is detected |
|---|---|
 |
 |
Project Description-Python code
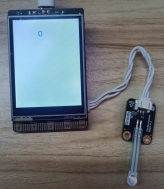
Write a Python sample program, burn it to the unihiker controller, and observe the display results on the unihiker.
Wiring diagram-Python code
Connect the sensor to the P22 pin of the unihiker.

Example code-Python code
#  -*- coding: UTF-8 -*-
# MindPlus
# Python
import time
from unihiker import GUI
from pinpong.board import Board,Pin
from pinpong.extension.unihiker import *
u_gui=GUI()
Board().begin()
p_p22_analog=Pin(Pin.P22, Pin.ANALOG)
Analog values=u_gui.draw_text(text="",x=90,y=30,font_size=20, color="#0000FF")
while True:
Analog values.config(text=p_p22_analog.read_analog())
time.sleep(0.5)
Effect display-Python code
| When pressure is detected | When no pressure is detected |
|---|---|
 |
 |
FAQ
For any questions,advice or cool ideas to share,piease visit the DFRobot Forum .