1.Introduction
I am Maqueen
Maqueen is an easy-to-use micro:bit programming robot for STEAM education, which inherits the playability and simple operation of micro:bit. With a mini body, play-and-play, it allows students to quickly learn graphical programming in an entertaining way while nurturing their interests in science and logical thinking.
What are the features of Maqueen?
- Support for Makecode, will support Scratch and python later.
- Small size, flexible movement.
- All-metal miniature gear motor, good quality, strong driving force.
- Line patrol, ambient light, LED lights, ultrasonic interface, servo interface, buzzer, I2C interface, mechanical expansion screw hole, etc. ... full-featured, highly expandable.
- Exclusive customized POM bearing wheel, flexible and reliable, strong obstacle crossing ability.
- Easy to install, easy to use.
Function Diagram

Features
- Small in size, easy to assembly in 4 steps.
- Interactive projects with light, sound,motion.
- Contents: algorithm and programming, computing system.
- Combining with Maqueen Mechanic and GamePad to explore more possibilities.
Specification
- Supply Voltage: 3.5V-5V DC ( Three AAA batteries or 3.6V~3.7V lithium battery )
- Infrared Grayscale Sensor(High-low level) x 2
- Buzzer x 1
- Infrared Receiver (NEC decoder) x 1
- LED Lights (High-low level control) x 2
- RGB Ambient Light (16 million colors) x 4
- SR04, SR04P Ultrasonic Interface(5V) x 1
- IIC Interface (5V) x 1
- Servo Interface (S1 S2)x 2
- Gravity Extension Interfaces (P0, P1, P2) x 3
- N20 All-metal Gear Motor x 2
- Motor Drive Mode: PWM motor drive
- Bracket and Protective Cover Extension M3 Screw Hole x 6
- Programming Method: Makecode graphical programming, Mind graphical programming (based on Scratch 3.0)
- Dimension: 81mm x 85 mm x 44mm/3.19 x 3.35 x 1.73in
- Weight: 75.55g
2.Product Configuration List
| Image | List |
|---|---|
 |
Car Body x 1 (Motors and bearing wheel have been assembled before leaving factory) Wheel x 2 Three AAA batteries Box x 1 Double Sided Adhesive Tape x 1 SR04 Ultrasonic x 1 Quick start Guide x 1 |
Product Installation

3. Introduction to Teaching Contents and Documents


This book provides a cost-efficient and fun way for primary and secondary school students to learn programming. The courses guide them to explore how to control a robot car Maqueen by coding, during which they will get to know the basics of robotics. Maqueen is a mini robot car intensively designed for STEAM education, small but powerful. It is developed based on the popular micro:bit board. Children can code Maqueen to play, learn and create so as to enhance their analytical and creative thinking skills, which is precisely what the original intention of STEAM education is.
The programming software Mind+ is used in this book. Mind+ is a Scratch 3.0-based graphical programming platform that supports all kinds of open-source hardware such as Arduino and micro:bit. Drag and drop graphical code blocks to make programs, or use high-level programming languages like Python, C, C++, etc. to code. Easy to experience the joy of creating.
This book is composed of 20 teaching cases, including some classic games like Catching Apple, Cat and Mouse, etc, and projects related to life scenes like Obstacle Avoidance Maqueen, Research and Rescue Maqueen. Each case is designed based on teaching practices. It aims to inspire all children to participate in programming and pave the path for them to further develop and create.
Refer to CSTA curriculum standard, the course catalog and field distribution are shown below:

Silly Maqueen Tutorial(Scratch 3.0-based)

3.1 Documents
| Click to view online tutorial | https://edu.dfrobot.com/course-661.html |
|---|---|
| Click to download the tutorial | 1.crazy maqueen -mindplus 2.silly maqueen -makecode And Maqueen & microbit Graphical Programming 3.Maqueen Mechanic Getting Started Guide(MakeCode)-20200929.pdf |
| More tutorail | click here |
| Product pictures | ROB0148-EN Product pictures.rar |
4. Import the Makecode Graphical Library
-
Click the link: makecode.microbit.org, enter the makecode graphical online programming platform. (Note: Loading will be slow in the first time, please wait patiently)
-
Search the makecode extension for "dfrobot" and select "maqueen".
-
Paste web address in makecode extension: https://github.com/DFRobot/pxt-maqueen
-
Import the library by following the steps.

5. Makecode Programming Example
Motor Control
- Learning Target: Mastering the basic method of motor control.

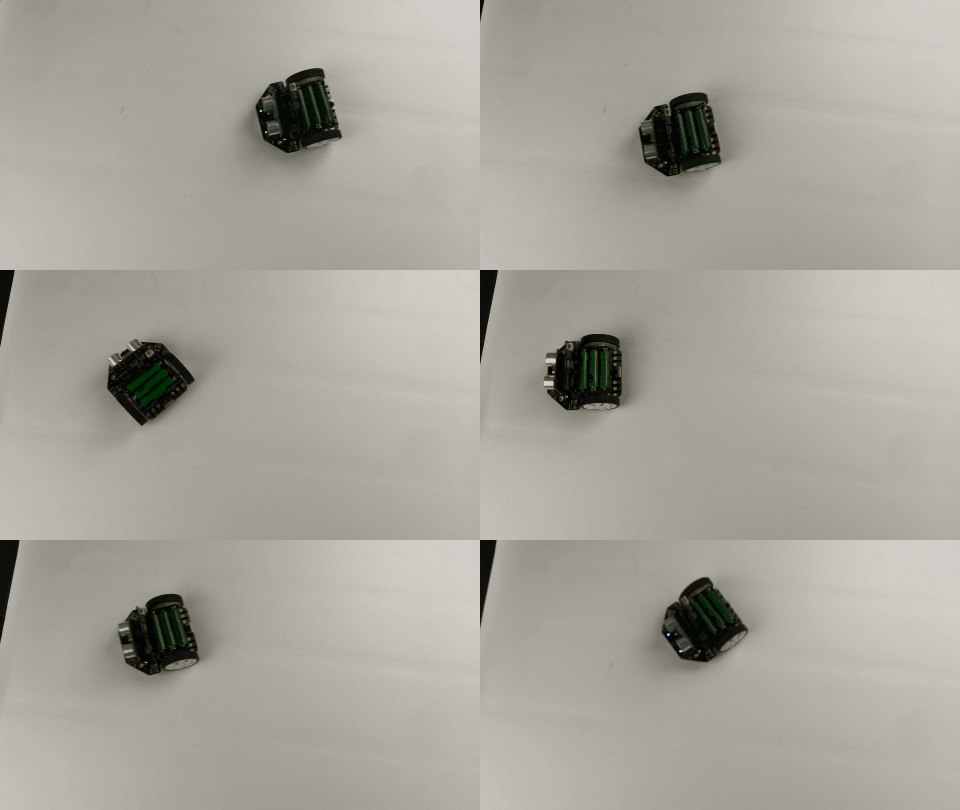
- Effect: Maqueen moves forward 1 second, turn left 1 second, turn right 1 second, move backward and turn right 1 second.

Makecode Program Link: https://makecode.microbit.org/_JrXaxVauDKww
Screenshot of Makecode Graphical Program:

RGB Breathing Ambient Light
-
Learning Target: Learn the basic way of using ambient light.
-
Effect: The RGB ambient light at the bottom of the Maqueen shows a variety of colors and presents a gradient effect.

- Load the LED strip library: click “Setting”->“Extension”-> “Neopixel”.

Makecode Program Link: https://makecode.microbit.org/_7t0HFXHesULM
Screenshot of Makecode Graphical Program:

LED Light Flash
- Learning Target: Learn the using way of LED light and buzzer.

- Effect: The left and right LEDs flash alternately at an interval of 0.5 second. Meanwhile, the buzzer makes two different tones with the flashing frequency.

Makecode Program Link: https://makecode.microbit.org/_5AuHAMPPmD28
Screenshot of Makecode Graphical Program:

Read Ultrasonic Distance
- Learning Target: Learn to read the distance of ultrasound, so that later can be flexible use of these data.

- Effect: Detect the distance between the sensor and obstacle ahead, and display the data on the LED Matrix (unit: cm).

Makecode Program Link: https://makecode.microbit.org/_F1aHEWVaHgs3
Screenshot of Makecode Graphical Program:

Read Infrared Key Assignments
- Learning Target: Learn to read the key assignments of infrared, so that later can be flexible use of these data.

- Effect: Press any key on the IR remote controller, the key value that corresponds to the pressed key will be displayed on the LED matrix (show the last two digits of key value in decimal).

Makecode Program Link: https://makecode.microbit.org/_UV9W1vRPP4tW
Screenshot of Makecode Graphical Program:

IR Remote Control and Its Key Assignments
The key assignments in the following table are in hexadecimal. In this product, we read the last two digits of the key assignments and automatically convert them to decimal data.


IR Remote Control
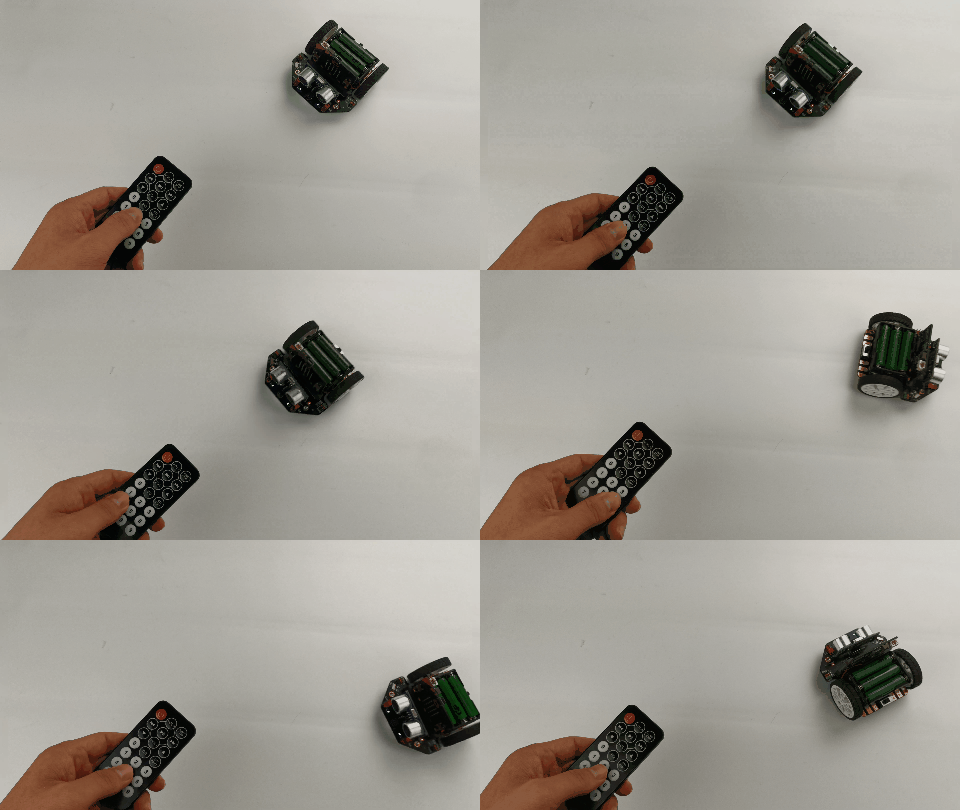
- Learning Target: Learn to use the IR remote control to command the car.

- Effect: Use the key 2, 8, 4, 6, and 5 on the IR remote controller to operate Maqueen.

Makecode Program Link: https://makecode.microbit.org/_bfuHRf53RdXM
Screenshot of Makecode Graphical Program:

Read Line-tracking Sensor
- Learning Target: Learn to read the return value of Line-tracking sensor.

- Effect: when Maqueen’s line-tracking sensor is put on the black line, the sensor outputs 0, and display 0 on the micro:bit LED matrix; if put on white area, output 1 and display 1 on the LED matrix.
Makecode Program Link: https://makecode.microbit.org/_EvtX1yD0RWpj
Screenshot of Makecode Graphical Program:

Line-tracking
-
Learning Target: Let the car run along the black line.
-
Effect: Maqueen drives along the black line on the map. If you don’t have a map, you can make one using black adhesive tape.

Makecode Program Link: https://makecode.microbit.org/_4rACHK3e2eeX
Screenshot of Makecode Graphical Program:

Ultrasonic Obstacle-avoiding
-
Learning Target: Keep the car away from obstacles
-
Effect: The ultrasonic sensor constantly detect the distance between the Maqueen and obstacle ahead, if it is smaller then 30cm, Maqueen randomly turns left or right to avoid the obstacle.
-
Fittings: SR04 Ultrasonic Module x 1 or SR04-P Ultrasonic Module x 1

Makecode Program Link: https://makecode.microbit.org/_V0yFaqJ4EEkD
Screenshot of Makecode Graphical Program:

Light-operated Sprite
-
Learning Target: Learn to let the car follow the light.
-
Effect: As the flashlight illuminates the LEDs on Maqueen, the vehicle starts to move forward. The brighter the light is, the faster Maqueen moves.

Makecode Program Link: https://makecode.microbit.org/_UsUV6KDWvfcz
Screenshot of Makecode Graphical Program:

Wireless Remote Control
-
Learning Target: Learn the way of using microbit wireless.
-
Effect: Use the microbit gamePad to operate Maqueen.
micro:bit Micro:bit Gamepad
Load the gamePad library: https://github.com/DFRobot/pxt-gamePad


Screenshot of Makecode Graphical Program:
- Screenshot of Car's Makecode Graphical Program:
Program for Maqueen: https://makecode.microbit.org/_d4D02s0uX6da

- Screenshot of Gamepad's Makecode Graphical Program:
Program for gamePad: https://makecode.microbit.org/_49mJKYK4V8c0

Driving Servo
- Learning Target: Driving servo.

- Effect: The servo repeatedly rotates from 0 to 150 degrees.
Makecode program link: https://makecode.microbit.org/_5Te7D33q3UoL
Screenshot of Makecode graphical program:

Get Product Information
Program result: the product information is showed on the micro:bit LED panel.
- Display in Simplified Chinese: ROB0148-CN;
- Display in Traditional Chinese: ROB0148-TW;
- Display in English: ROB0148-EN;
- Display in Korean: ROB0148-KR;
- Display in Japanese: ROB148-JP.
Makecode Program link: https://makecode.microbit.org/_fzJDgMDzceUL
Screenshot of the graphical program:

6. Line-tracking Sensor Calibration
The line-tracking sensor is factory calibrated, so there is no need for recalibration. Just like the reset button on digital products, the calibration button is not used in most cases. And improper calibration may cause the sensor error.
But you can try to calibrate it if the sensor can't recognize the black line as usual. The method is as follows:

1.Place the car in the black area of the map that comes with the product, and make sure the left and right sides of the sensor are in the area, as shown in the picture below:

2.Press the calibration button for about 1s, and the two blue LED line-tracking indicators will flash. The calibration is completed after flashing.

3.Check the calibration result: after the calibration is completed, put the sensor in the white area, and the two line-tracking indicators will be on; put it in the black area, and they”ll be off, which means the calibration is correct.

FAQ
1.Upload error? For uploading to the device, you need to switch the code window to the "Auto Generate" window.
2.In ultrasonic wave test, there is 0 value appearing?
A constraint condition should be added for test barrier, that is, filter out the data when the distance is not 0 or less than 5. You can also add 100-millisecond delay to prevent multiple reflections.
3.After installing a battery in the car, the motor still can’t be controlled to rotate by burning program while the power light is on?
Perhaps the battery is dead, and it is recommended to replace it with a fully charged one. When the battery voltage is lower than 2V, the LED on the board and other functions can work normally, but the motor can’t rotate due to insufficient power.
For any questions, advice or cool ideas to share, please visit the DFRobot Forum. |
